Manage Refunds

The process for creating a refund will vary, depending on the processor used, and on whether the payment was received against an invoice or a receipt. Click here for information about processing refunds for GrowthZone Pay.
Create a Refund for a Cash/Check Payment Made towards an Invoice
If the payment received was cash/check, AND the payment was made towards an open invoice, use the following procedure:
- Click the link of the payment you wish to refund.
- Click the Refund Payment button.
- The refund will automatically be set to the full amount of the payment. You may issue a partial refund, by entering in the amount you wish to refund in the Price Each column. NOTE: Be sure to include the minus sign in front of the amount.
- Click Save.
- Click Close.
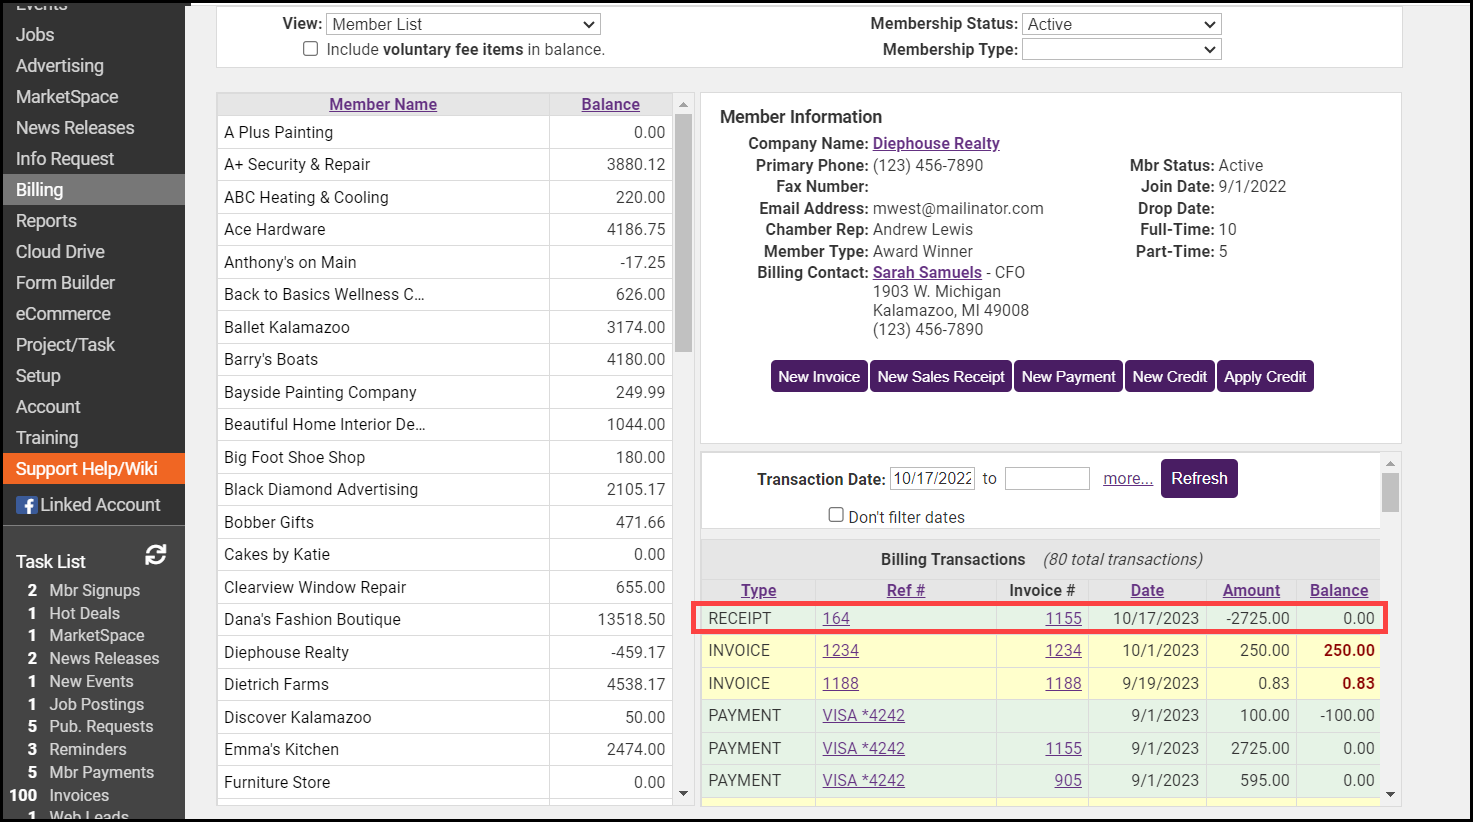
The refund will be displayed as a negative sales receipt in the list of transactions. You will now need to follow your business process to return the money to the contact.