Share Your Blog

Once you have created your blog, you may share it in a variety of ways:
- Send a link to the blog to interested parties
- Add the link to your web page as a new page
- Add a widget to your web-page
- Click Communication in the left-hand menu.
- Click Manage Blog in the Other Communication Tools section.
-
- On the Blog Tool Home tab, click the blog that you wish to share.
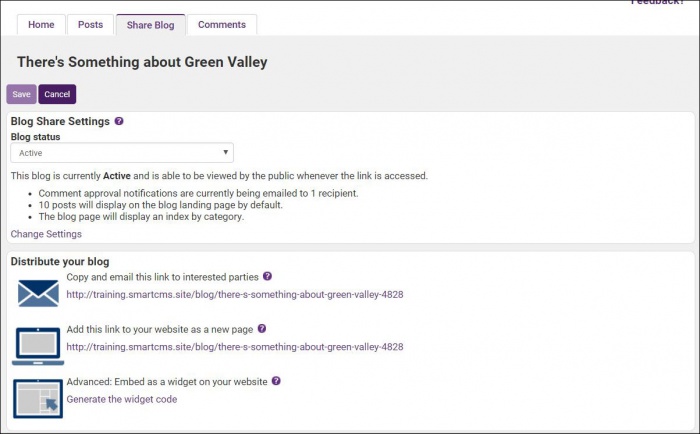
- Click the Share Blog tab.

- Configure the following:
- Blog Status: Set the blog to Active. Setting the blog to active makes the blog publicly available if the URL is known and accessed by the public. You would still need to add the blog to your website as a separate step in order to make it easily available.
- Click Change Settings to adjust any additional settings related to the public display:
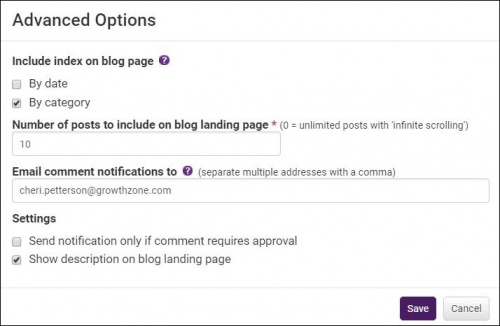
- Include Index on blog page: The blog page can display an index of the blog posts by date and/or by category. If very few posts exist, the date index may not be necessary. The category index is helpful for visitors to easily locate the content they might be looking for.
- Index by date: Index by date will display the year and then the quantity of posts in that year. Then it will display the month followed by the quantity of posts in that month. Visitors will be able to click the year or click the month to filter the blog results to those posts only.
- Index by category: Index by category will display only those category names where posts are assigned with a quantity beside the category name. Visitors will be able to click the category name to filter the blog results to those posts only.
- Number of posts to include on blog landing page: This option allows you to limit the number of posts displayed on your blog - visitors can scroll to view additional posts. (0 = unlimited posts with infinite scrolling).
- Email comment notifications to: If you have configured the blog to require staff approval for visitor posts, enter the email address(es) of staff who should receive a notification. You may enter multiple email addresses separated by commas. By default, the email address of the person that created the blog will be listed automatically.
- Settings:
- Send notification only if comment requires approval: Select this option if you only wish to be notified of comments added that require approval. If deselected, a notification will be sent each time a comment is added to the blog.
- Show description on blog landing page: Select this option if you wish the description of the blog to be displayed on the blog landing page.
- Click Save to save the advanced settings.
- Distribute your blog:
- Copy and email this link to interested parties: Copy and email the link that is listed here into the body of your email and send it to those you'd like to invite to read your blog.
- Add this link to your website as a new page: For SmartCMS Users, nothing needs to be done on the Share Blog tab. A web module is available to you. For other CMS users, copy the link that is displayed here, when in your CMS software, choose the selection for adding a link to your menu.
- Embed as a widget on your website: For SmartCMS users, nothing needs to be done on the Share Blog tab. A widget is available to you to easily add the blog to your website. For other CMS:
- Click the Generate widget code. This will bring you into the Internet Settings Control Panel (ISCP).
- Click the Widgets tab.
- From the Widgets drop-down list, select Blog.
- Select from the list of available blogs. (Note: only active blogs will be displayed in the list).
- Make any desired changes to the default options.
- Click Generate. The HTML code will be displayed in the window at the bottom of the screen.
- Use this code to add the blog to your website.

