
From the Directory Control Panel, you will be able to configure various settings for your public-facing directory. For example, you will be able to define how your QuickLinks and categories are displayed.
View the Directory Control Panel
- Click Setup in the left-hand menu
- Click Directory Control Panel

Configure/Update Directory Search Options
- Click Setup in the left-hand menu.
- Click Directory Control Panel.
- Expand the Directory Search Page section if needed.
-
Configure the following General Search Options:
-
Social Network Share Links: Enable this option if you would like the social network sharing option available in your directory.
- General Filter Options: Select the desired filters which may include category, keyword, alphabetical, or by location.
- Filter by Contact Options
- Search Page Heading/Title
-
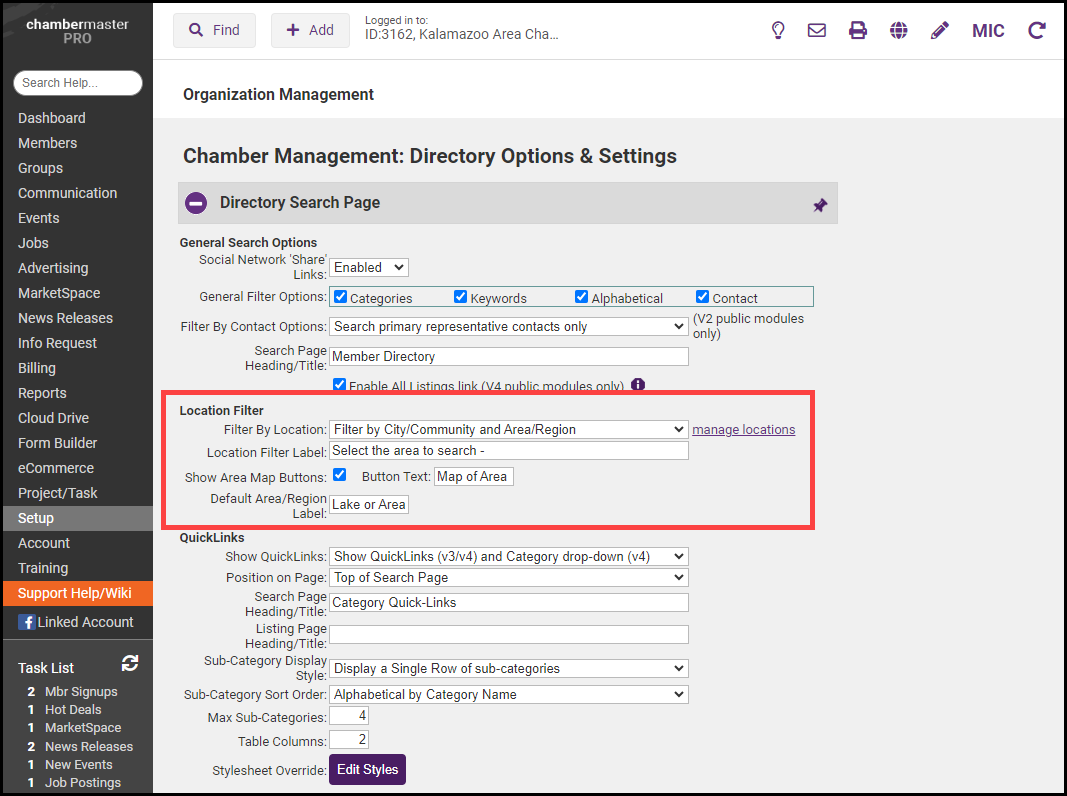
- Configure the following Location Filters:
- Filter by Location
- Location Filter Label
- Show Area Map Buttons
- Default Area/Region Label
-
Configure the following Quick Link settings:
-
Show Quick Links
- Position on Page
- Search Page Heading/Title
- Sub Category Display Style
- Sub Category Sort Order
- Max Sub-categories
- Table Columns
- Style Sheet Override
-
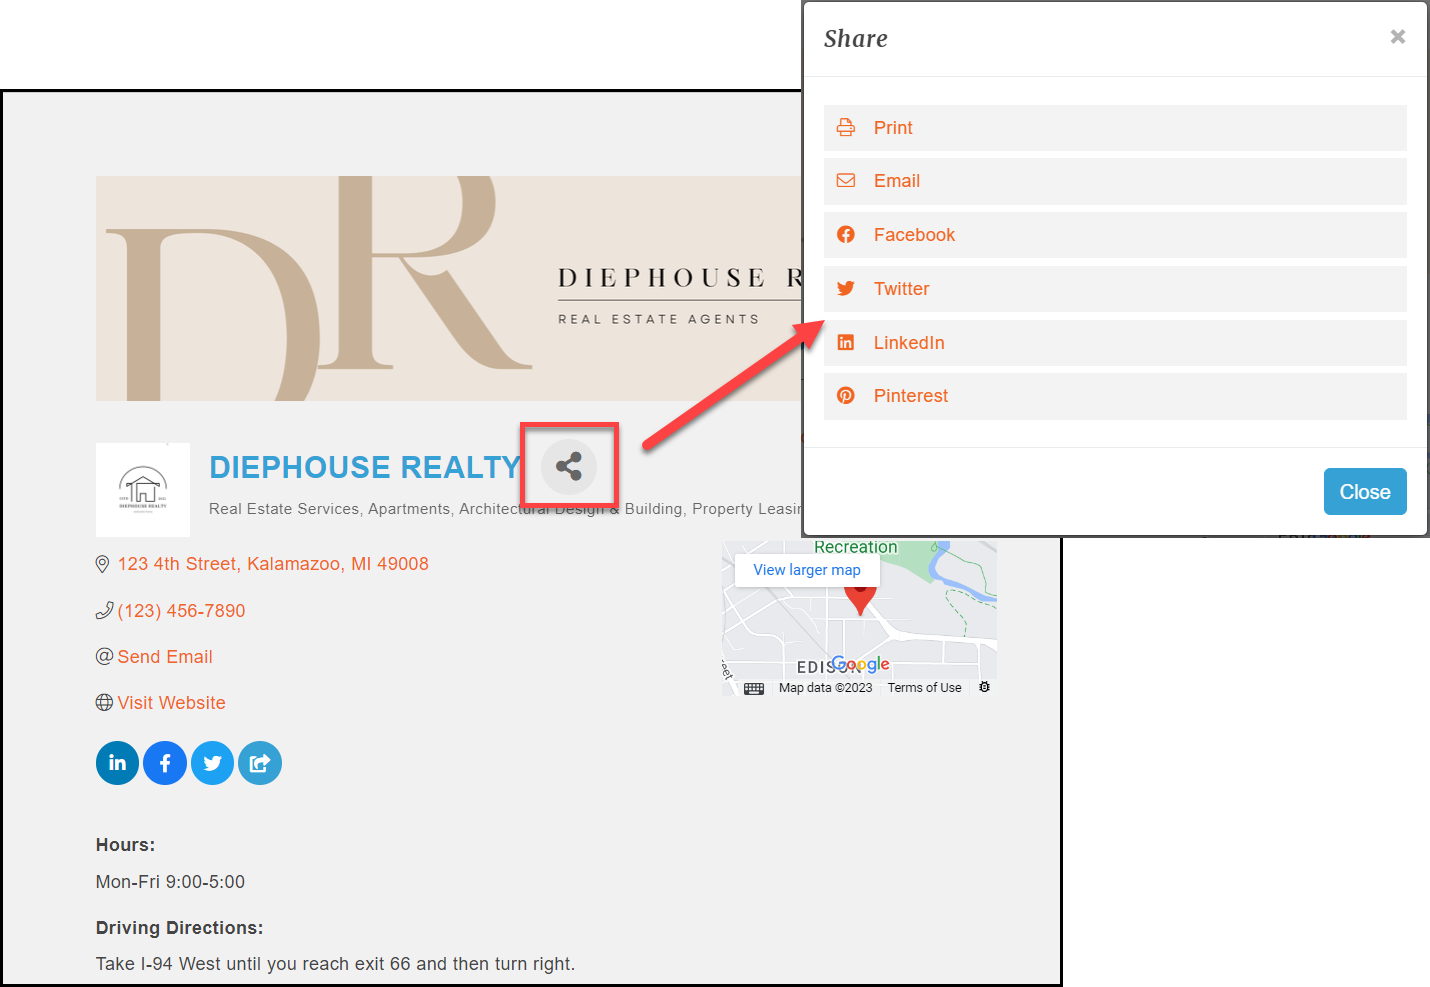
Enable Social Network Share Links
When this selection is enabled, website visitors will see links to share the listing/posting on Facebook, Twitter, LinkedIn, or email to a friend. Share links will appear on the member’s website Information Page, Hot Deals, Member-to-Member deals, job postings, MarketSpace items, and event description pages. Note: This selection is only available when your website has been integrated with the SEO module integration.
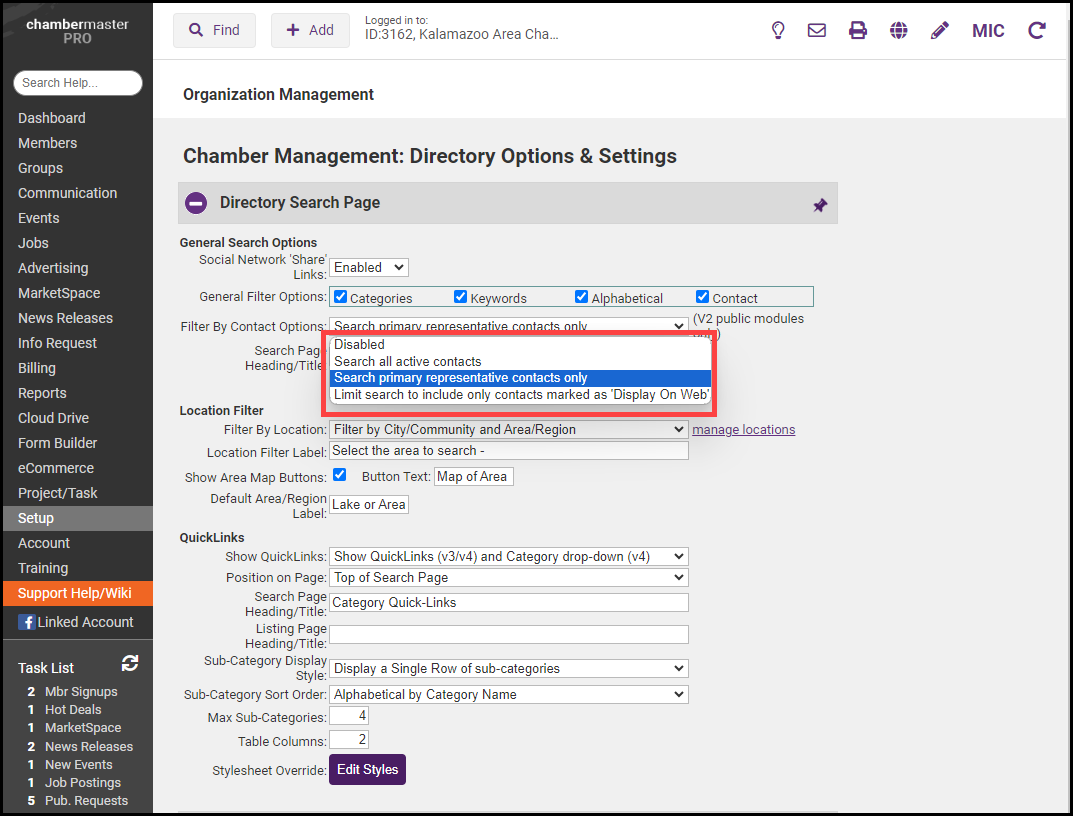
Filter by Contact Options
Select whether individual representative names should be used as search criteria in the online Directory search. If this selection is enabled, then the General Filter Options: Contact will also be selected.
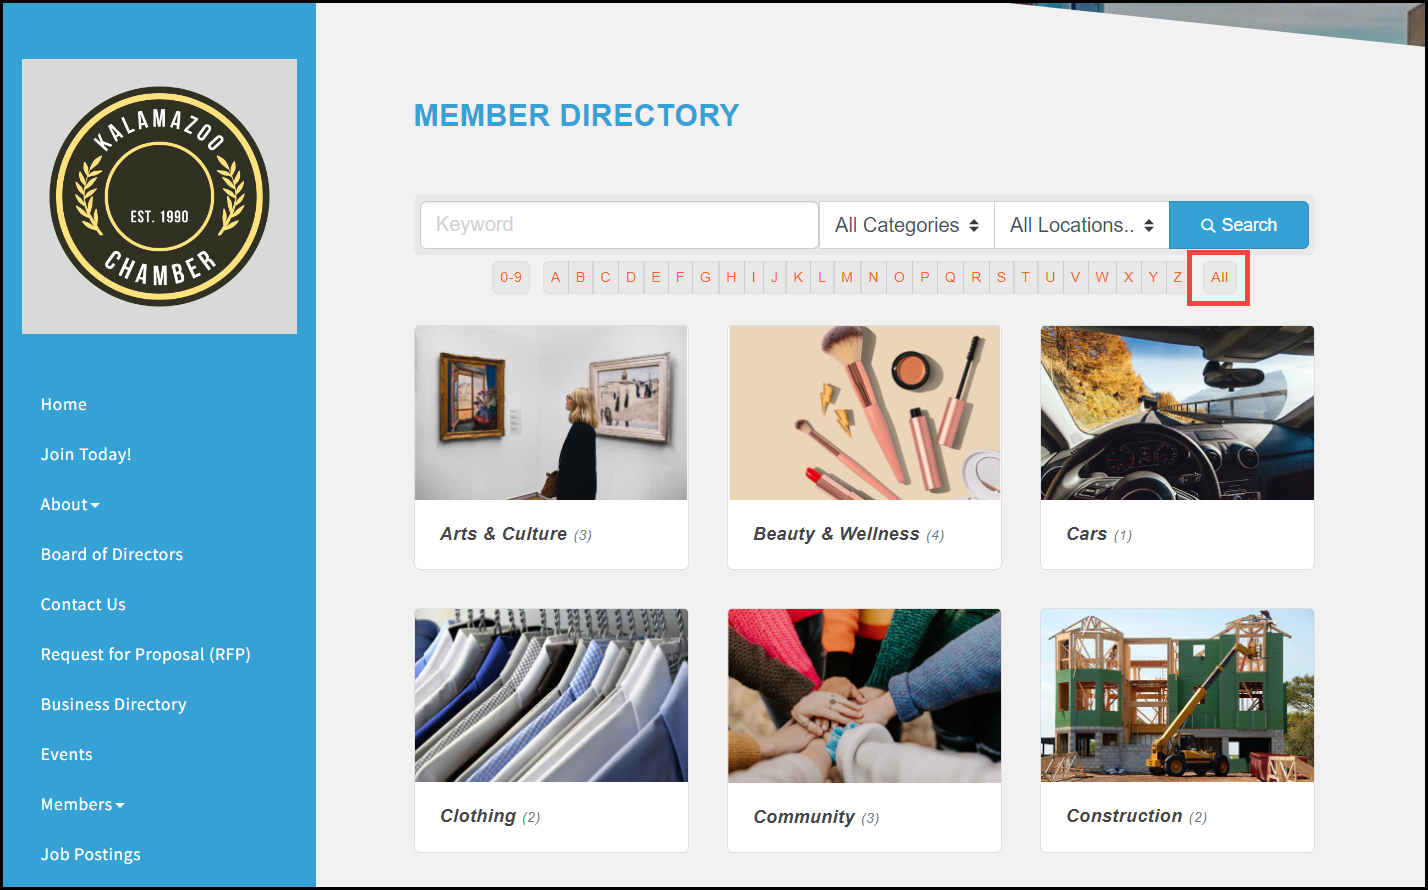
Enable All Listings link
If you are using v4 public modules for your public member directory listing, then a search option of "All" will appear on your directory search page. This link will allow the visitor to easily view all of your public listings in a single result. If this is not selected, listings can only be viewed using search criteria.
-
Click Setup in the left-hand menu
-
Click Directory Control Panel.
-
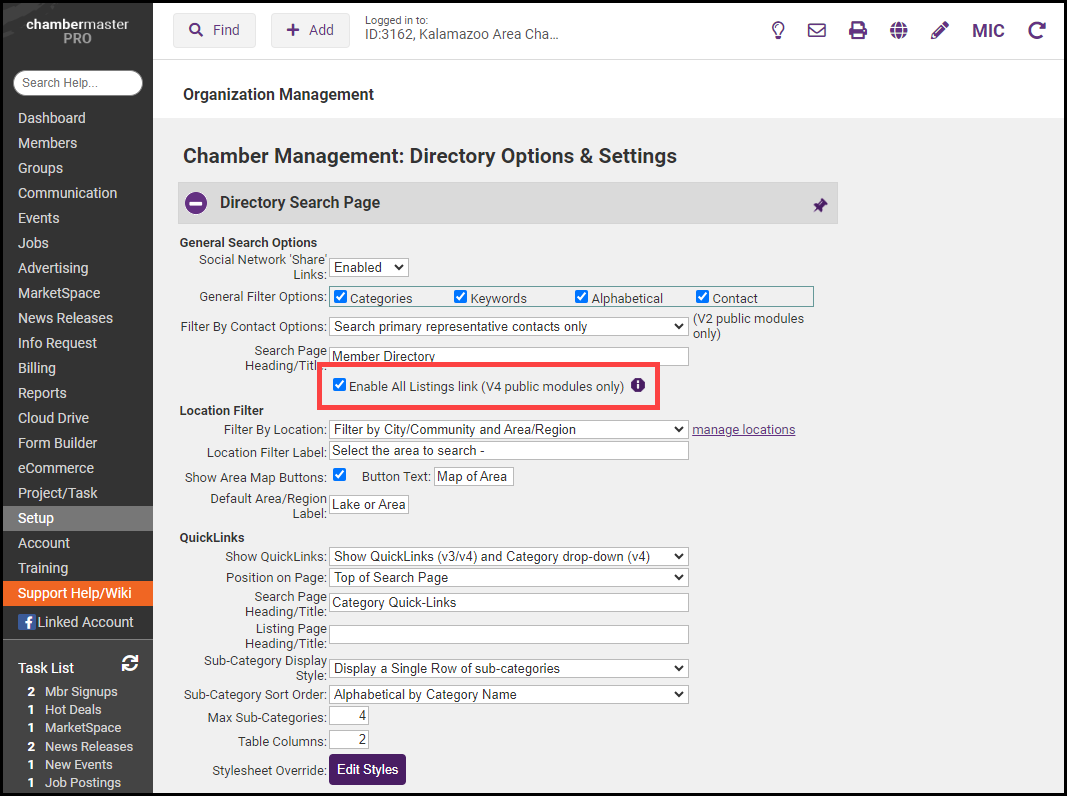
Tick the Enable All Listings link (V4 public modules only) checkbox in the Directory Search Page section.
-
Click Save.
Filter by Location
Define Locations (regions, areas, etc.) so that they can be assigned to your members and used to filter your members at certain places in the software and optionally in the public business directory.
Contact Businesses Button
When this checkbox is selected, website visitors will have the option to Contact these Businesses when viewing a list of members in the online Directory, whether searching alphabetically, by category, keyword, or any other way. This single message is sent via email to the selected businesses. Each request is tracked in the database as an eReferral, just like any eReferral form completed by your internal staff.
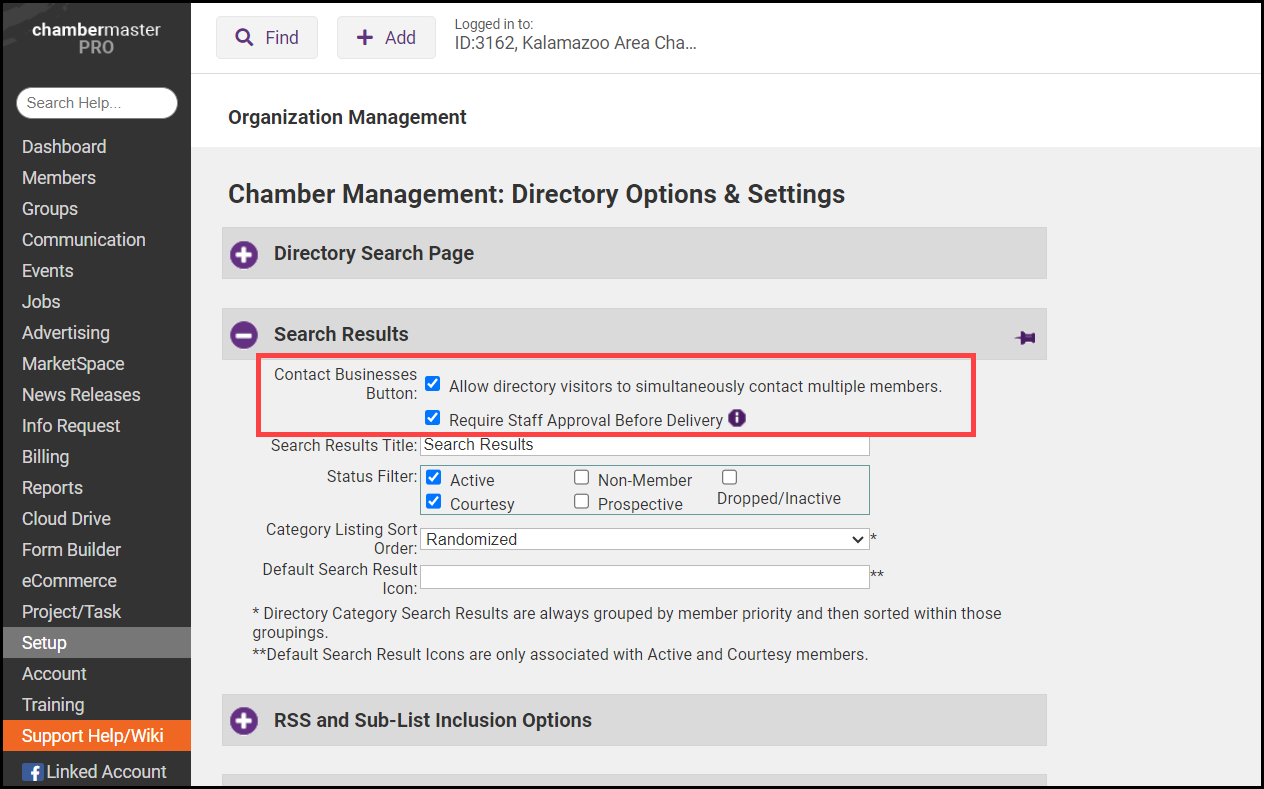
Require Staff Approval Before Delivery
Select this checkbox if you’d like to approve the Contact These Businesses message before it is delivered to the member. When a lead is received it will appear in the Web Leads Task List.

