Manage Resources in the MIC

The Resources area in the Member Information Center (MIC) is a great way for you to share information with your members.
Add Resources to MIC
- In the MIC, click the Resources tab.
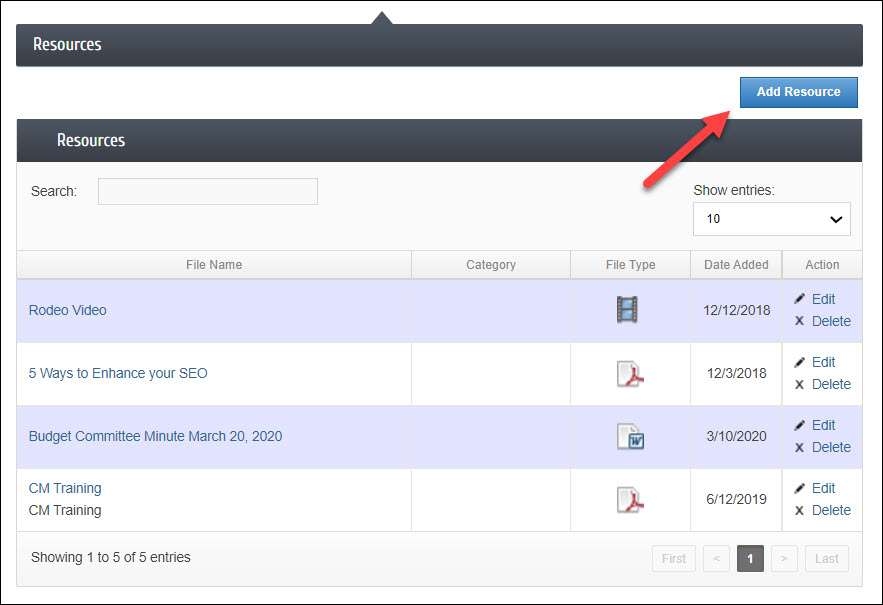
- Click the Add Resource.
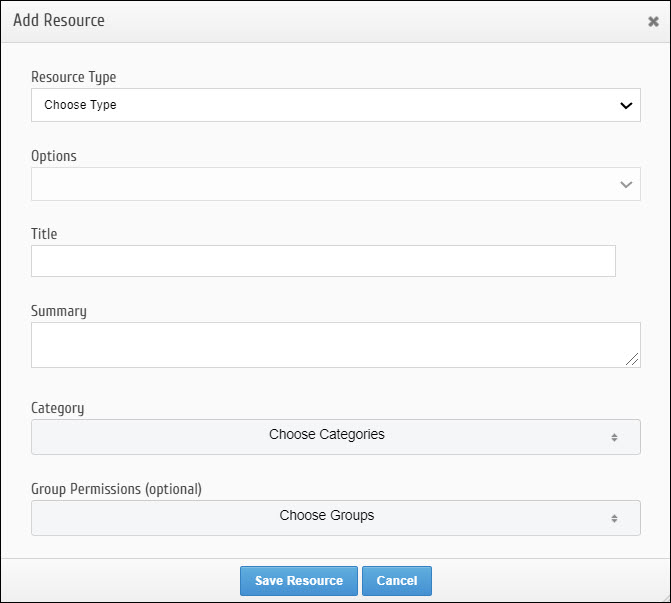
- Configure the following:
- Resource Type: Choose the type of resource you are sharing. You may share a document (including JPGs, PNG), video, or website
- Options: Select the desired options. These will vary dependent on the type of resource you are uploading. For a document, you may upload a file, select from your cloud or enter a URL. For a video or website, enter the URL.
- Title: Enter a title for the resource. This will be displayed in the list of resources available in the MIC.
- Summary: Enter a summary of the resource. This will be displayed in the list of resources available in the MIC.
- Category: Choose the category to which you wish to assign this resource. If needed, click the Manage Categories button to add new categories.
- Group Permissions: If you wish to limit access to this resource to a specific group select the desired group.
- Click Save Resource.
Edit Resources in the MIC
- In the MIC, click the Resources tab.
- For the resource you wish to edit, click the Edit icon.
- Make desired changes. NOTE: If replacing the resource itself, if the resource is a file upload to be replaced, choose upload as the Resource Type to edit.
- Click Save Resource.
Remove Resources from the MIC
- In the MIC, click the Resources tab.
- For the resource you wish to remove, click the Delete icon.
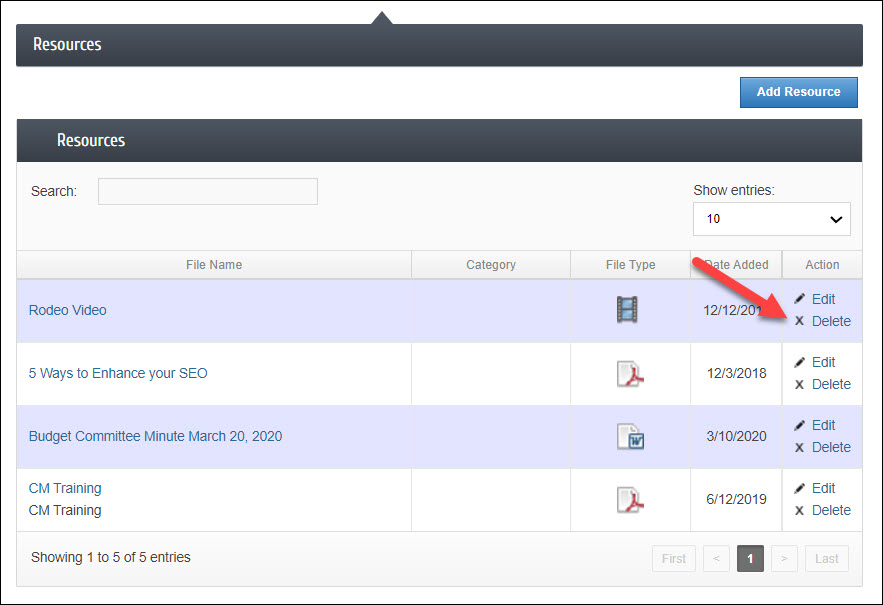
- Click OK to confirm that you wish to delete the resource.

