Image Editor Overview

Use the Image Editor to make edits to the images on your website in your File Manager.
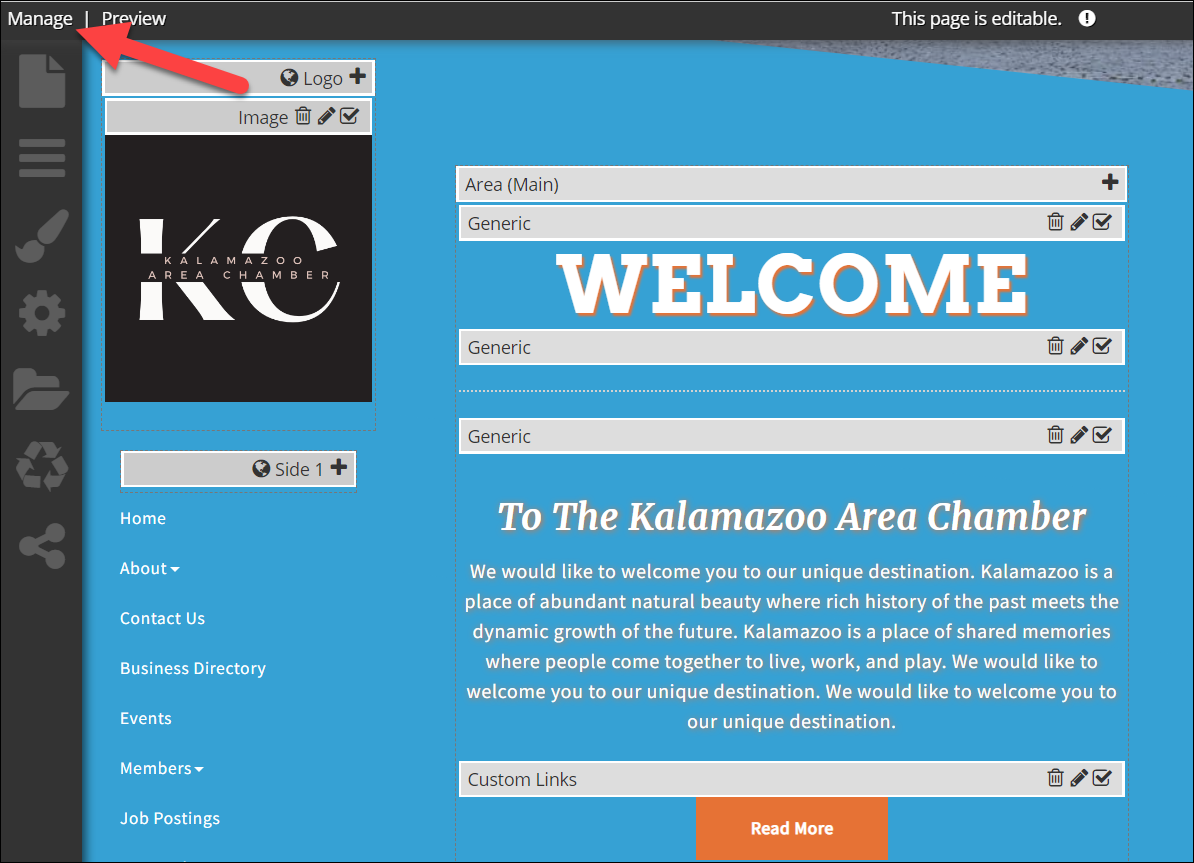
Access Image Editor
- Select Manage and click on File Manager.
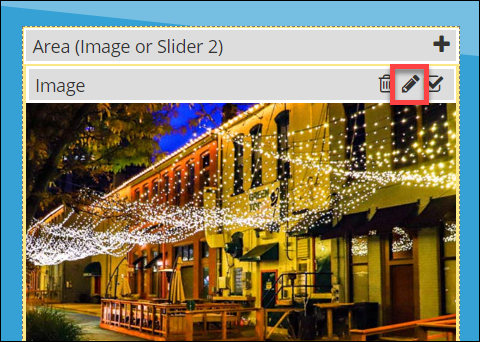
- Select the image to be edited.
- Click on Edit Image above the image to open the Image Editor.
Note: The Image Editor can also be accessed through any content Options that have access to the File Manager such as Image, Slider/Gallery, Text, etc.
Supported File Formats
- JPG, GIF, PNG, BMP
- Animated gif included
Buttons
- Apply button applies the change
- Undo button allows the user to go back to the previous change
- Revert button reverts the image to the original state
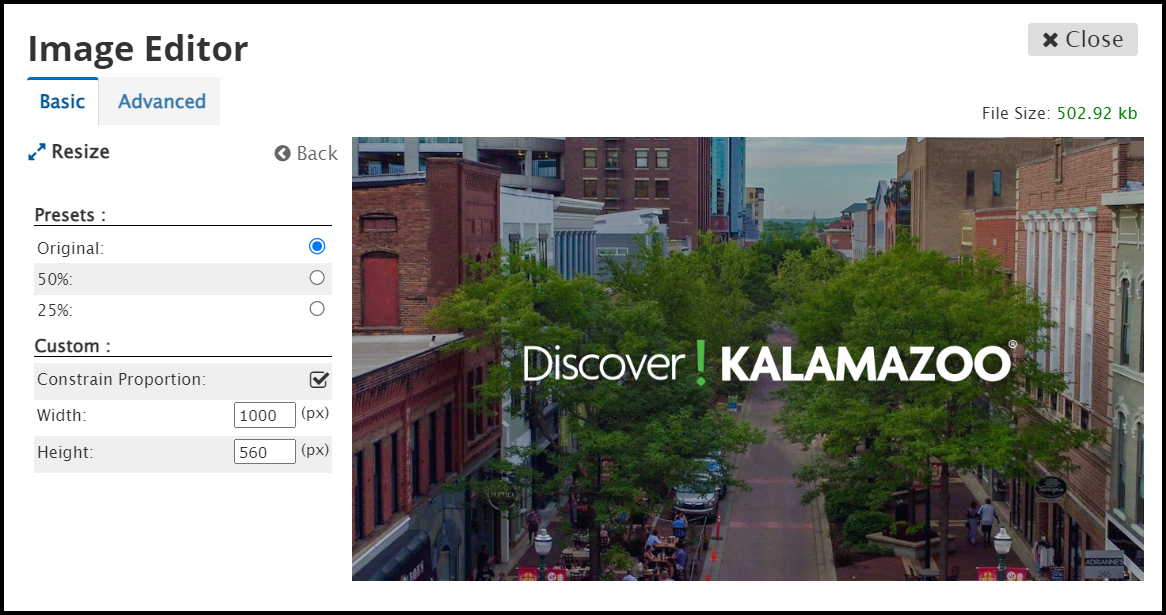
Resize
- Presets: includes Original, 50%, and 25%
- Custom: add the numeric width and height
- Constrain Proportion: constrains the image aspect ratio when the box is selected
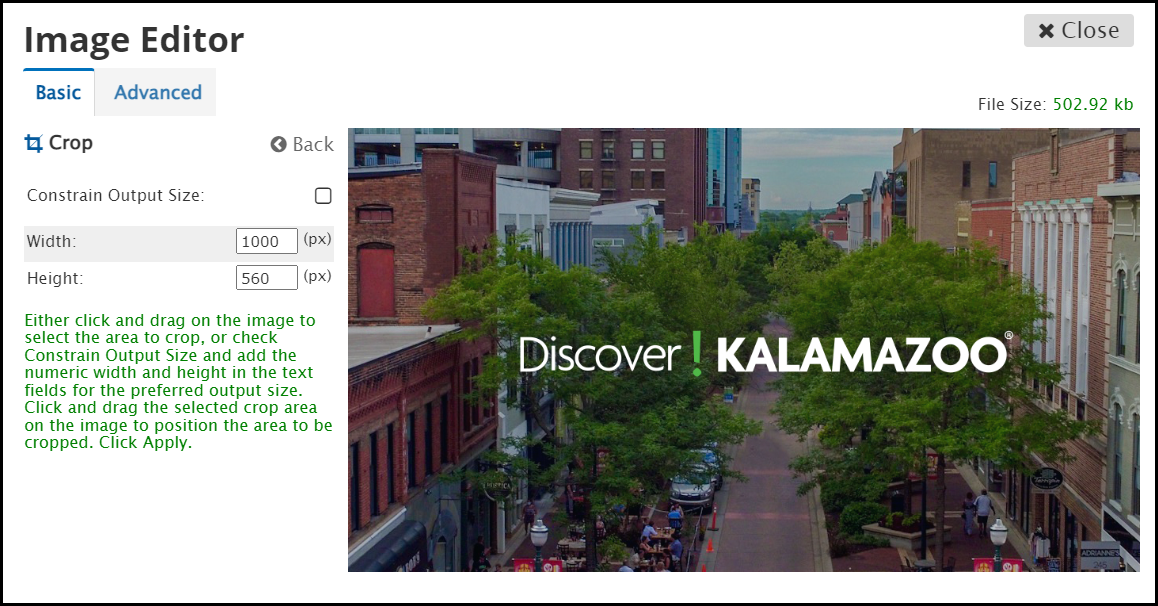
Crop
- Click and drag on the image to select the area to crop
- Add the numeric width and height.
- Check Constrain Output Size and add the numeric width and height of the preferred output size.
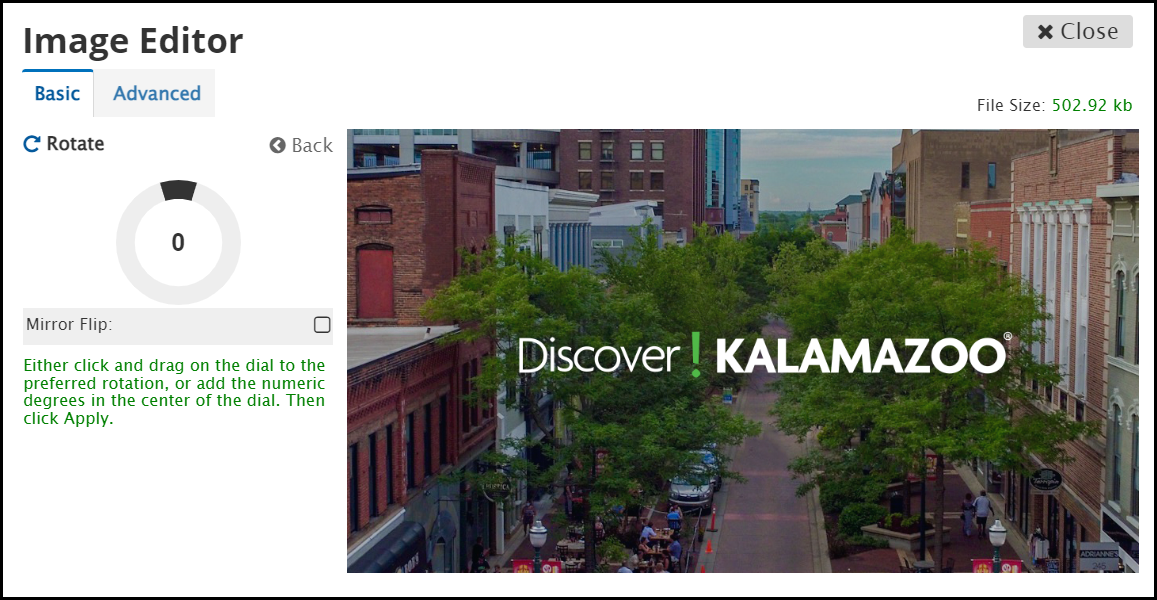
Rotate
- Degrees: enter a numeric degree value in the center of the dial.
- Click and drag on the dial to the preferred rotation.
- Click Apply.
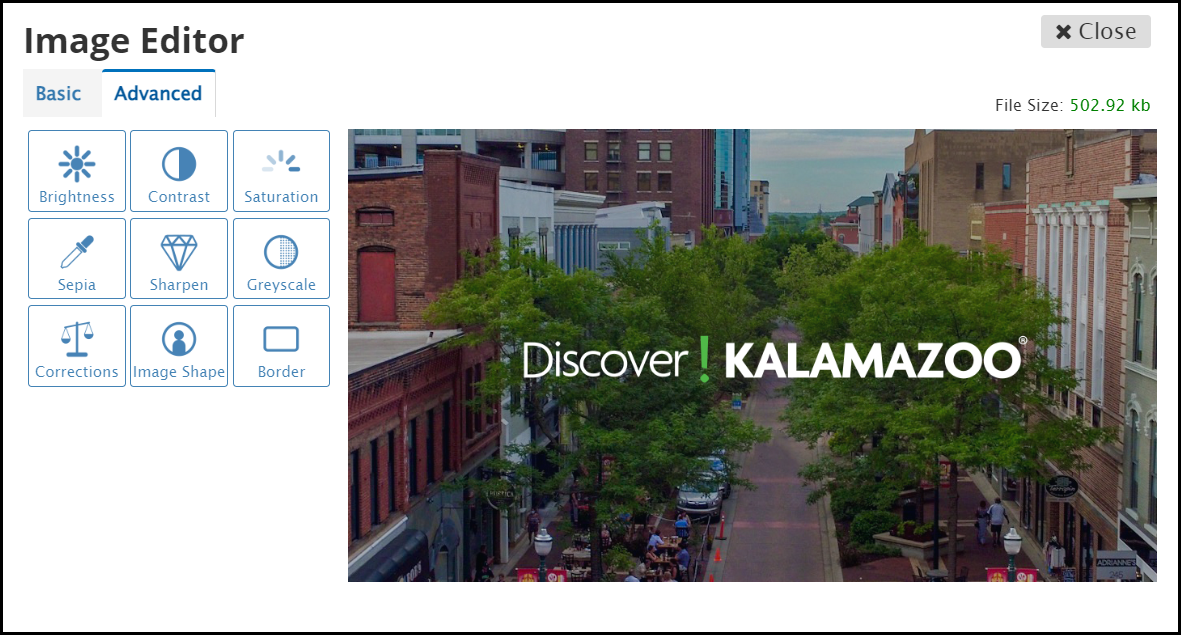
Advanced Options
- Brightness: adjust the brightness of your image
- Contrast: adjust image contrast
- Saturation: adjust image color saturation
- Sepia: add sepia tint to image
- Sharpen: adjust image sharpness to create a clearer image
- Greyscale: set the image to greyscale rather than full-color
- Corrections: remove red-eye and/or auto-correct color
- Image Shape: adjust the image corner radius to round edges or add a circular crop to the image
- Border: add a border to the image, adjust border width and color