
Click here to download a PDF of these directions to share with your members.
Setup AutoPay Using the AutoPay & Billing Tab
-
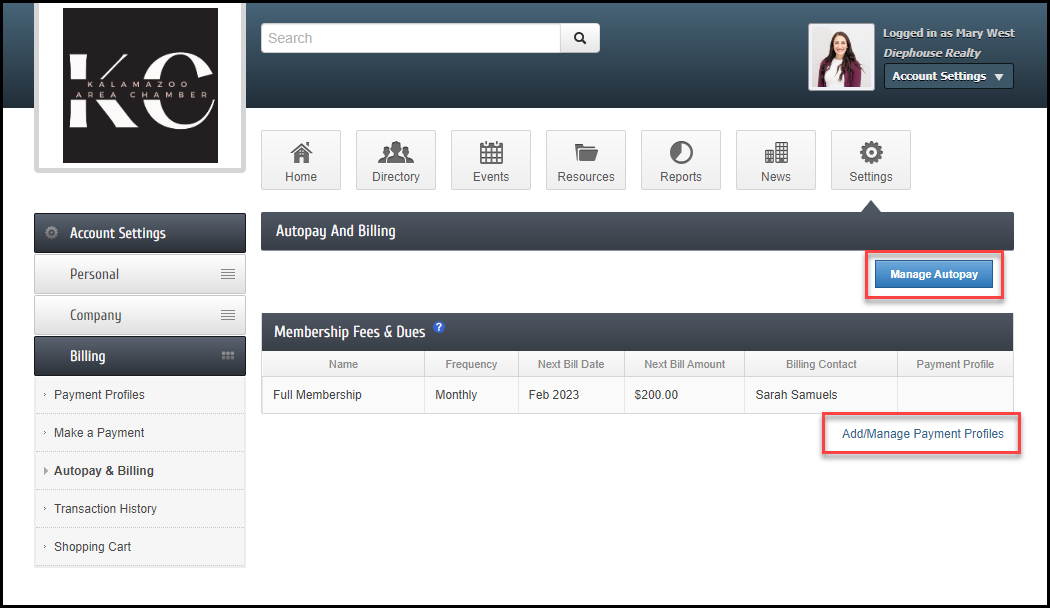
In the MIC, select Company on the left-hand side.
-
Select Billing and then select Autopay & Billing.
-
Information about your active Membership Fees & Dues will be displayed:
-
Name
-
Frequency
-
Next Bill Date: This date is a reminder of the next invoice to be initiated.
-
If an item is assigned a payment profile, this will show the date of the month in which the invoice and payment will be initiated.
-
If an item is not assigned a payment profile, this is only a reminder of the month this fee should be billed, not a specified date.
-
-
Next Bill Amount
-
Billing Contact
-
Payment Profile: Will display the type and last 4 digits of the card/account number, and the expiration date if it is a card.
-
-
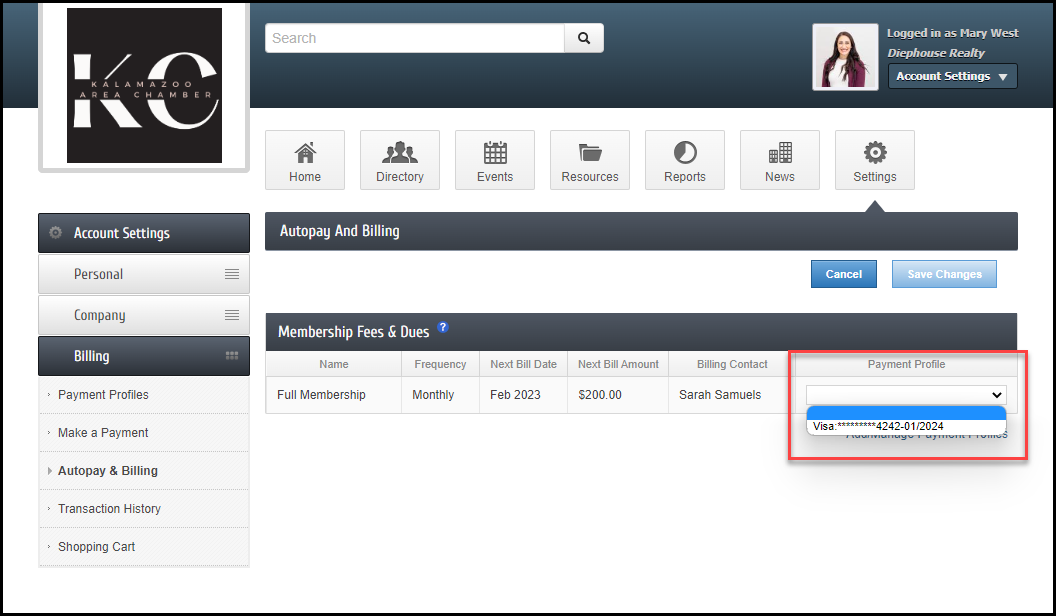
Select Add/Manage Payment Profiles to view Payment Profiles. Selecting Manage Autopay will also open the Payment Profiles to allow for editing.
-
Select the Payment Profile you'd like to use for Autopay and select Save Changes.
-
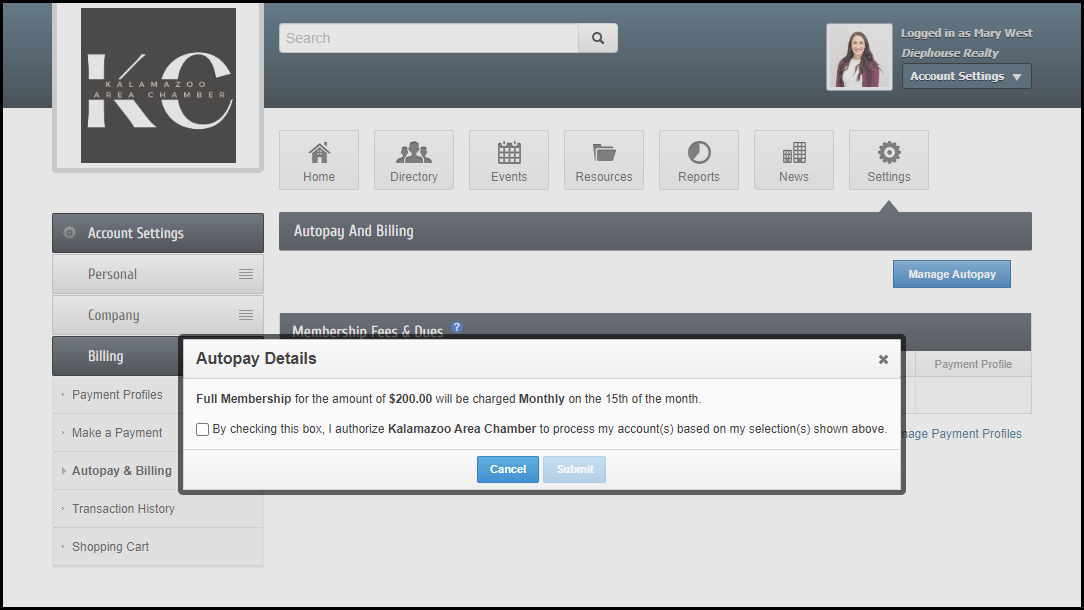
The Autopay Details pop-up window will display, and you will need to check the box to allow the Payment Profile to be used and select Submit. Your Payment Profile is now set up for Autopay.
See Manage Autopay in the MIC for Your Members for more information.
Adding Credit Card for Autopay
Click here to see how to store a payment profile in the MIC.
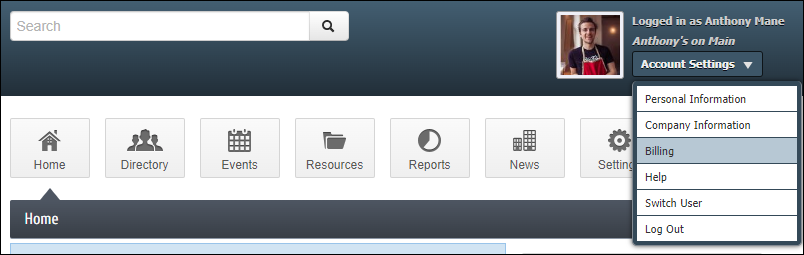
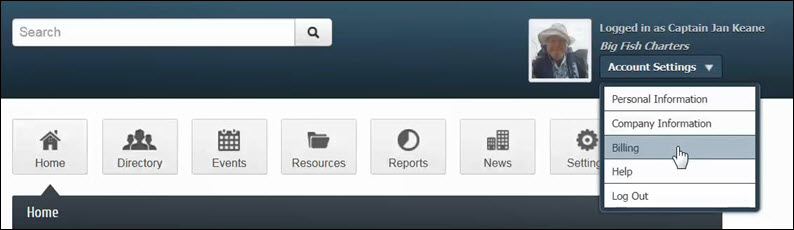
- In the MIC, click Account Settings in the upper right.
- Click Billing.
- In the left-hand navigation panel, click Payment Profiles.
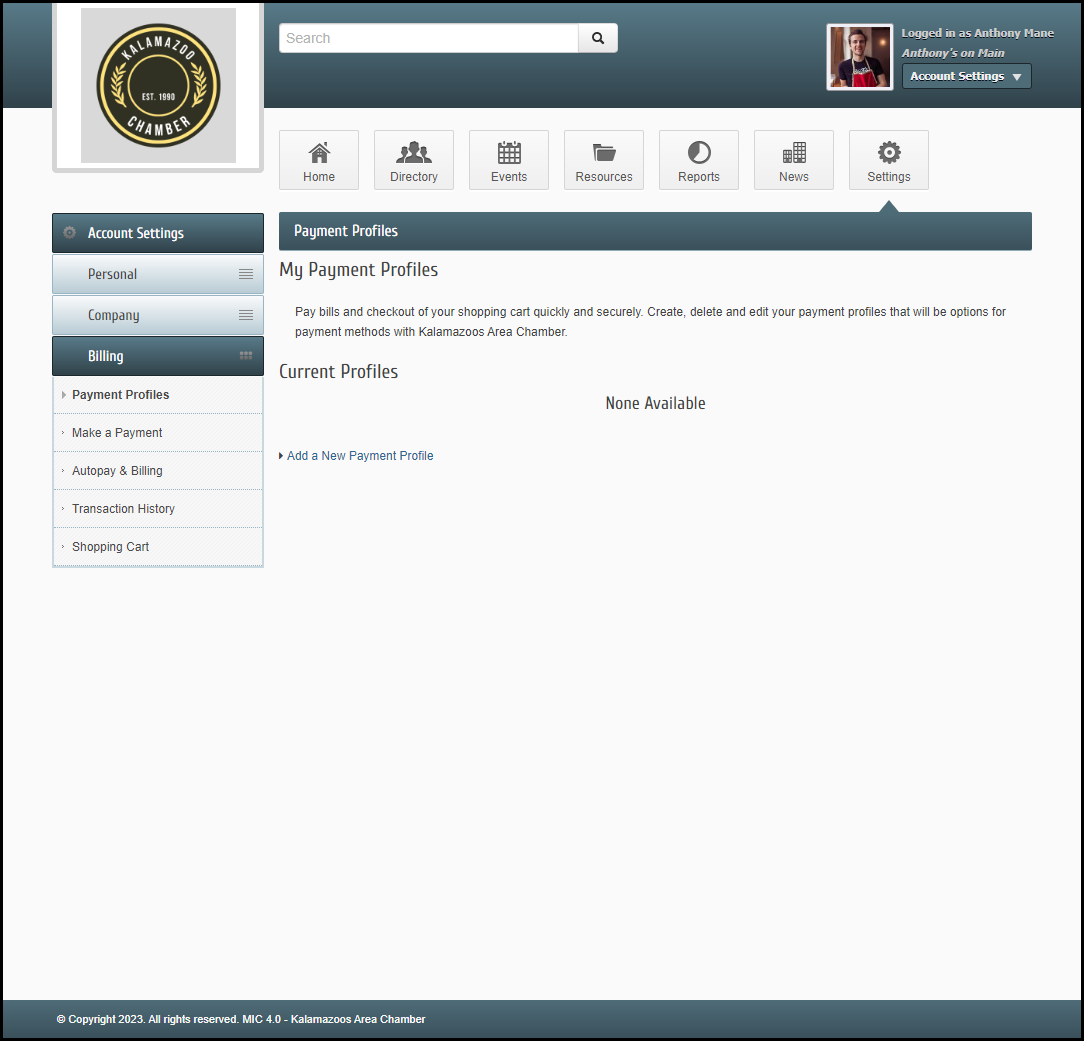
- Click Add a New Payment Profile.
-
- The Credit Card radio button is enabled by default. Enter all required credit card information.
- Click the checkbox to notify your chamber you wish to be set up for automatic payments.
- Click Add Profile.

Adding Bank Account for Autopay
- When adding a bank account as a Payment Profile, your new bank account will be listed as Un-verified on the Payment Profile menu.
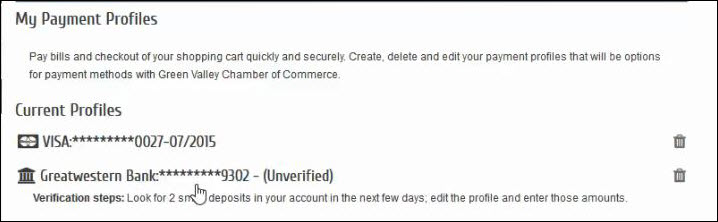
- To verify the account, be sure to look for two small deposits in your bank account. Once these deposits have been made, you can return to the MIC to complete the verification of the account.
- In the MIC, click Account Settings in the upper right.
- Click Billing.
- In the left-hand navigation panel, click Payment Profiles.

-
Click the un-verified bank account, to expand the details.
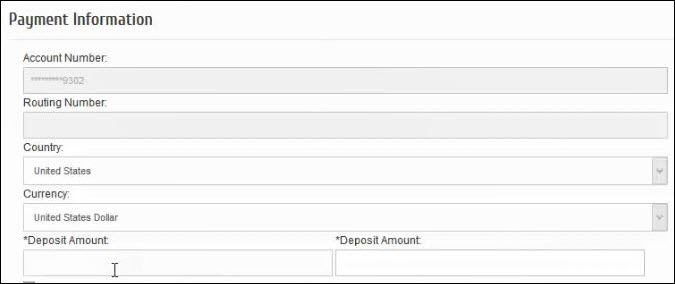
- Enter the dollar value of the two deposits in the *Deposit Amount text boxes.

- Click Update Profile. The bank account will now be available for use. Click here for a short video on verifying a bank account in the MIC.

