Add Featured Image to Your Blog Post

Blogging is just not about plain text written on a page. A good article is a combination of text, images, and other various multimedia elements like videos, charts, slides, etc.
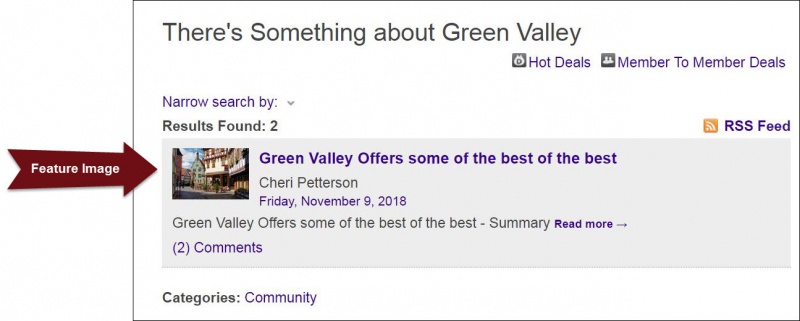
Once you have created and saved a post, you can edit the post to add a Featured Image. The featured image will display on the blog page where each post displays a summary and a link to read the full article. The image uploaded here will be cropped to fit into a square location which is consistent with the way other locations in the public pages display and use the featured image.
- Click Communication in the left-hand menu.
- Click Manage Blog in the Other Communication Tools section.

- Click the Home tab, and click the blog if you wish to add a featured image to. The Posts tab will display.

- Click the pencil icon next to the post to which you wish to add a featured image.

- In the Featured Image section, click the plus icon.

- Select a previously uploaded file from the list, or click Upload to select a new file.
- Crop the image as needed, then click Crop & Save.
- Click Close.
- Click Save.

