When an order is placed, an email notification is sent to the Store Owner's address. This initially defaults to the address listed under Setup > Organization Information. The email template and associated settings can be found under Content Management > Message Templates. Edit the template called “OrderPlaced.StoreOwnerNotification”
- Click eCommerce in the left-hand menu.
- Click the Sales tab.
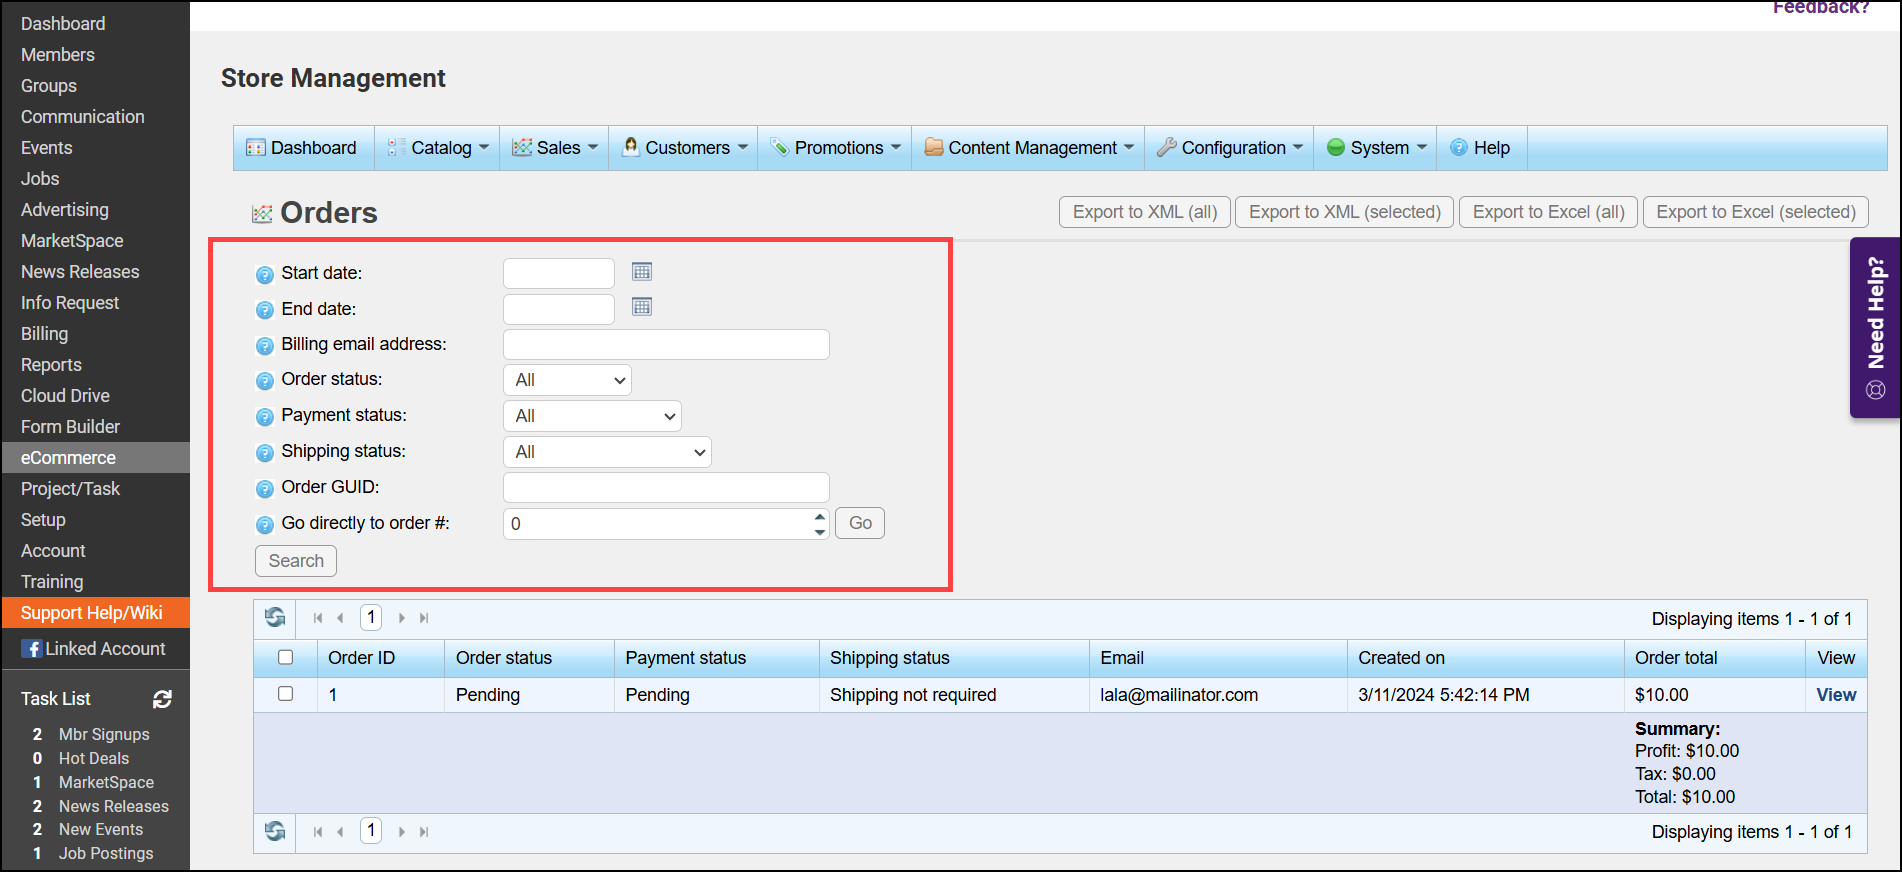
- Click Orders. Filtering options include:
-
Go directly to order number: This option allows you to enter the order number and click Go to display the required order.
-
Shipping Status: Select a specific shipping status to search by All, Shipping not required, Not yet shipped, Partially shipped, Shipped, Delivered.
-
Payment Status: Select a specific payment status to search by All, Pending, Authorized, Paid, Refunded, Partially Refunded, or Voided. NOTE: All orders will be paid by credit card.
-
Order Status: Select one of the following: All, Pending, Processing, Complete, or Cancelled.
-
Billing email address: Use this filter option to search for a specific order based on the customer's email address.
-
Start Date and End Date: use this filtering option to view orders placed with a specific date range.
-
-
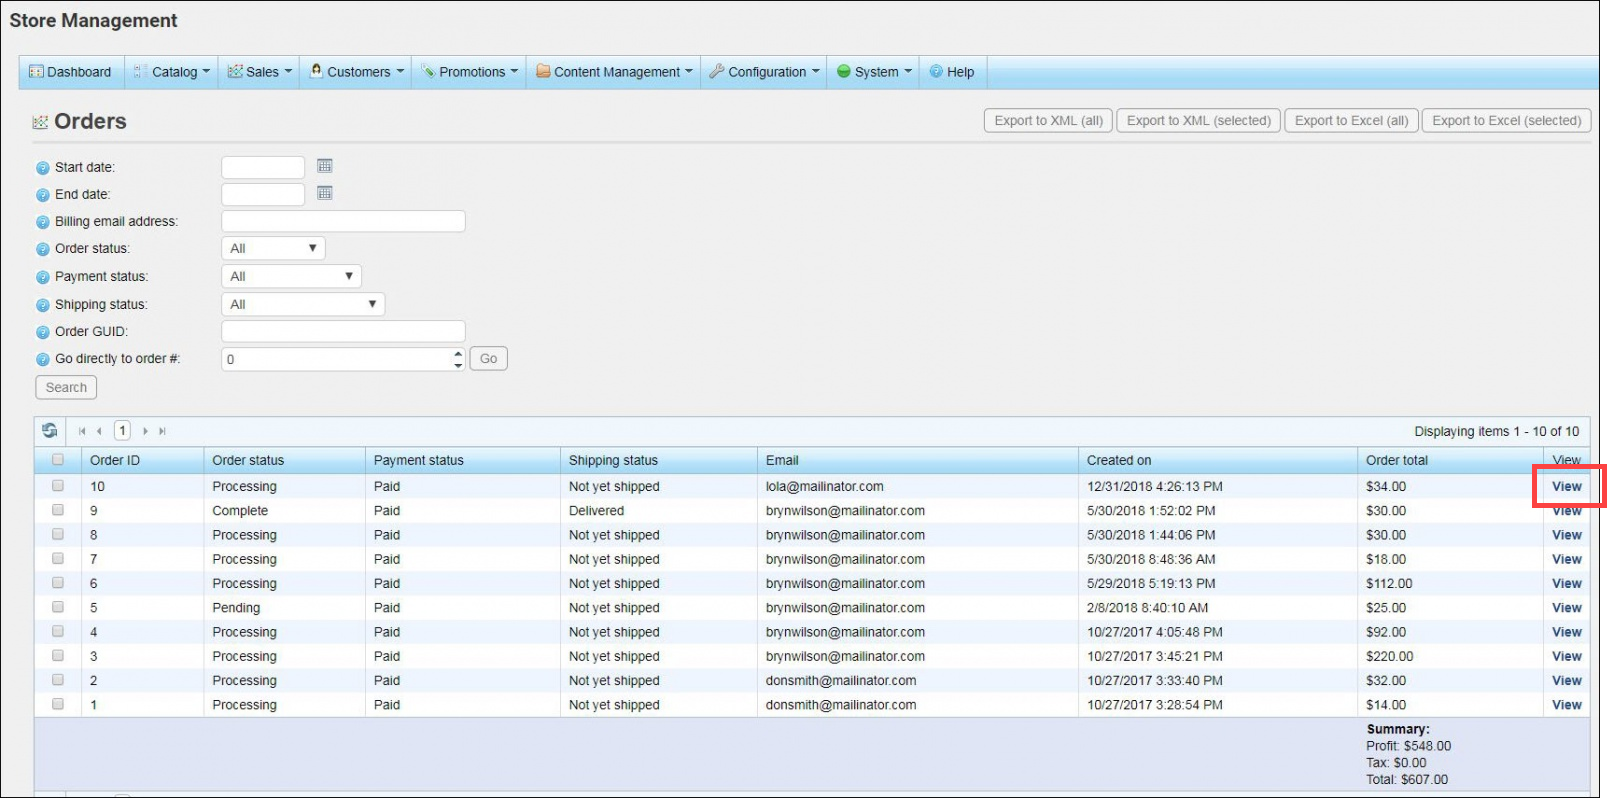
Click View in the row of the item that you wish to process.
-
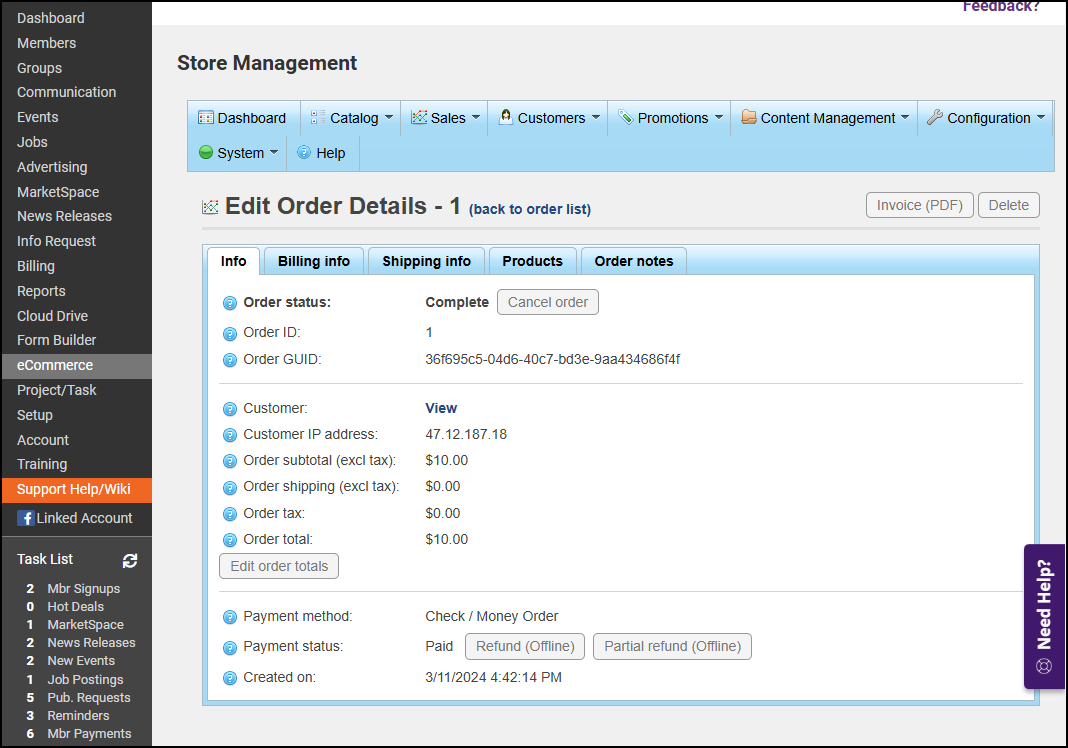
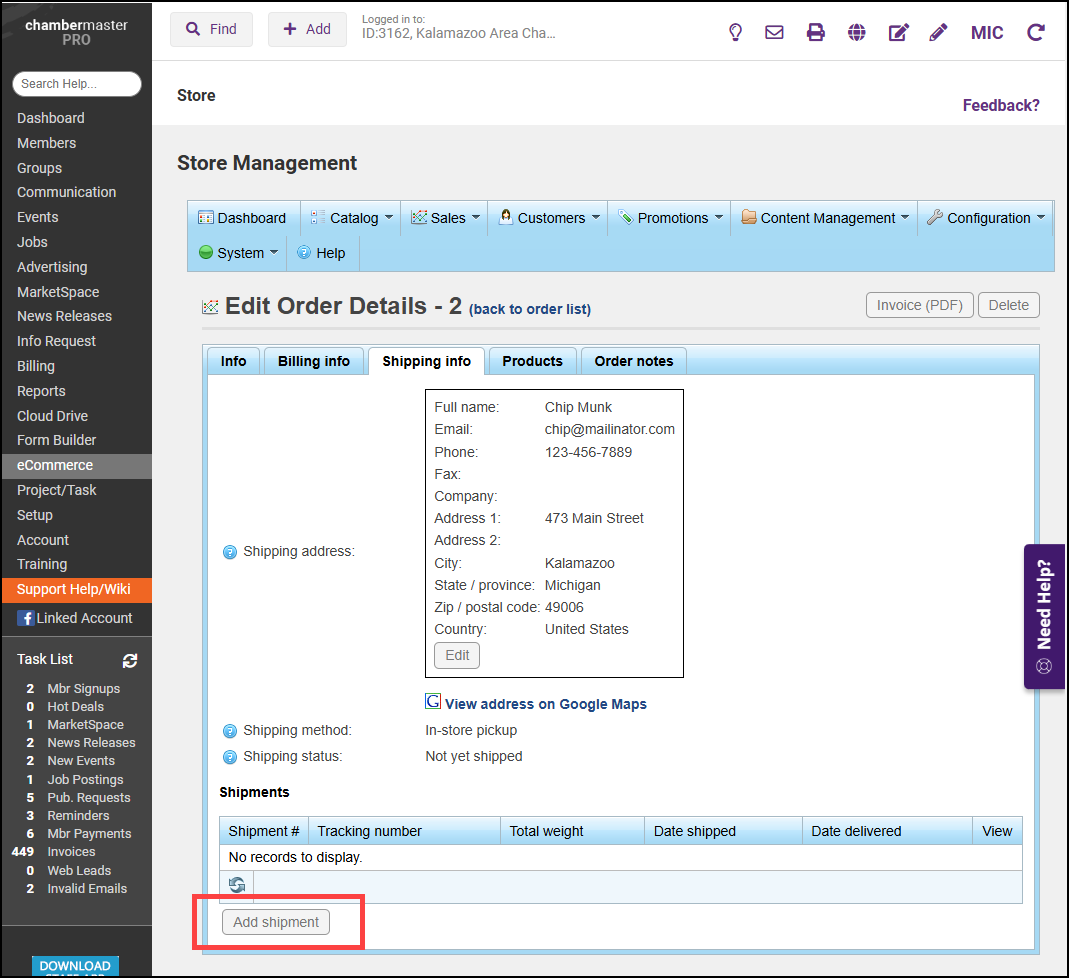
Review the order information on the Info tab.
-
On the Shipping info tab, select Add shipment.
-
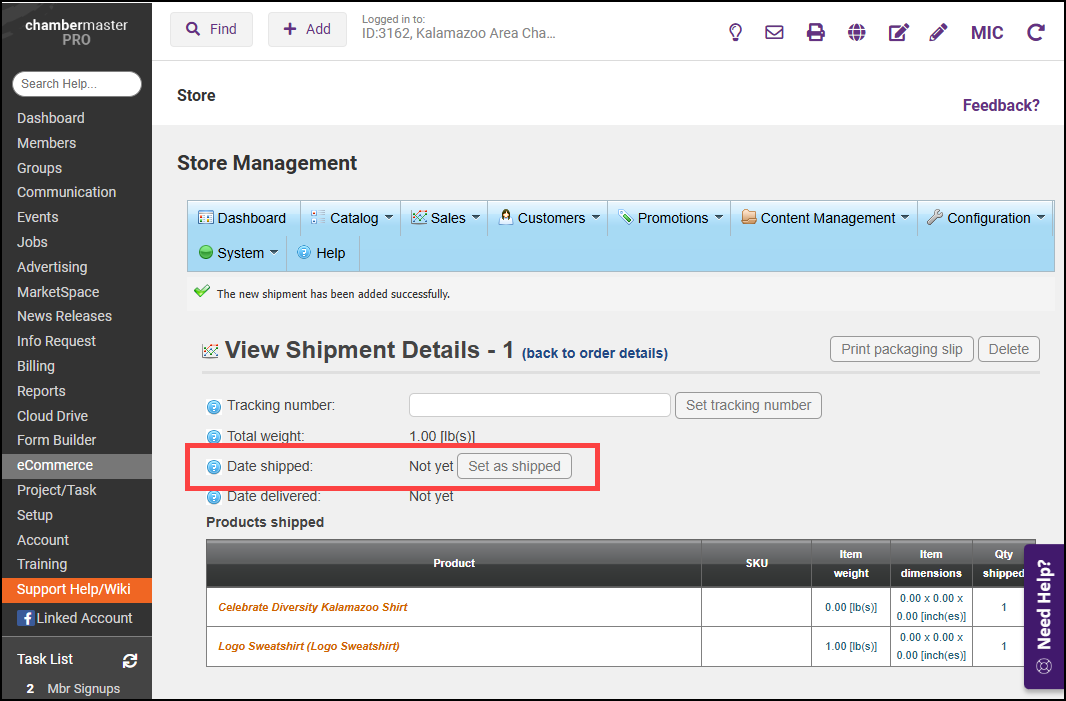
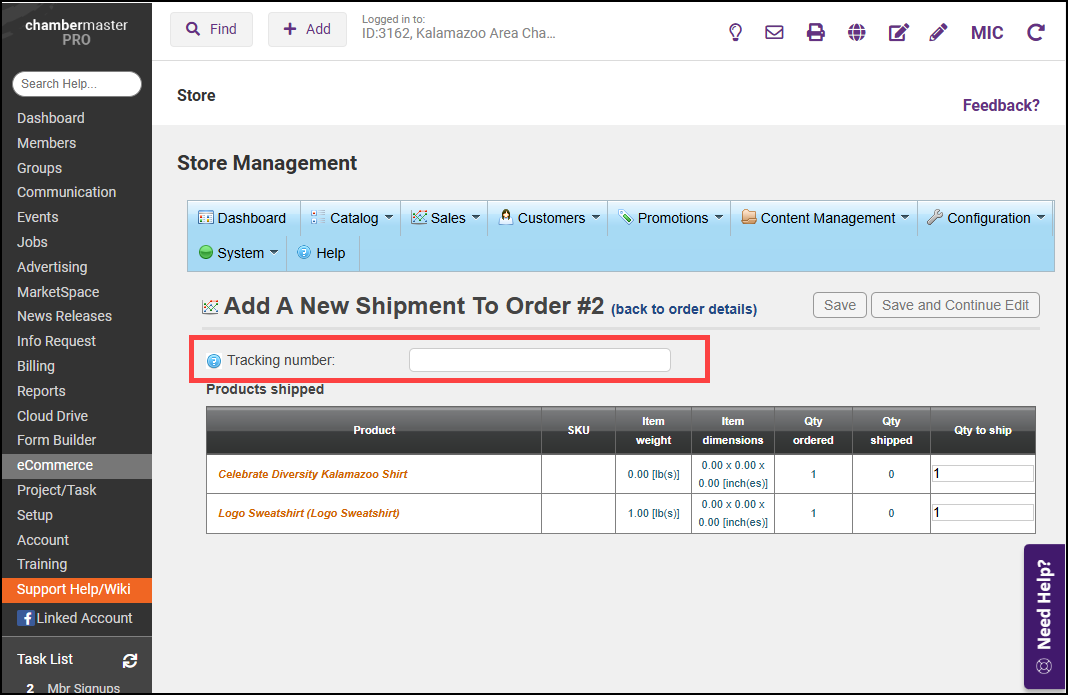
Enter the Tracking number information for the package. This tracking number is also visible to customers if they decide to check their order status by logging into the storefront.
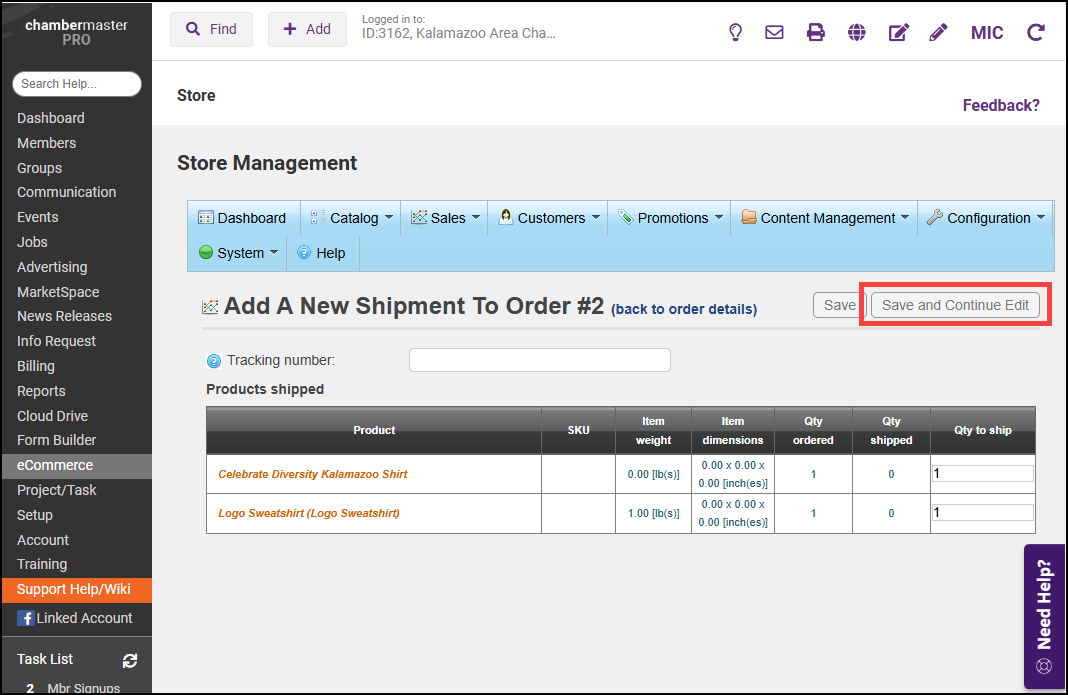
- Click Save and Continue.
- Select the Set as shipped button to record the date and time of shipment. This cannot be edited. NOTE: An email notification (ShipmentSent.CustomerNotification) is automatically sent to the purchaser when this date is set and the email is marked as active.