Click here for a short video on how to process an order. When an order is placed, an email notification is sent to the Store Owner's address. This initially defaults to the address listed under Setup > Organization Information. The email template and associated settings can be found under Content Management > Message Templates. Edit the template called “OrderPlaced.StoreOwnerNotification”
- Click eCommerce in the left-hand menu.
- Click the Sales tab.
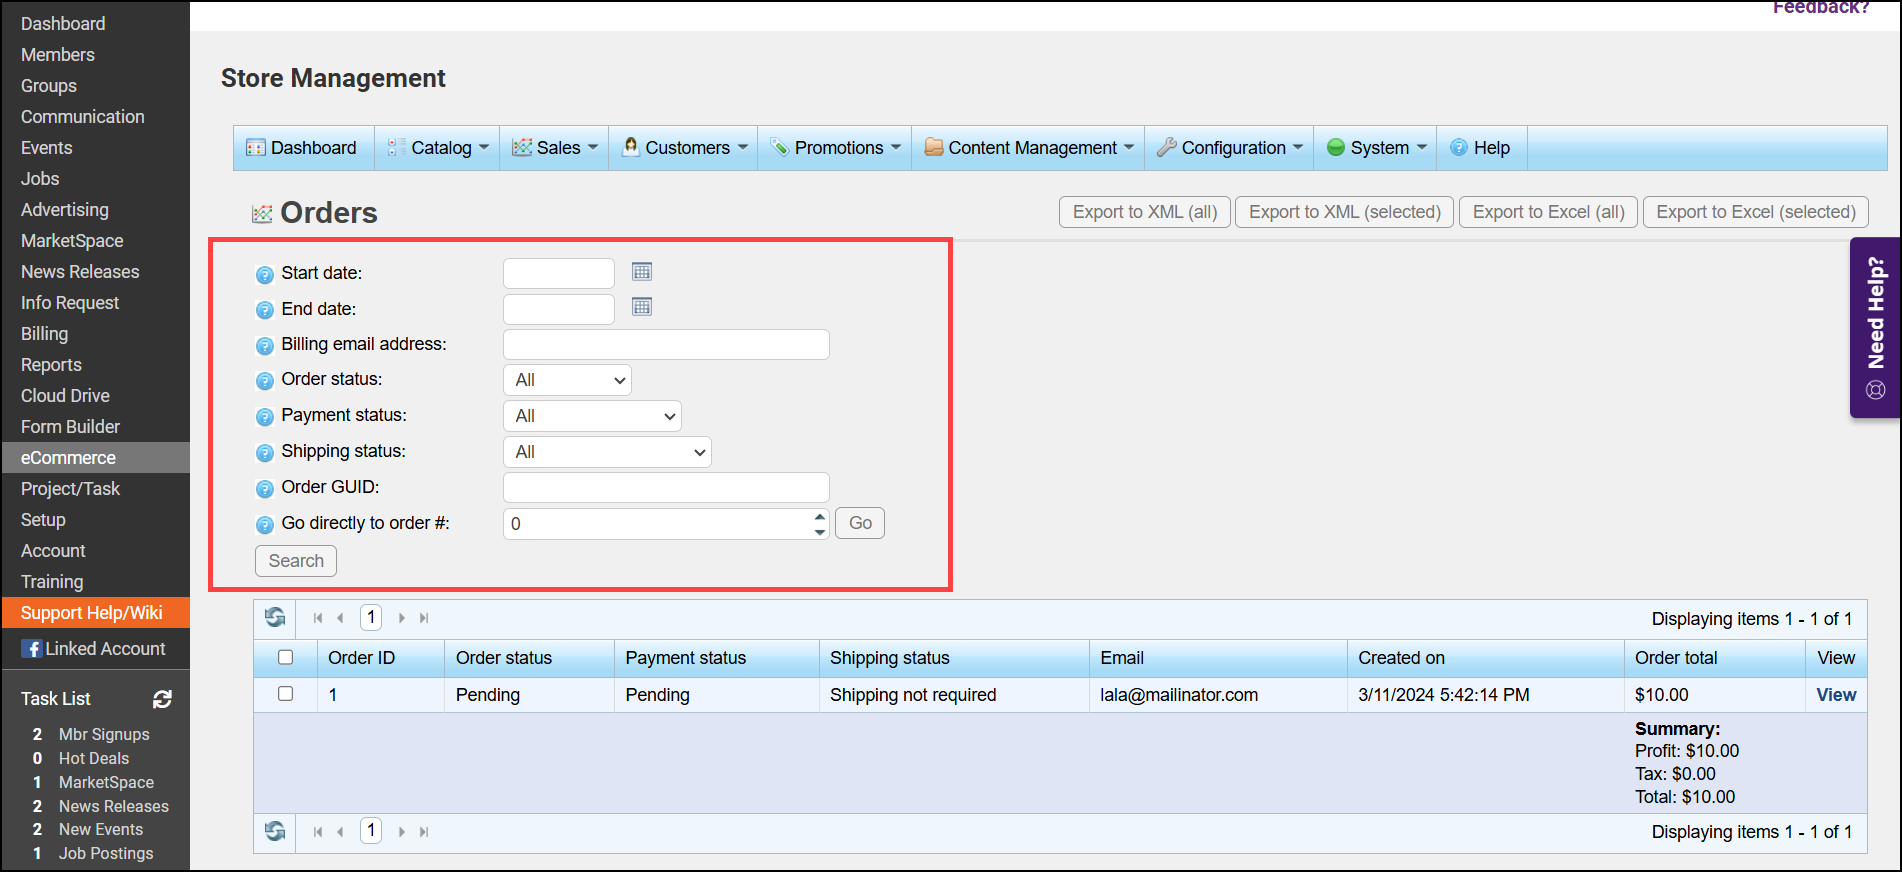
- Click Orders. Filtering options include:
-
Go directly to order number: This option allows you to enter the order number and click Go to display the required order.
-
Shipping Status: Select a specific shipping status to search by All, Shipping not required, Not yet shipped, Partially shipped, Shipped, Delivered.
-
Payment Status: Select a specific payment status to search by All, Pending, Authorized, Paid, Refunded, Partially Refunded, Voided. NOTE: All orders would be paid by credit card.
-
Order Status: Select one of the following: All, Pending, Processing, Complete, or Cancelled.
-
Billing email address: Use this filter option to search for a specific order based on the customer's email address.
-
Start Date and End Date: use this filtering option to view orders placed with a specific date range.
-
-
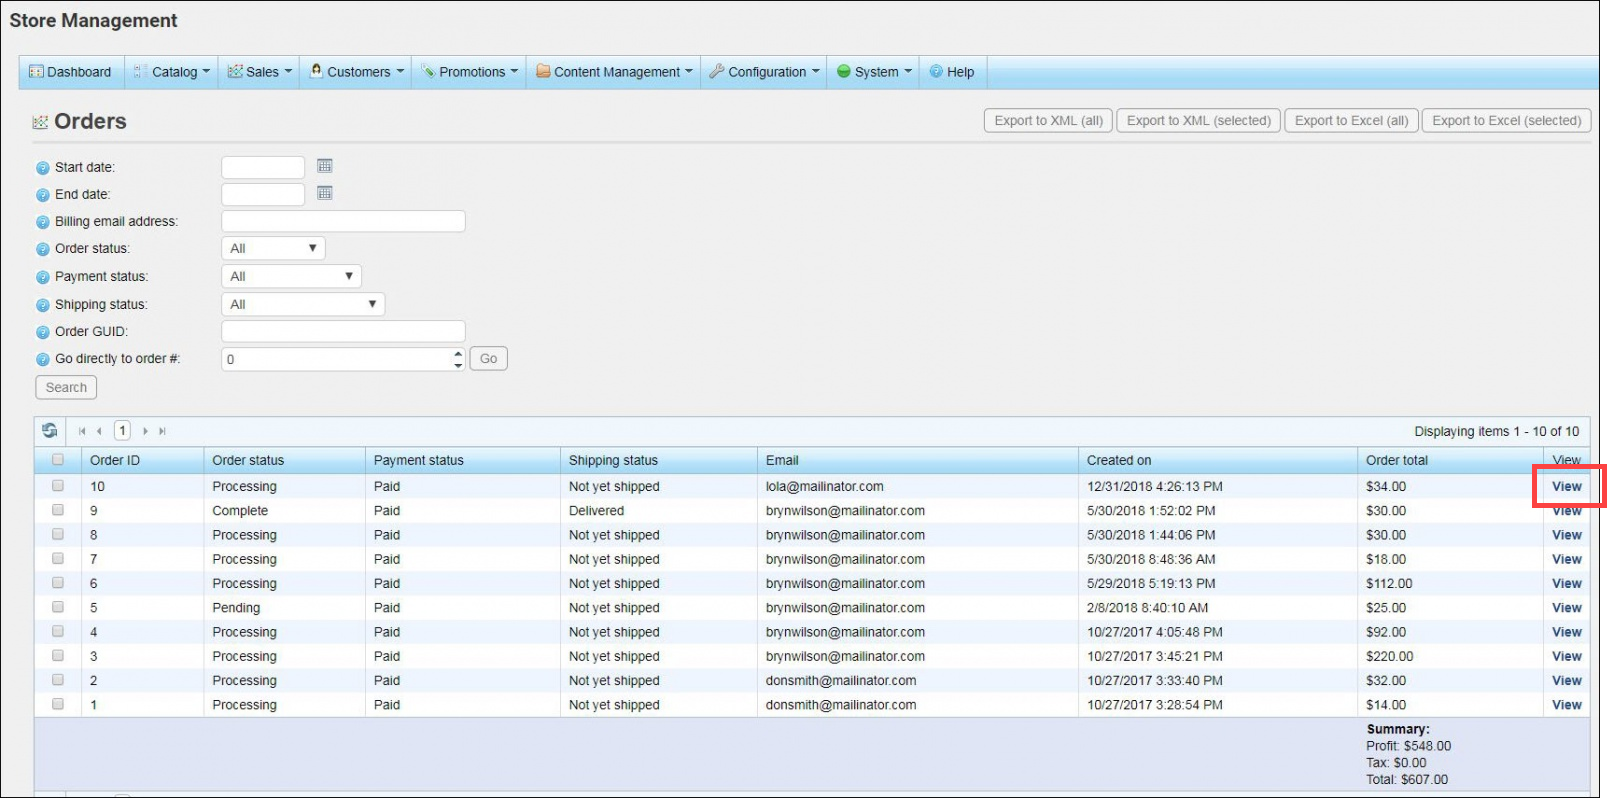
Click View in the row of the item that you wish to process.
-
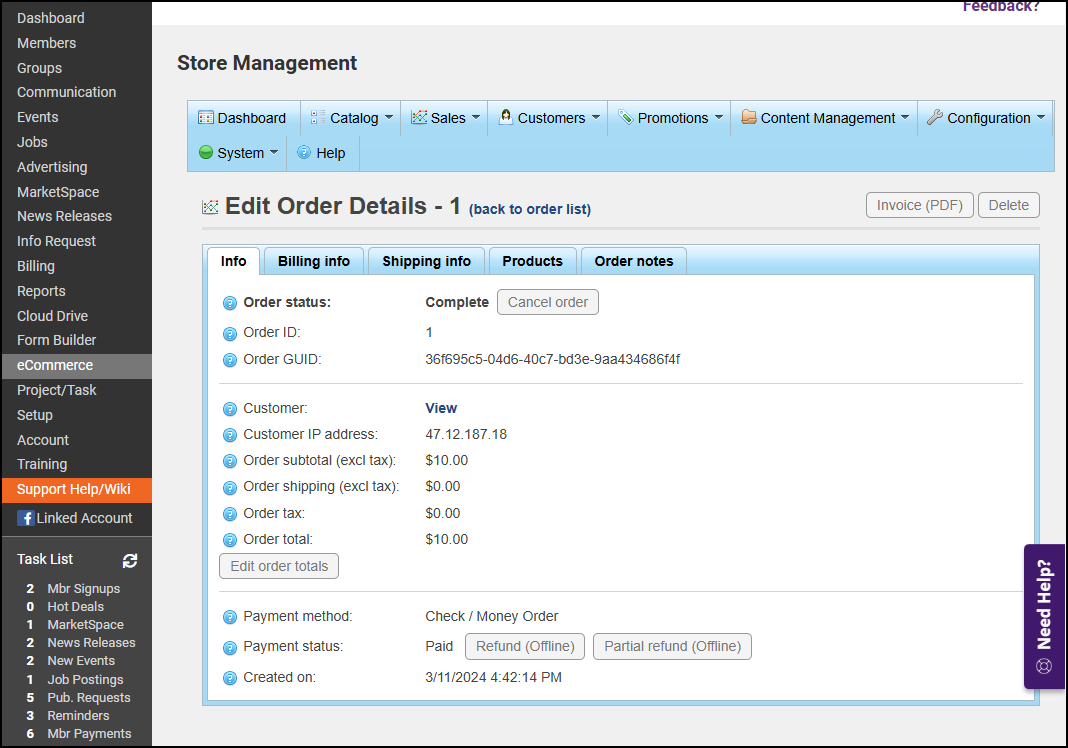
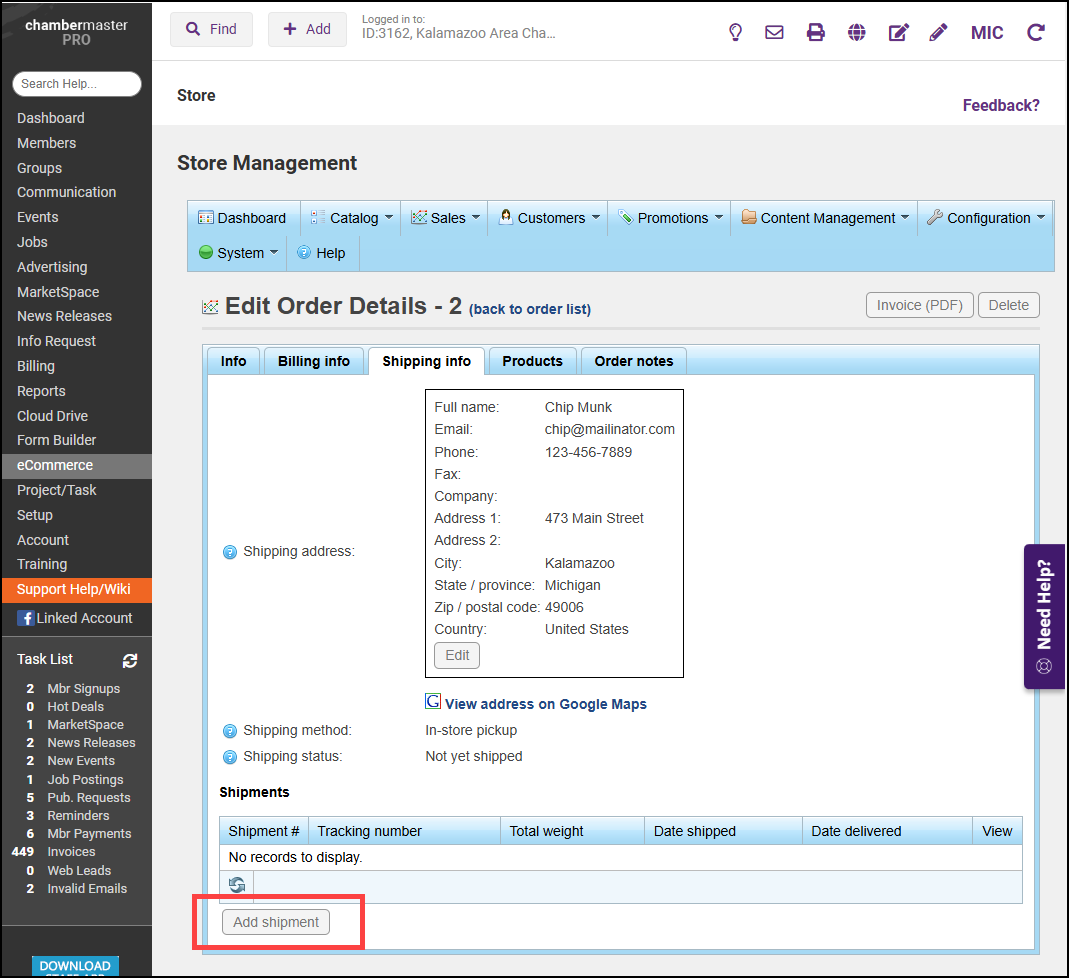
Review the order information on the Info tab.
-
On the Shipping info tab, select Add shipment.
-
Enter the Tracking number information for the package. This tracking number is also visible to customers if they decide to check their order status by logging into the storefront.
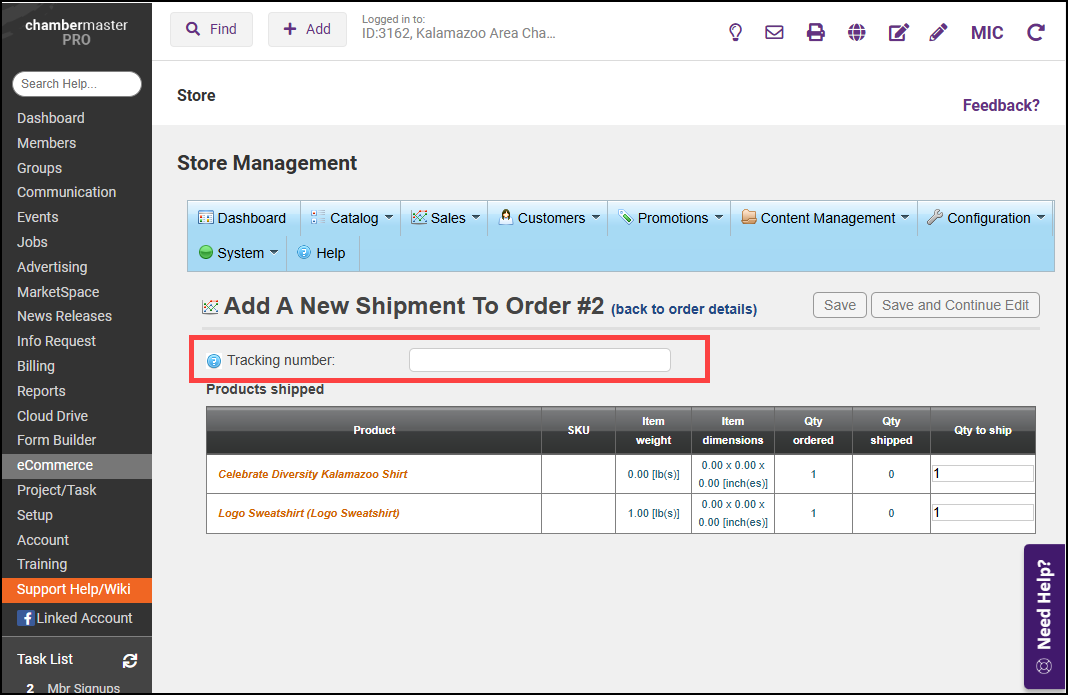
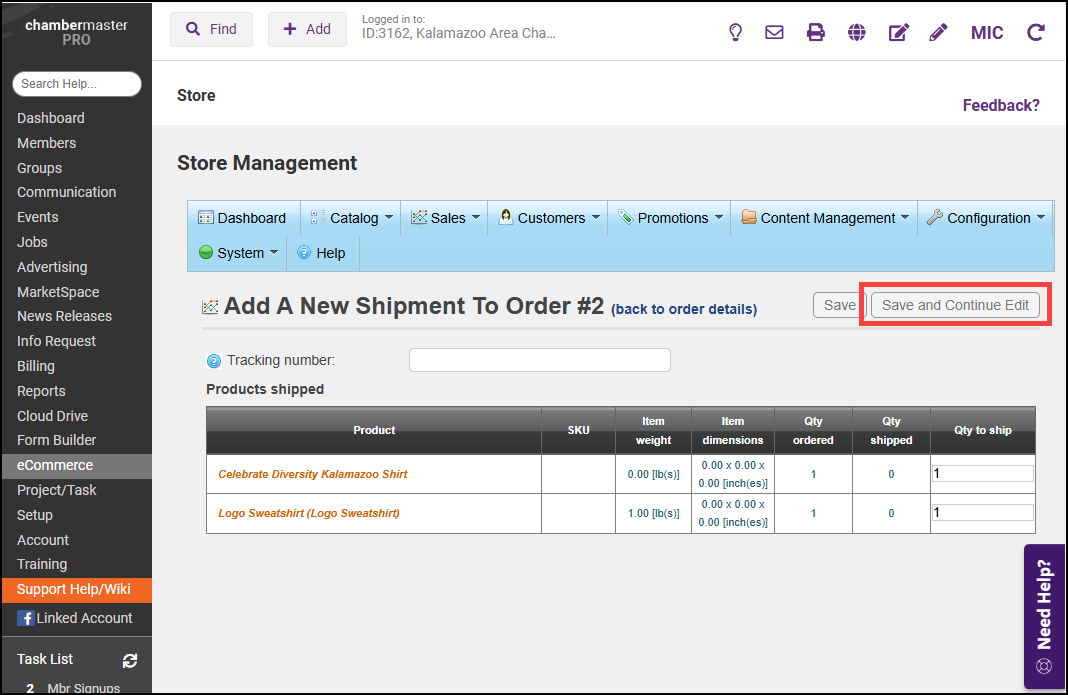
- Click Save and Continue.
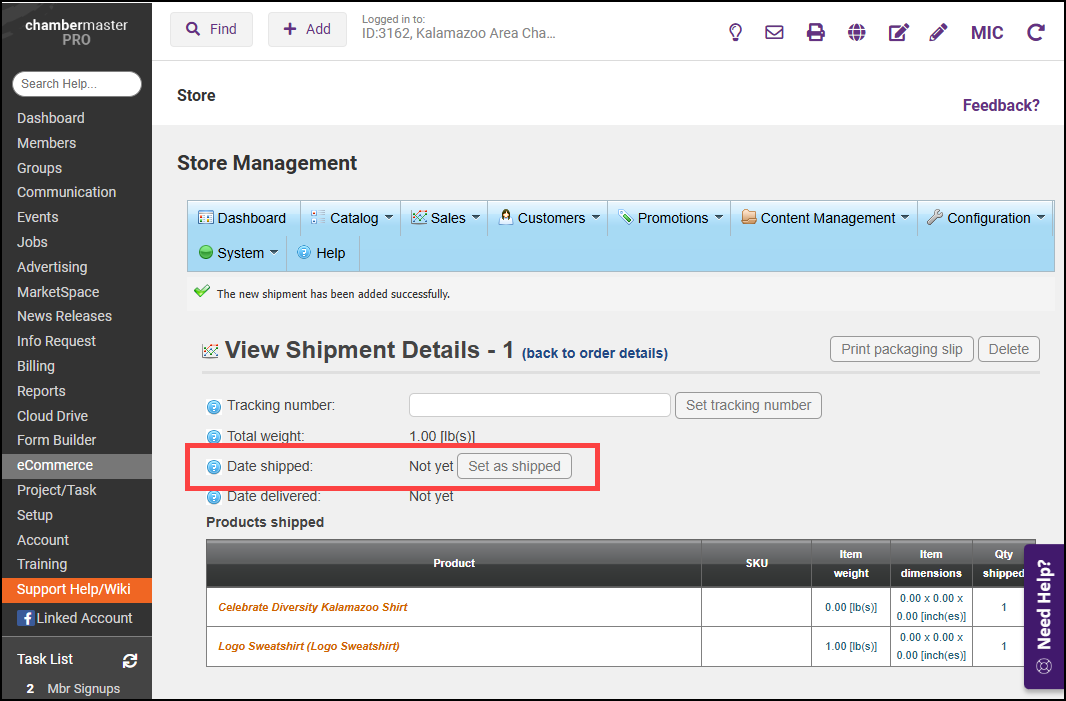
- Select the Set as shipped button to record the date and time of shipment. This cannot be edited. NOTE: An email notification (ShipmentSent.CustomerNotification) is automatically sent to the purchaser when this date is set and the email is marked as active.