Manage Rep Group Participation

Member representatives may be grouped together to assist office staff in working with these reps as one entity. For instance, a task force designed to work with technology may belong to a group named Technology Task Force. When a mailing goes out to these individuals, you may select the Technology Task Force group and generate mailing labels specifically for these members. These groups are created in the Groups module. Once created, reps may be assigned to these groups either in the Groups module or in the Members module on the Reps tab. See Disable a Rep Within a Group for more information.
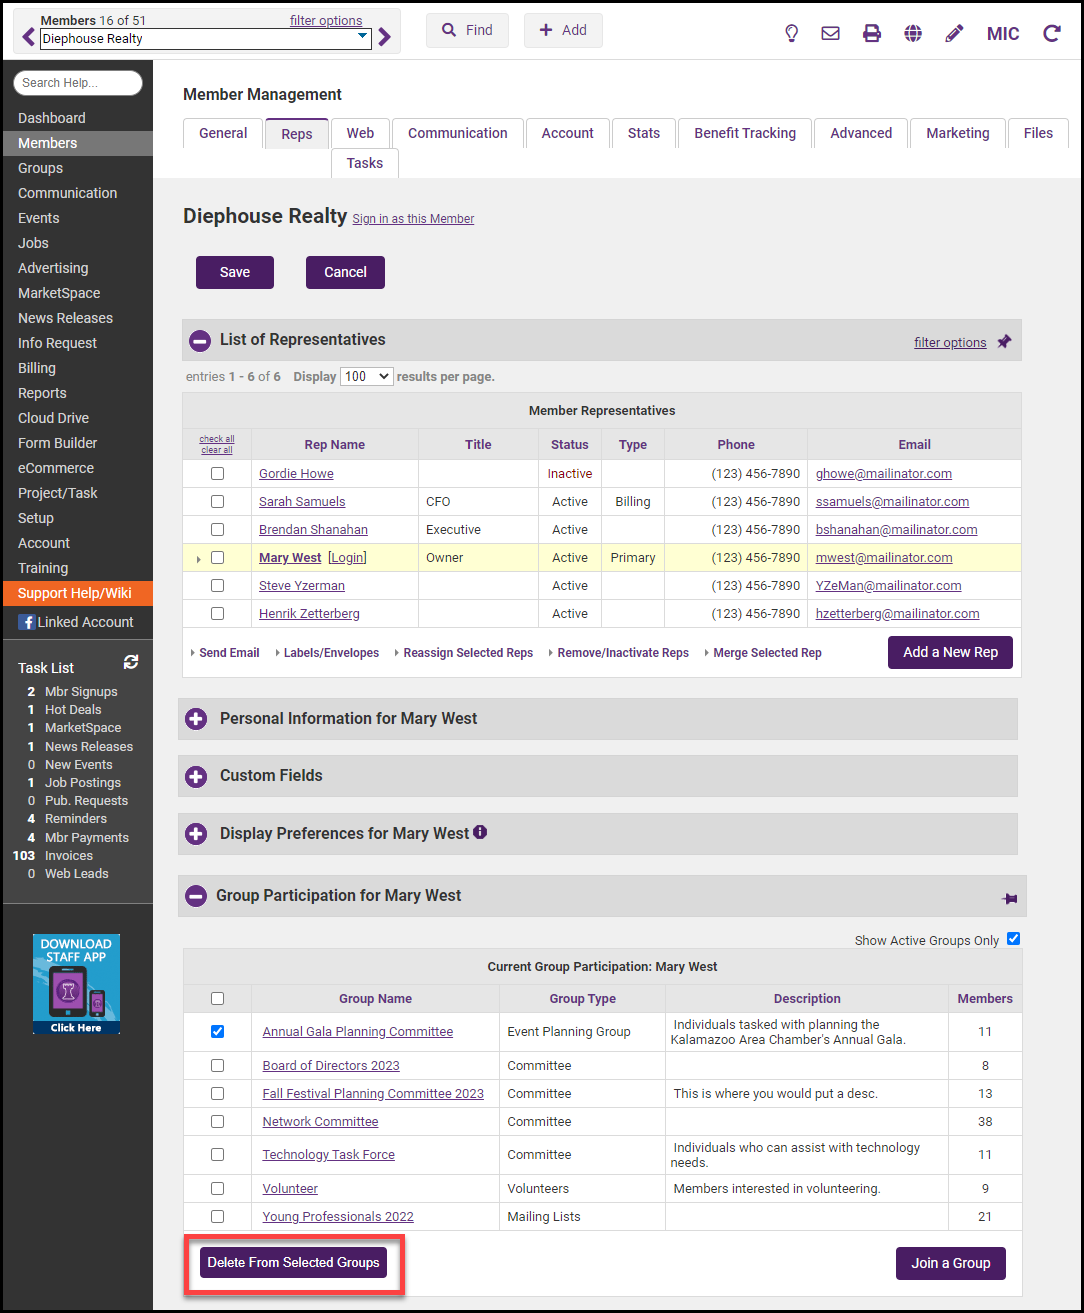
- On the member's Reps tab, click the desired rep’s name in the List of Representatives area. The selected row will show in yellow and the name selected will be bold.
- Click Join a Group in the Group Participation area.
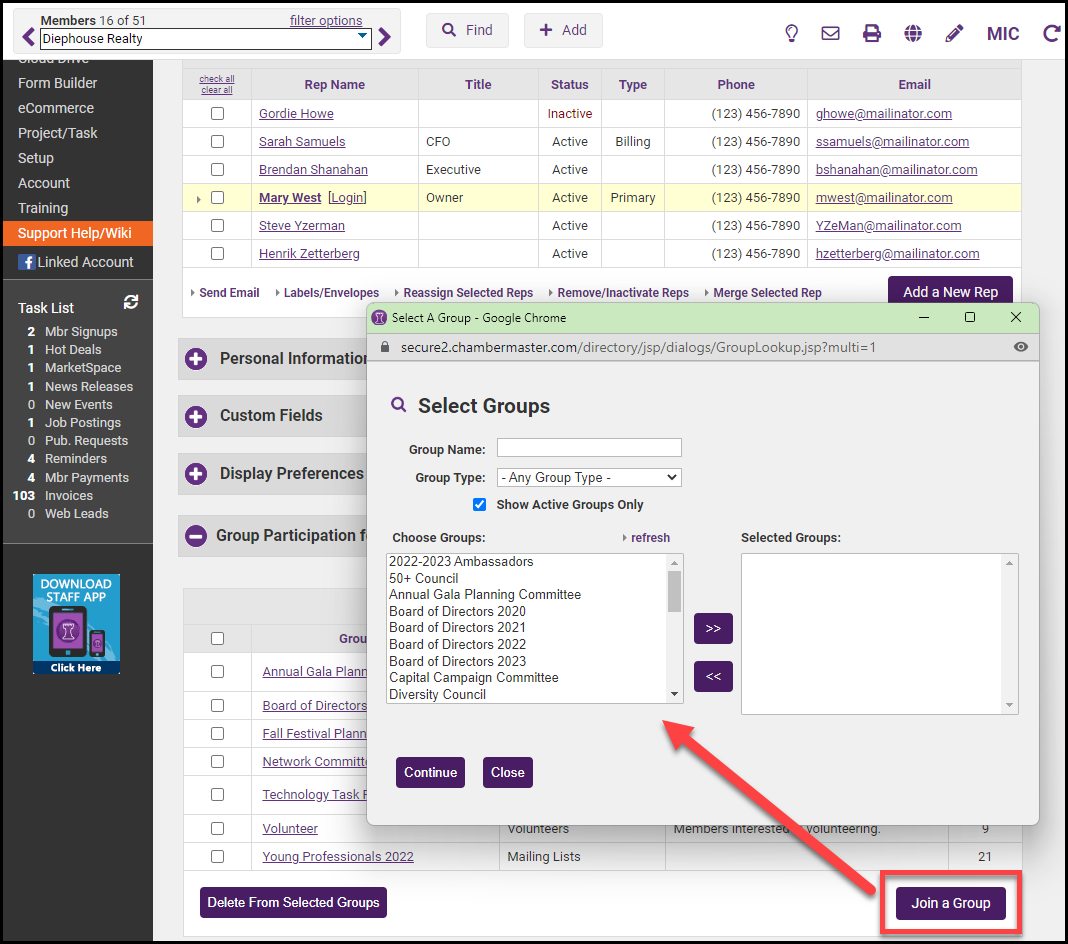
- Click the desired group name in the Choose Groups list.
- Click the top double-headed arrow to move the desired group to the Selected Groups list. Select Continue.
-

Remove Rep from a Group
|
|
NOTE: It's recommended to Disable a Rep Within a Group rather than remove the rep from the group. Disabling the rep within the group is a good way to maintain any historical data associated with groups that a rep has participated in but does not include in mailings at this time. |
- On the member's Reps tab, click the desired rep’s name in the List of Representatives area. The selected row will show in yellow and the name selected will be bold.
- Click to select the check box in front of the Group Name that you wish to remove.
- Click Delete from Selected Groups and select OK.