Information in these fields will be the default business information displayed within your software and on certain integrated web pages. This information should be populated on the initial setup of your database, and anytime your contact information (address, email, etc.) or your logo changes.
- Click Setup in the left-hand navigation bar.
- Click Association Information in the Association Options area.
-
- Edit the desired fields on the General Association Information screen.
- Ensure your association's name and address are complete and accurate. This address is used where addresses are automatically pulled from the database. For example - it will be used on the default invoice template.
- Select the correct country and time zone.
- Update your phone numbers and website.
- Enter your association's generic email address. NOTE: This email is used when automatic emails are sent from the database as the from address, as well as when your organization's email is merged as a database field, such as on invoice templates.
- Upload your association's logo for display at various places through the software. See Upload Your Logo for details.
- Click Save.
Your association logo will appear in designated areas throughout your integrated website and in the Member Information Center if you have it uploaded. If using Integrated Billing, it will also display automatically on default Invoice templates.
- Click Setup in the left-hand menu.
- Click Organization Information.
- Click the + (plus sign) in the Business Logo area.

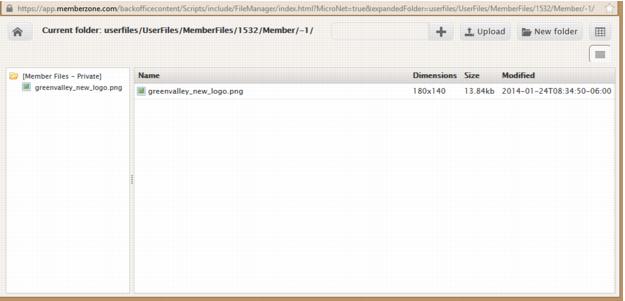
- Click the + (plus sign) to browse your drive for the desired image.
Note: The folder path that is displayed here is not significant and is not accessible at this time at any other location in the software. Future plans are that these images should be accessible at a common location so they can be used throughout the software. This folder is not visible in the Cloud Drive at this time. You are not able to navigate to any other folder from this location.

- Once you’ve selected (clicked) the desired image, click Upload.
- Click OK on the successful message.

- Click the desired image Name in the list.
- Click Select.

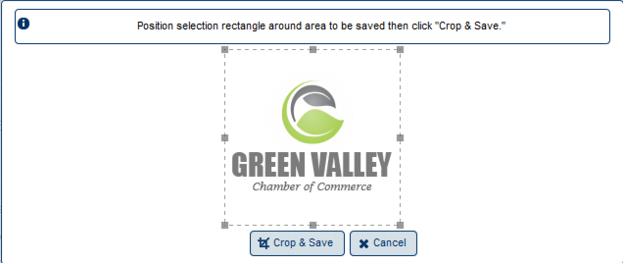
- Position the selection window around the area of the image that you’d like displayed.
- Click Crop & Save.
- Click Save Changes.


