
Quickly post an event on behalf of one of your members using the StaffApp. Events added via the StaffApp are automatically approved.
NOTE: You can then enhance the event page with additional photos, fees, etc. from the back office.
-
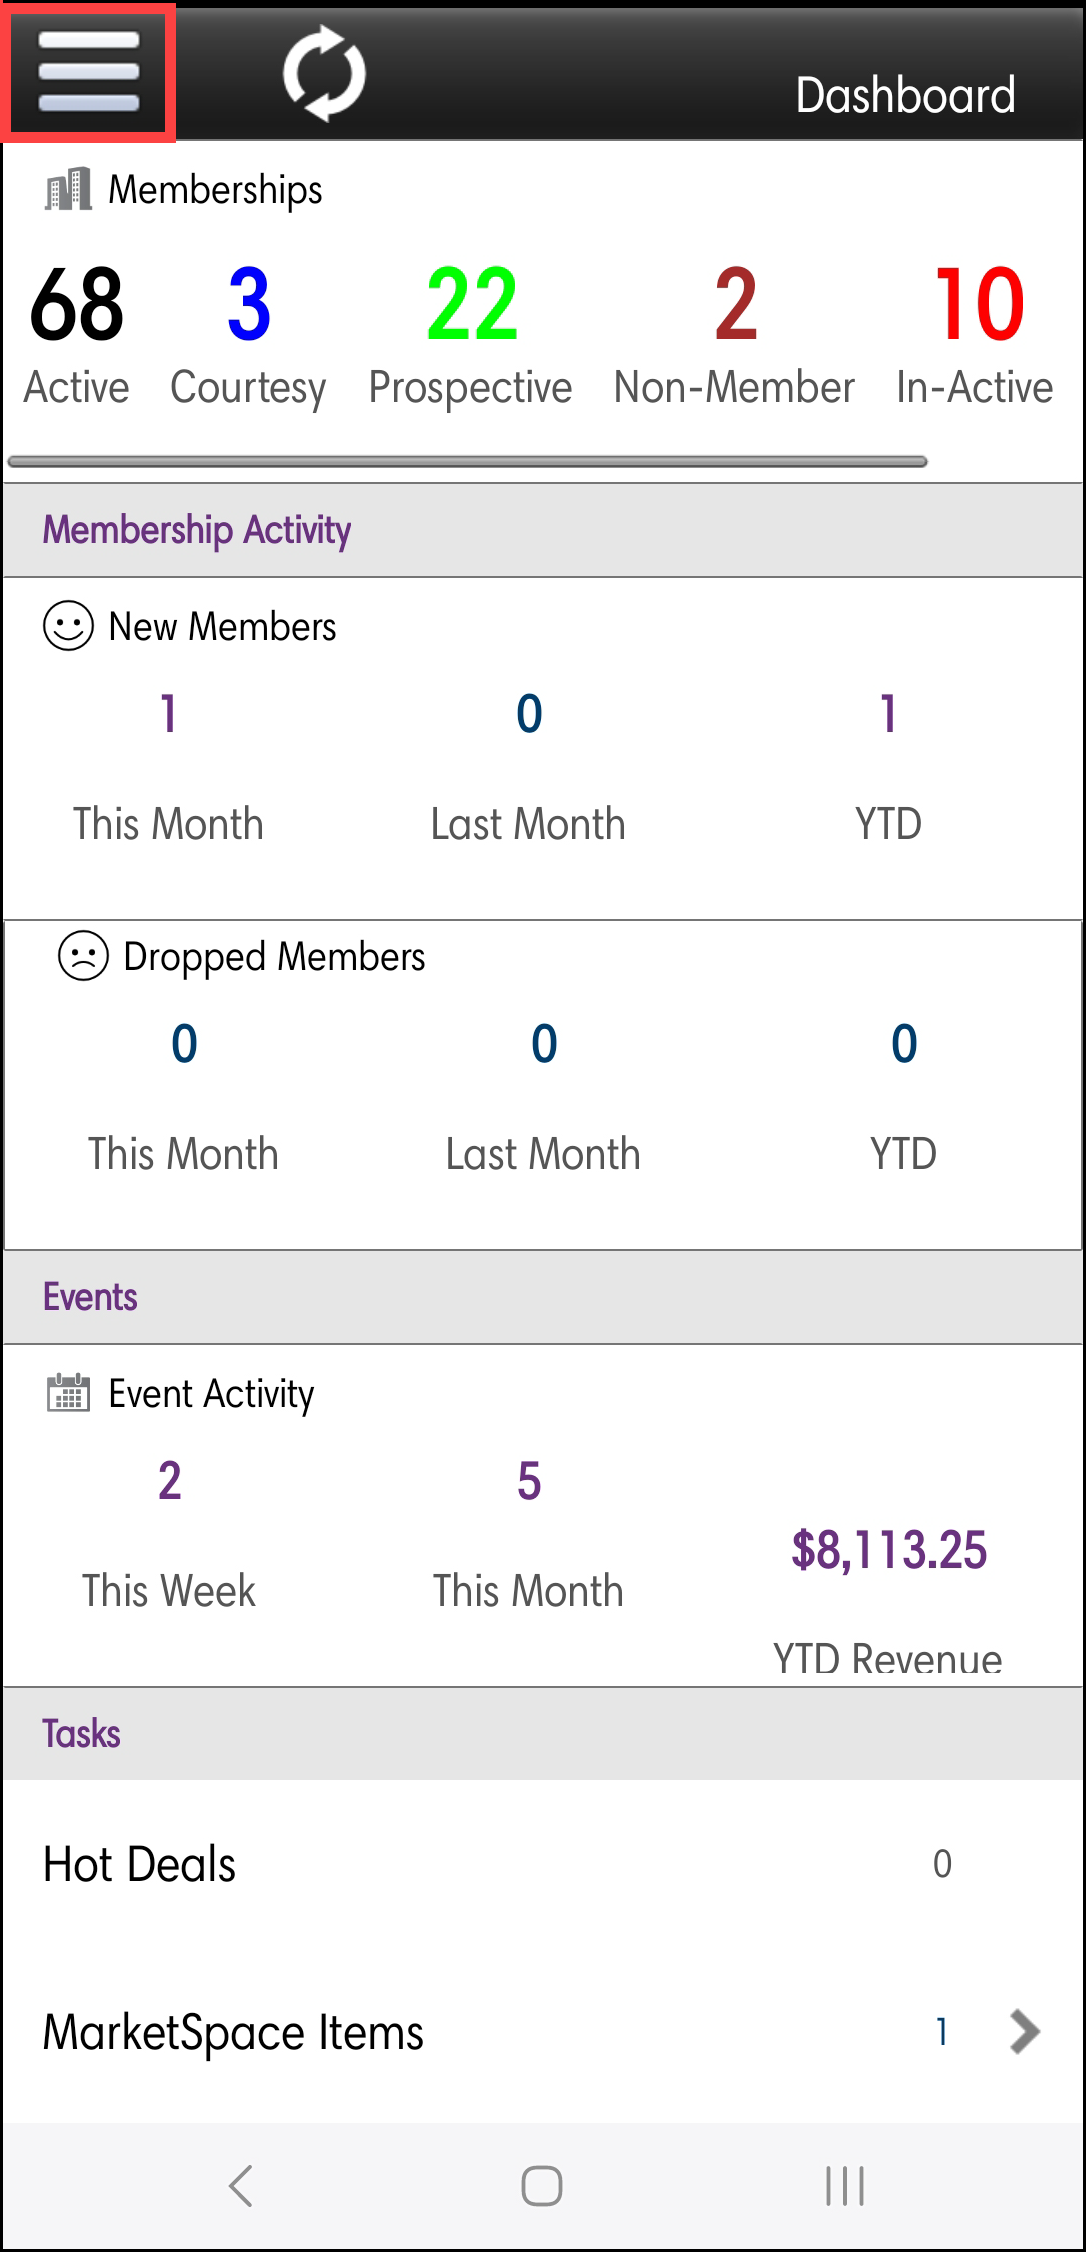
Select the navigation menu in the upper left-hand corner.
-
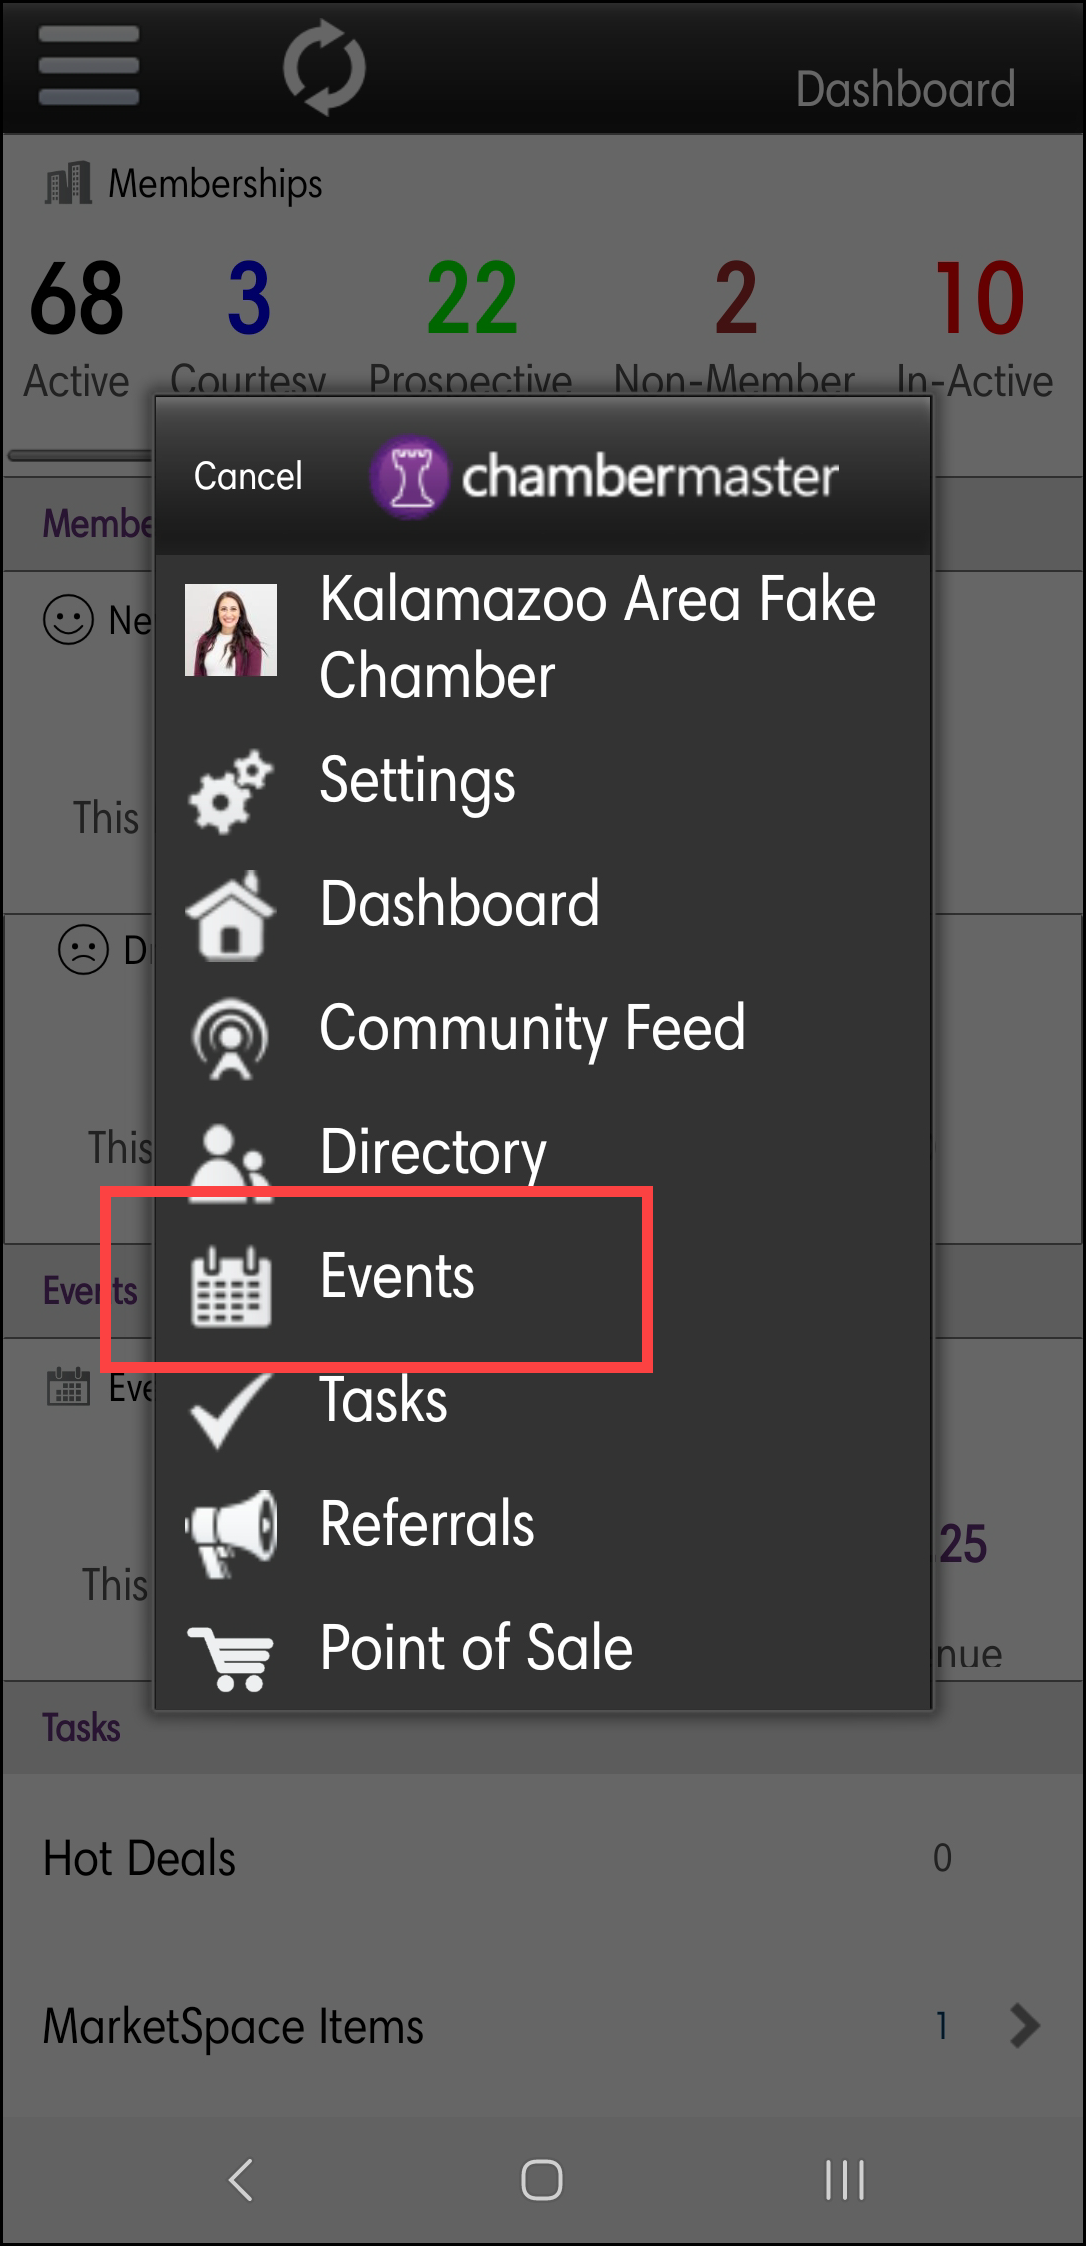
Select Events.
-
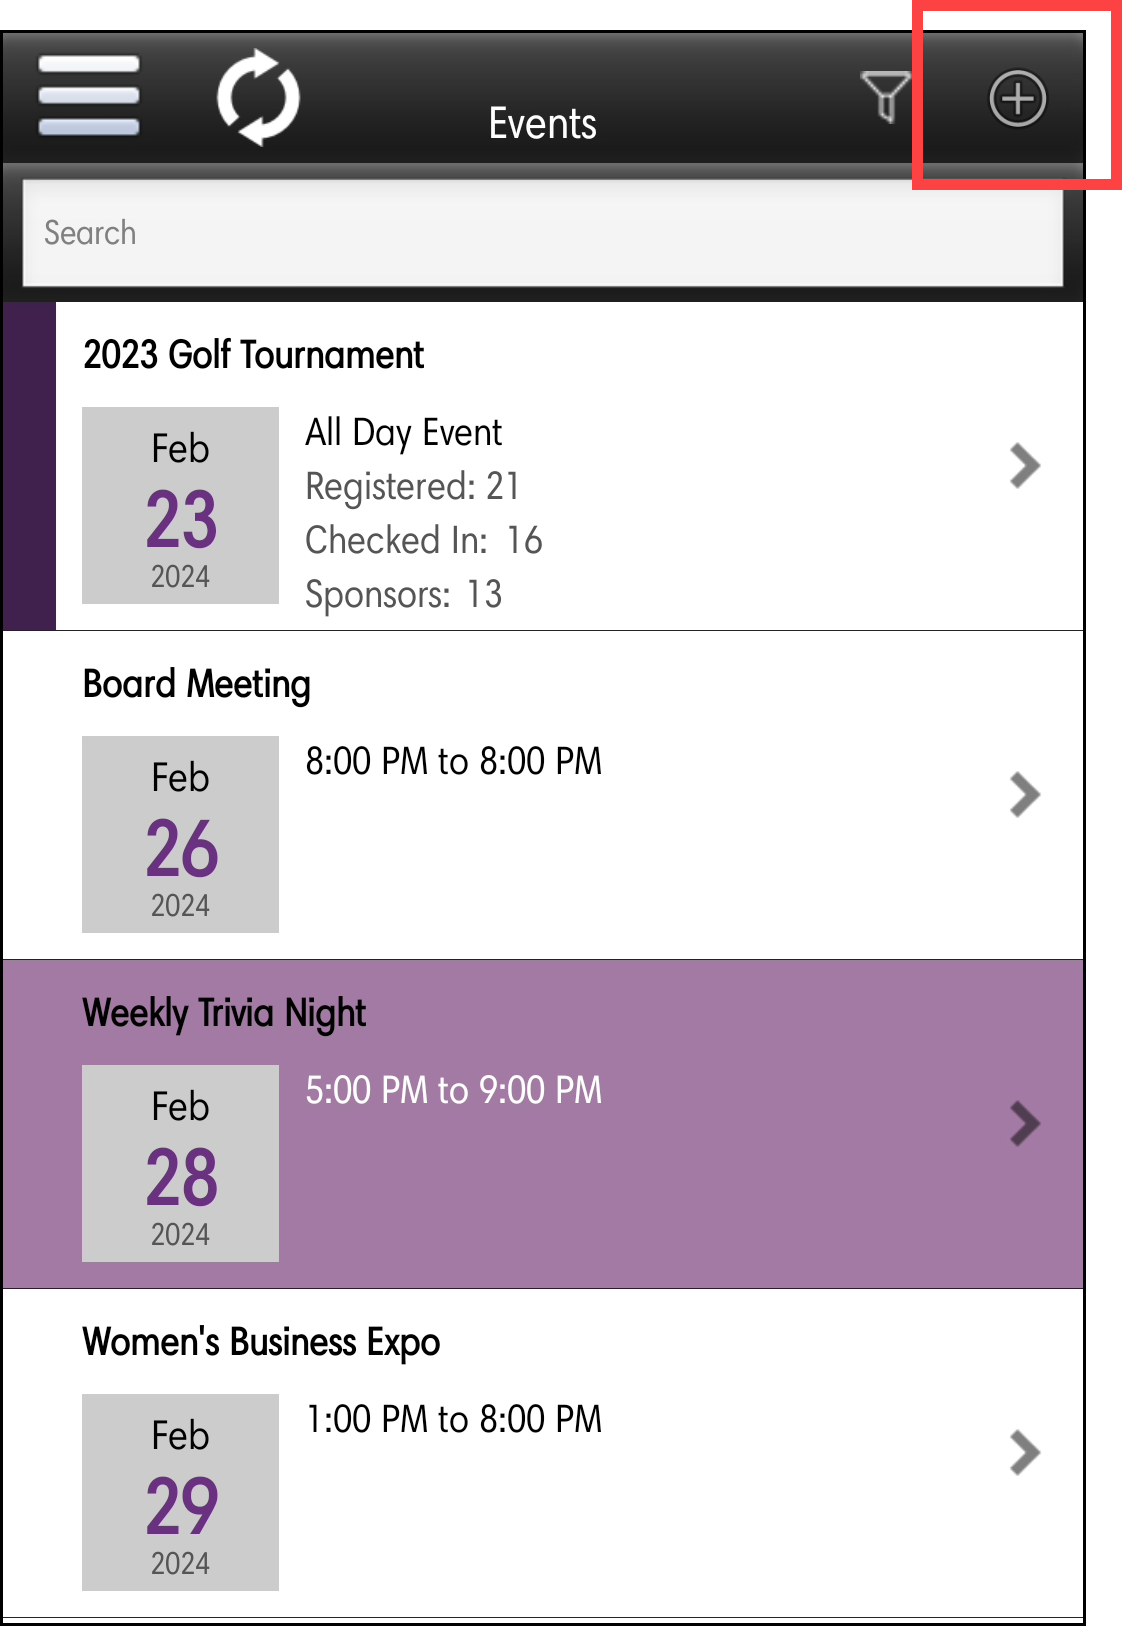
Select the plus sign.
-
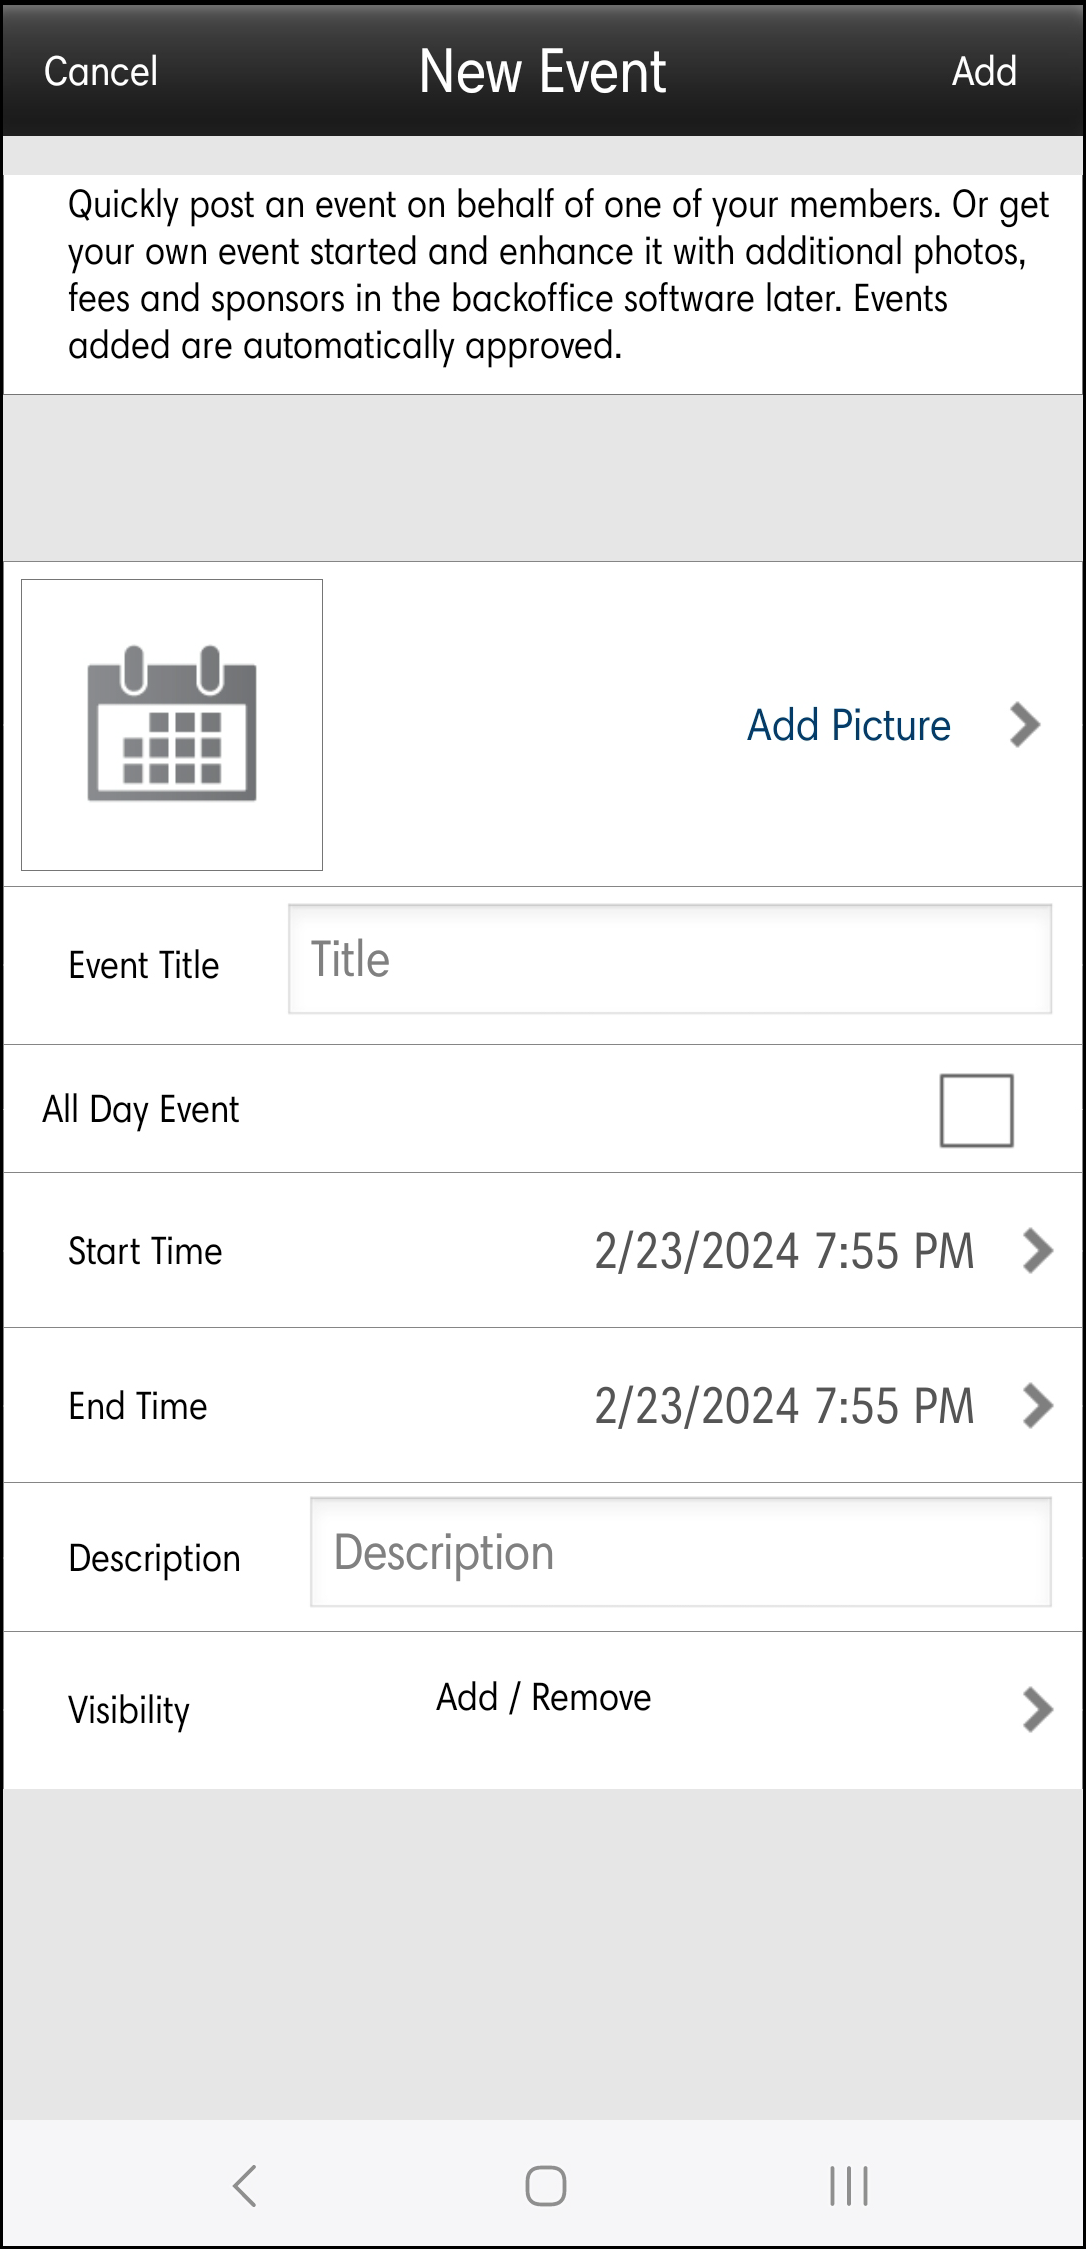
Configure the following:
-
Add Picture: Click the > to take a photo, or select from the existing photos on your device.
-
Event Title
-
Start Time/End Time: Enter the start and end dates of the event or move the All Day Event slider to the right.
-
Visibility: Click Add/Remove to select the calendars on which you wish to display this event.
-
Description: Enter a description of the event.
-
-
Click Add. Further details for the event can then be configured in the back office.

