Manage Invitee List

After you have created and sent invitations for your event, you can register an invitee, decline the invitation on their behalf, and add a comment via the back office.
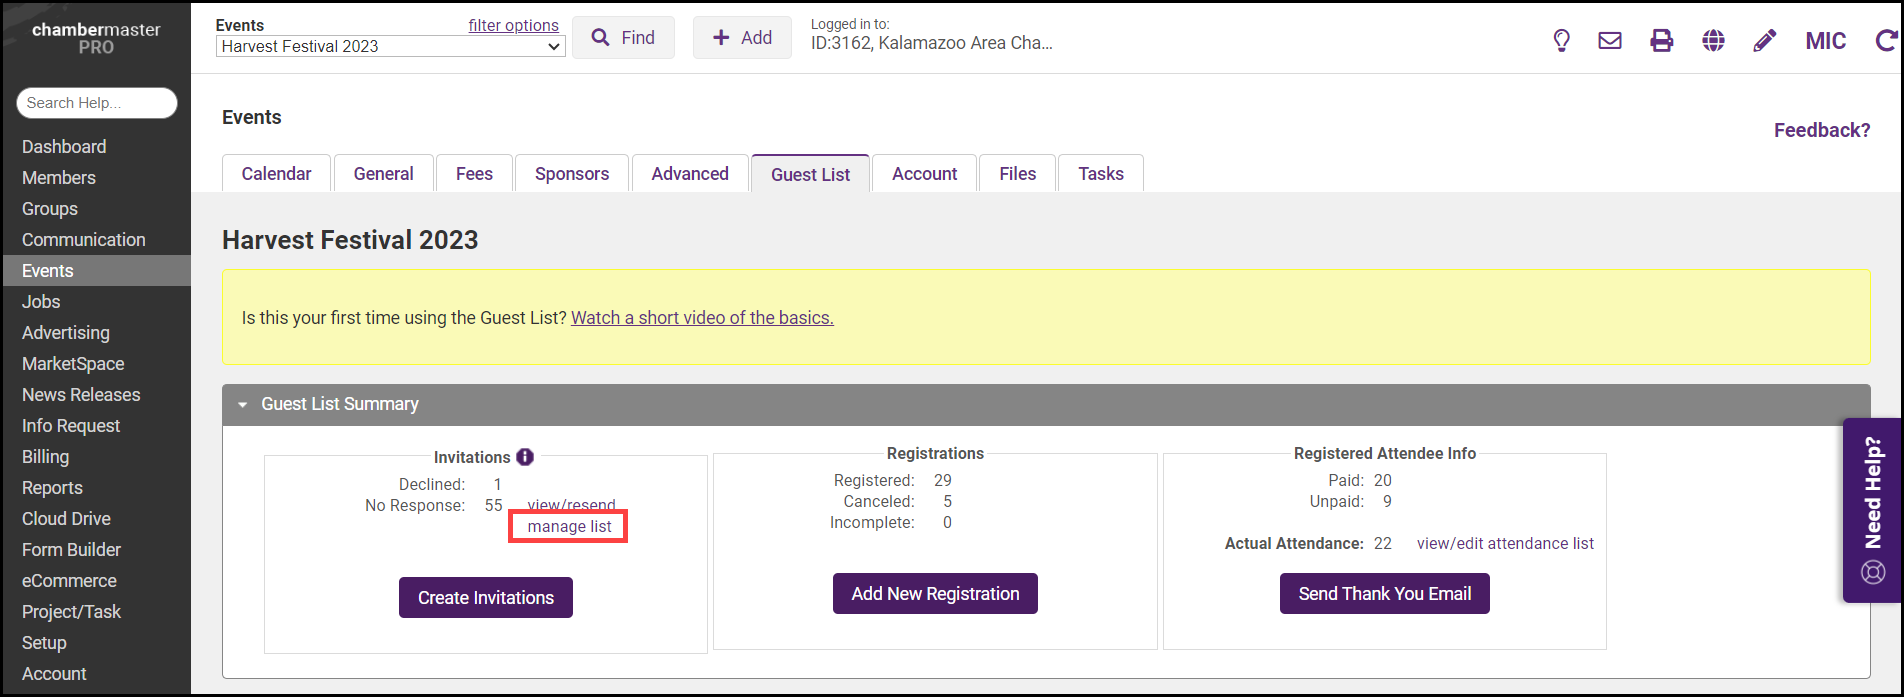
- On the event's Guest List tab, select the manage list link.
- In the Manage Invitee List window, the guests who have been sent an invitation but have not yet responded will be displayed.
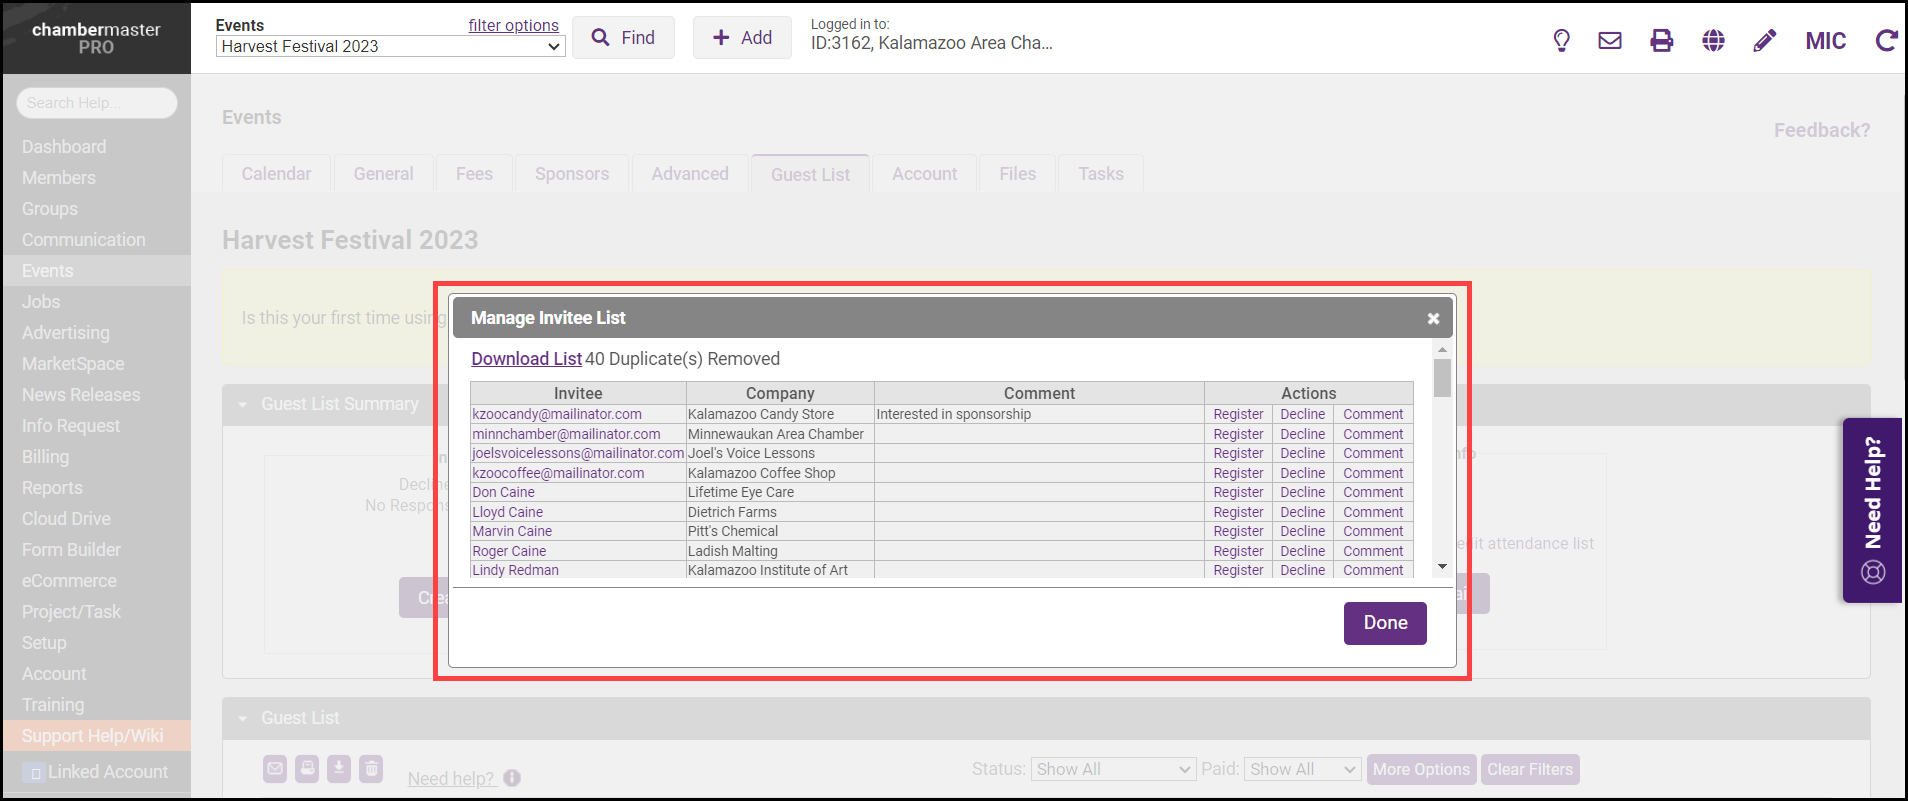
- To register the guest, select the Register link to complete the registration and complete checkout for the guest.
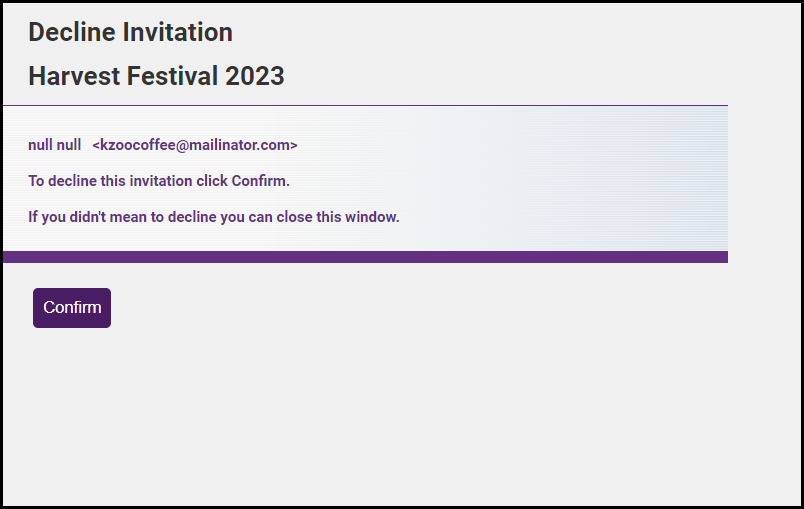
- To decline the invitation, select the Decline link. In the Deline Invitation window, confirm you would like the decline on behalf of this guest by selecting Confirm.
- Select the Comment link to add a comment. Comments are only visible to staff and can be used to keep you and your staff on the same page about a guest. You can add to. edit, or remove comments at any time.


