Create a Group or Mailing List

- Click Groups in the left-hand menu.
-
- Click Create a Group on the Home tab.
-
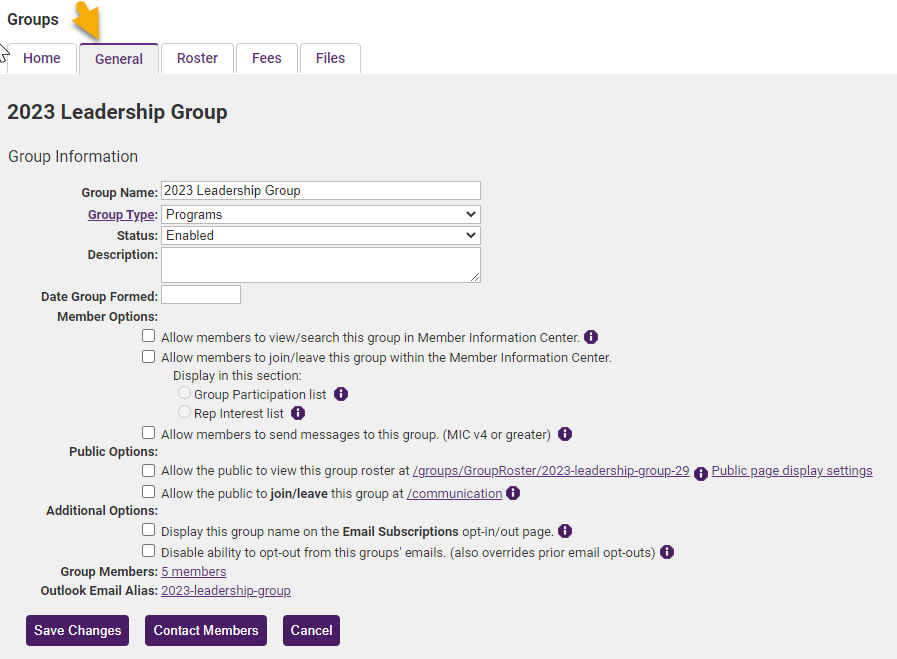
- Complete the following fields:
- Group Name: This name will be displayed in the back office, as well as in the MIC, and publicly if applicable.
- Group Type: Select the appropriate group type. Group types are a way by which you can filter and report on groups.
- Status: Select Enabled.
- Synch this group with constant contact: Check this option if you wish to synchronize this group to Constant Contact. See Constant Contact Synchronization
- (Optional) Description: Enter a description of the group. If you choose to display this group on your public pages, this description will be displayed under the group name.
- Click Save.
- Click on the name of the Group in the Group Name column.
- Click the General tab. Make sure the settings are correct.


- Click the Roster tab.
- Click one or more of the Add Group Members selections to add members to your group.
- Continue adding representatives to your group using the Add Group Members selections until your group is complete.

