SmartCMS Menu Items

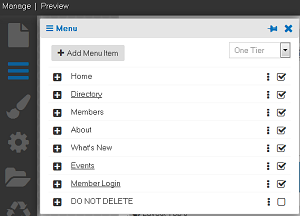
The Menu Box is where you can make additions or changes to the main menu.
-
- One Tier Menu or Basic Mega Menu can be selected. Both options display optimally on mobile devices.
-
- One-Tier Menu: The sub-links will display in a one-tier dropdown format
- Basic Mega Menu: For websites that have many links, the Basic Mega Menu provides a grouping of links while organizing the links in sections, all in an optimal display for multiple devices.
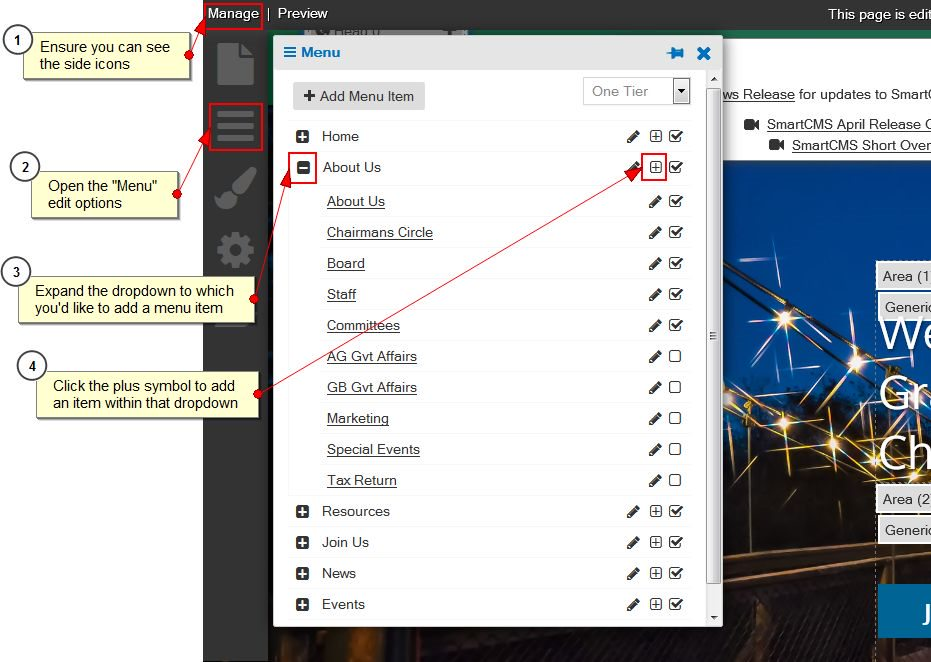
By clicking on Add Menu Item, you are able to add a new navigation or page. Here you will be able to create a new page, dropdown menu, Module link, or external link. The same navigation options will display if you click the “+” box next to the menu heading titles.
Add a New Page
- Click the Menu icon in the left-hand navigation panel.
- Click Add Menu Item.
-

-
- For a New Page, type in the desired title, make sure the New Page is selected and click save. A dialog box will appear with page options. A new page creation will automatically create a Heading 1 title for the page. The Heading 1 titles are an important SEO element.
- For a new menu title, select Dropdown Title and hit save. The new title will automatically display first in the menu. You can now drag the menu title to the preferred location. Menu titles can be edited, disabled, or deleted to the right of the title. Clicking the “+” on the left-hand side will expand the dropdown to show the pages within the main menu item.
- To add a Module page, type in the title of the page, select Select a Module and then use the dropdown menu to select a module before clicking Save. Modifications can be added to the module link to add extra parameters.
The Appearance Box
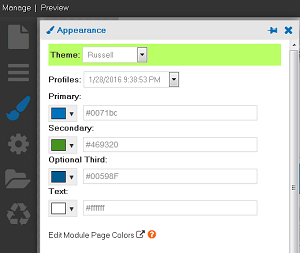
The Appearance box allows you to customize the colors on the website and change the background.
-
- Primary, secondary, and optional third colors can be chosen. Appearance Profiles can be created for different design ’looks’ for your website. These settings are then saved as their own profile with the current date and time. This allows you to easily change back to what you had at a previous point in time. Example profiles could include holidays, special events, or a brand color change for your association.
- The background color can be selected along with different design options. A photo or design pattern can also display as the background. A photo can be uploaded by browsing the cloud and selecting a photo. A full-width display or repeating option is available. Recommended minimum photo size for a full-width display is 1024 x 768 pixels.
The Site Settings Box
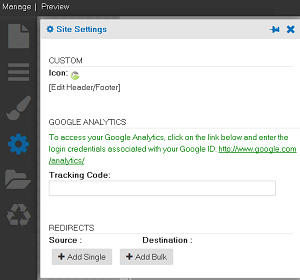
The Site Settings box shows site-wide settings for your website.
-
- Add/change the favicon. The favicon is the small image that shows in your browser tab.
- Custom code, such as HTML or Javascript, can be placed in the header/footer area by clicking the Edit Header/Footer link.
- Your Google Analytics ID is added for tracking traffic on your website, and a link to log in to your Google account to see your analytics.
- Page redirects can be managed in the Redirects section.
Restoring Deleted Content
If you have deleted content from a page and want to restore it:
- Click the Recycle icon in the left-hand menu. The Deleted Content dialog box will be displayed.
-

- Global content items will display at the top, and non-global items on a page level will display beneath the global items.
- The most recently deleted content block will display at the top within the respected global and non-global sections.
-
- To restore content, simply click and drag the content out of the box and into a content area on your page. Click here to view a video on restoring deleted content.

