Return to an Invoice Batch

Invoices may be placed in a new batch instead of added to the original batch by using the New Batch button at the bottom of the event, monthly renewals, monthly epayment, and group invoice lists. This accommodates unique invoice selections (e.g. invoice date) to be placed on the added invoices.
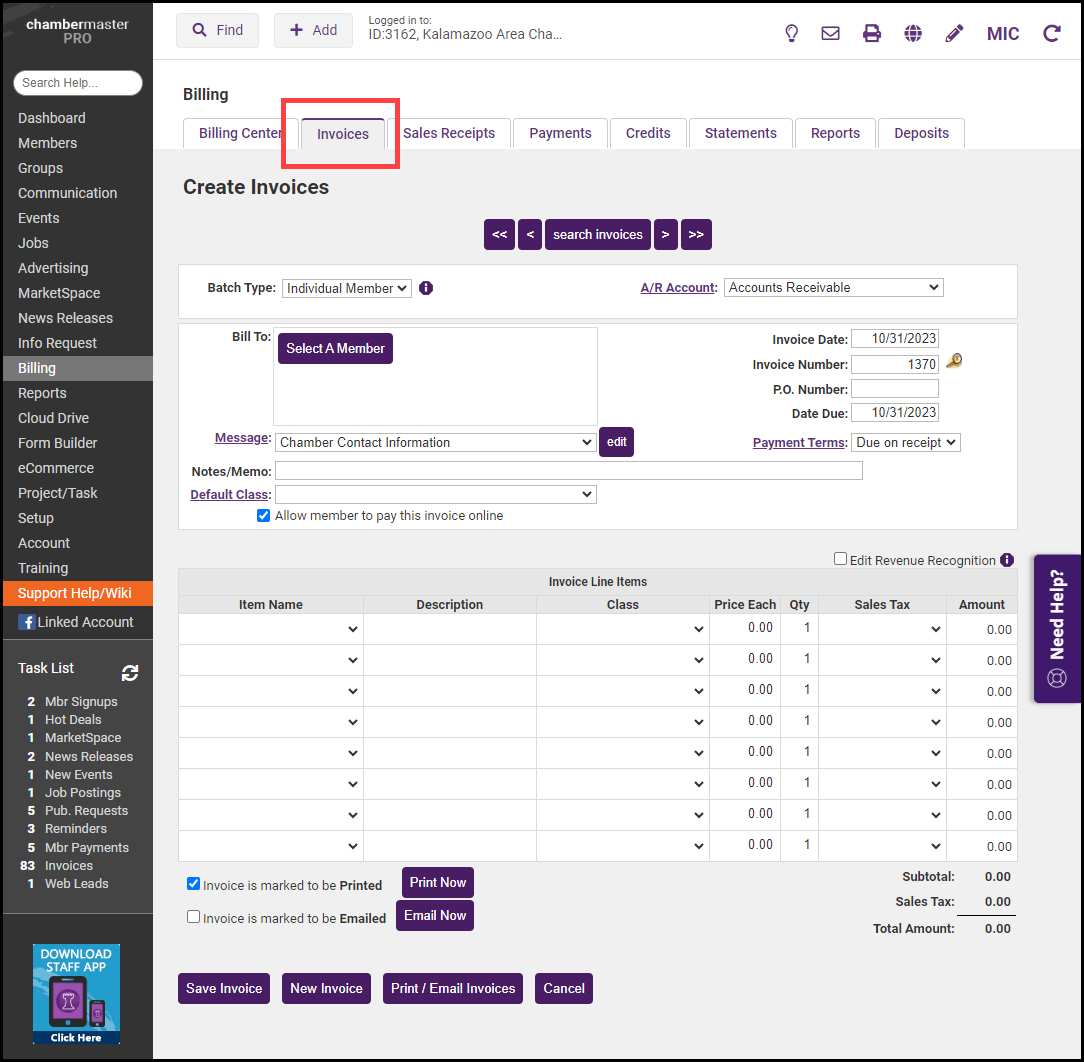
- Click Billing in the left-hand menu.
- Click the Invoices tab.
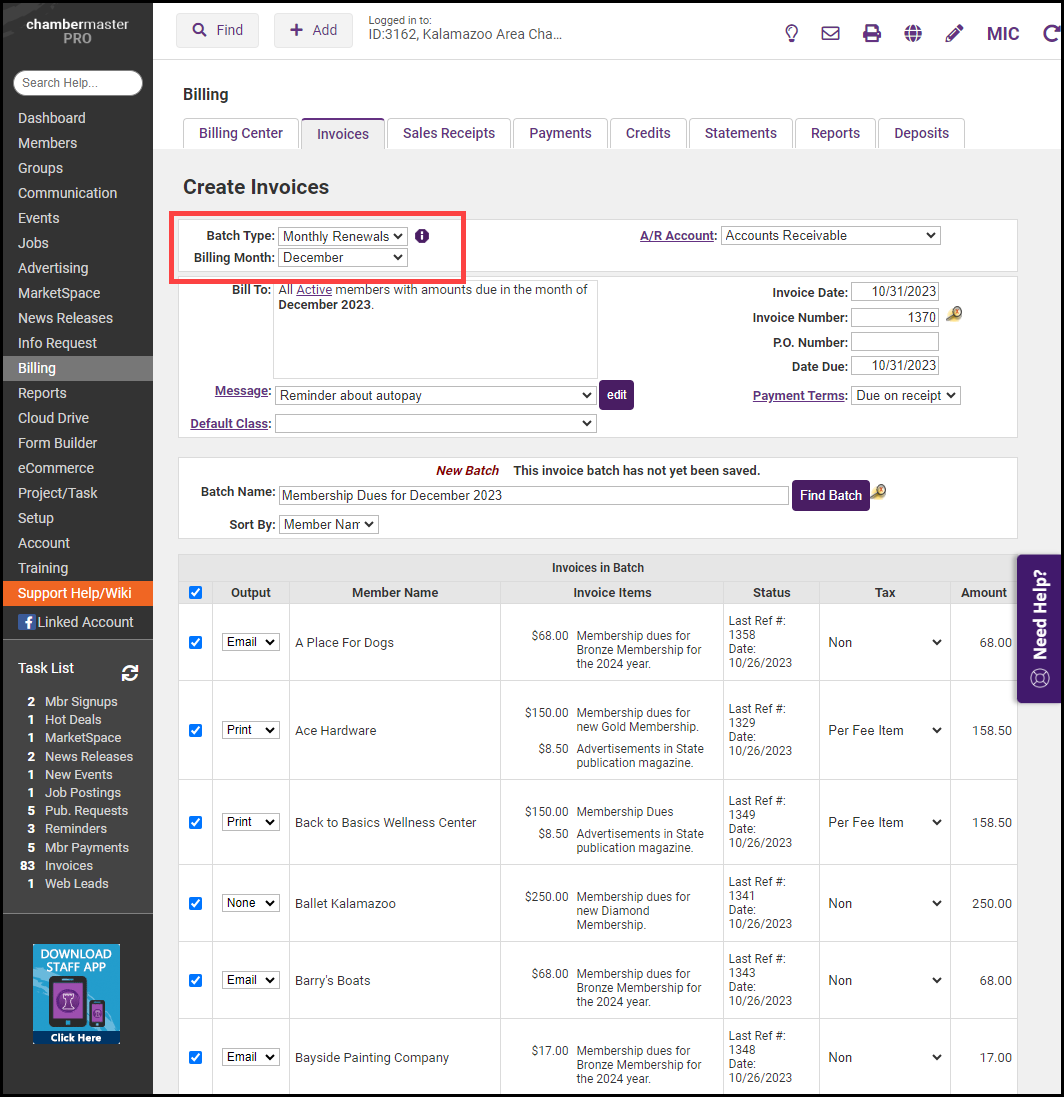
- From the Batch Type drop-down menu, select Monthly Renewals.
- From the Billing Month drop-down menu, select the month of the original batch.
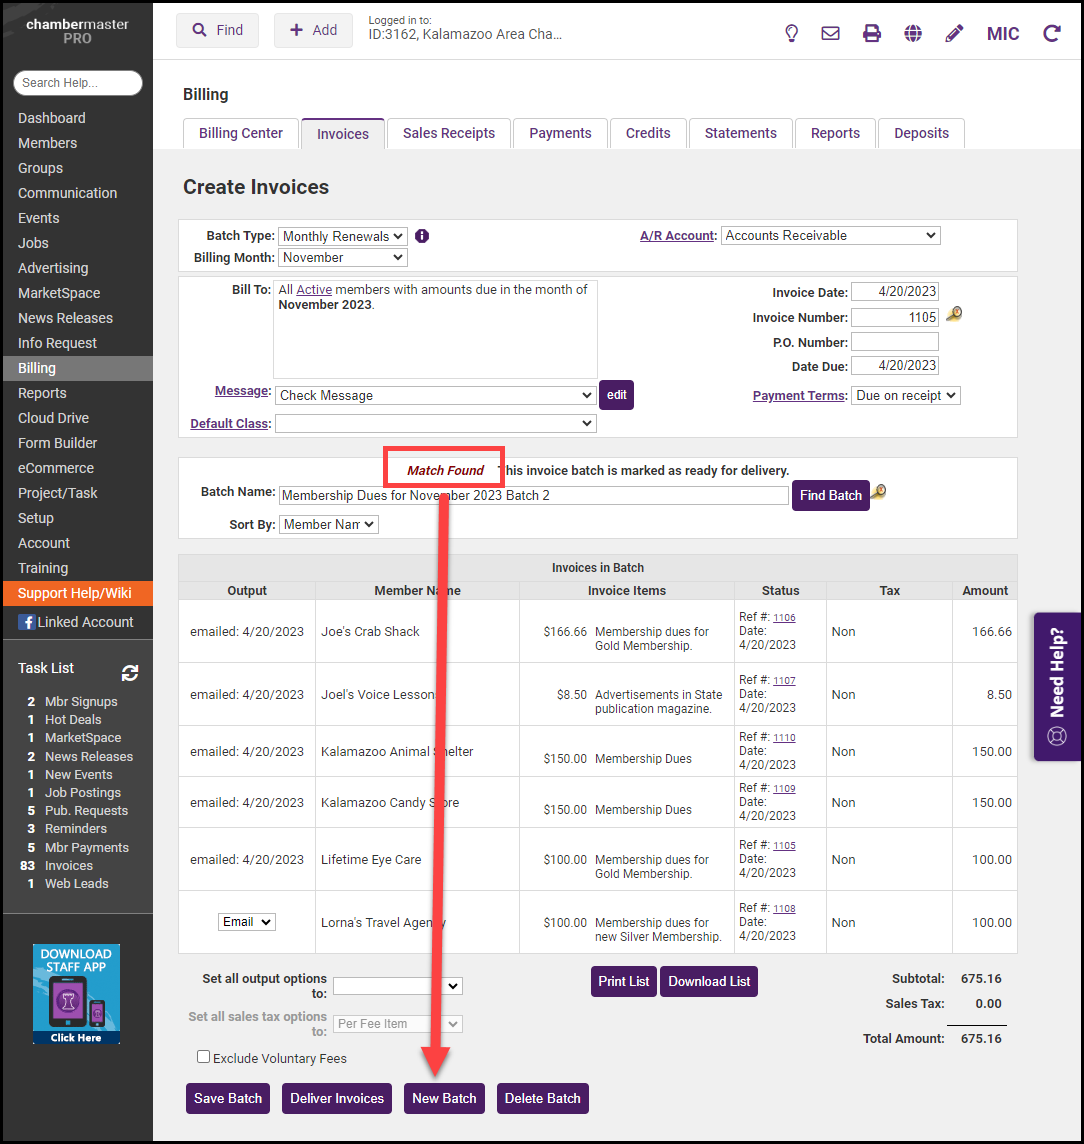
Note: You should see a message that says Match Found (If invoices have not yet been created for this month you will see a message that says: New Batch).
- Click New Batch at the bottom of the screen so that the invoice date and other fields in the original batch will be retained. This allows you to create these new invoices with a new invoice date and any other new selections desired for payment terms, messages, etc.
- If all invoice fields on the original batch should be updated to the new selections, then put a checkmark by their name click Save Batch, and click OK to continue and update the batch. Warning! All previous invoices from the original batch will be updated to the current settings.
- Make the desired invoice selections and place a checkmark next to the invoices to be included in this batch.
- Click Save or Deliver Invoices if you'd like to print and/or email them right away. See Deliver Invoices for more information.
Note: The default name for these additional batches will be appended with Batch 2, Batch 3, etc. For example, Membership Dues for July 2024 Batch 2.

