Create Refund for an Authorize.Net DPM Payment Made toward an Invoice

If you are using Authorize.net AIM Integration, you can process refunds directly back to Authorize.net from the back office. This is a two-step process, first, you will refund the credit card, then you will create the matching accounting transaction.
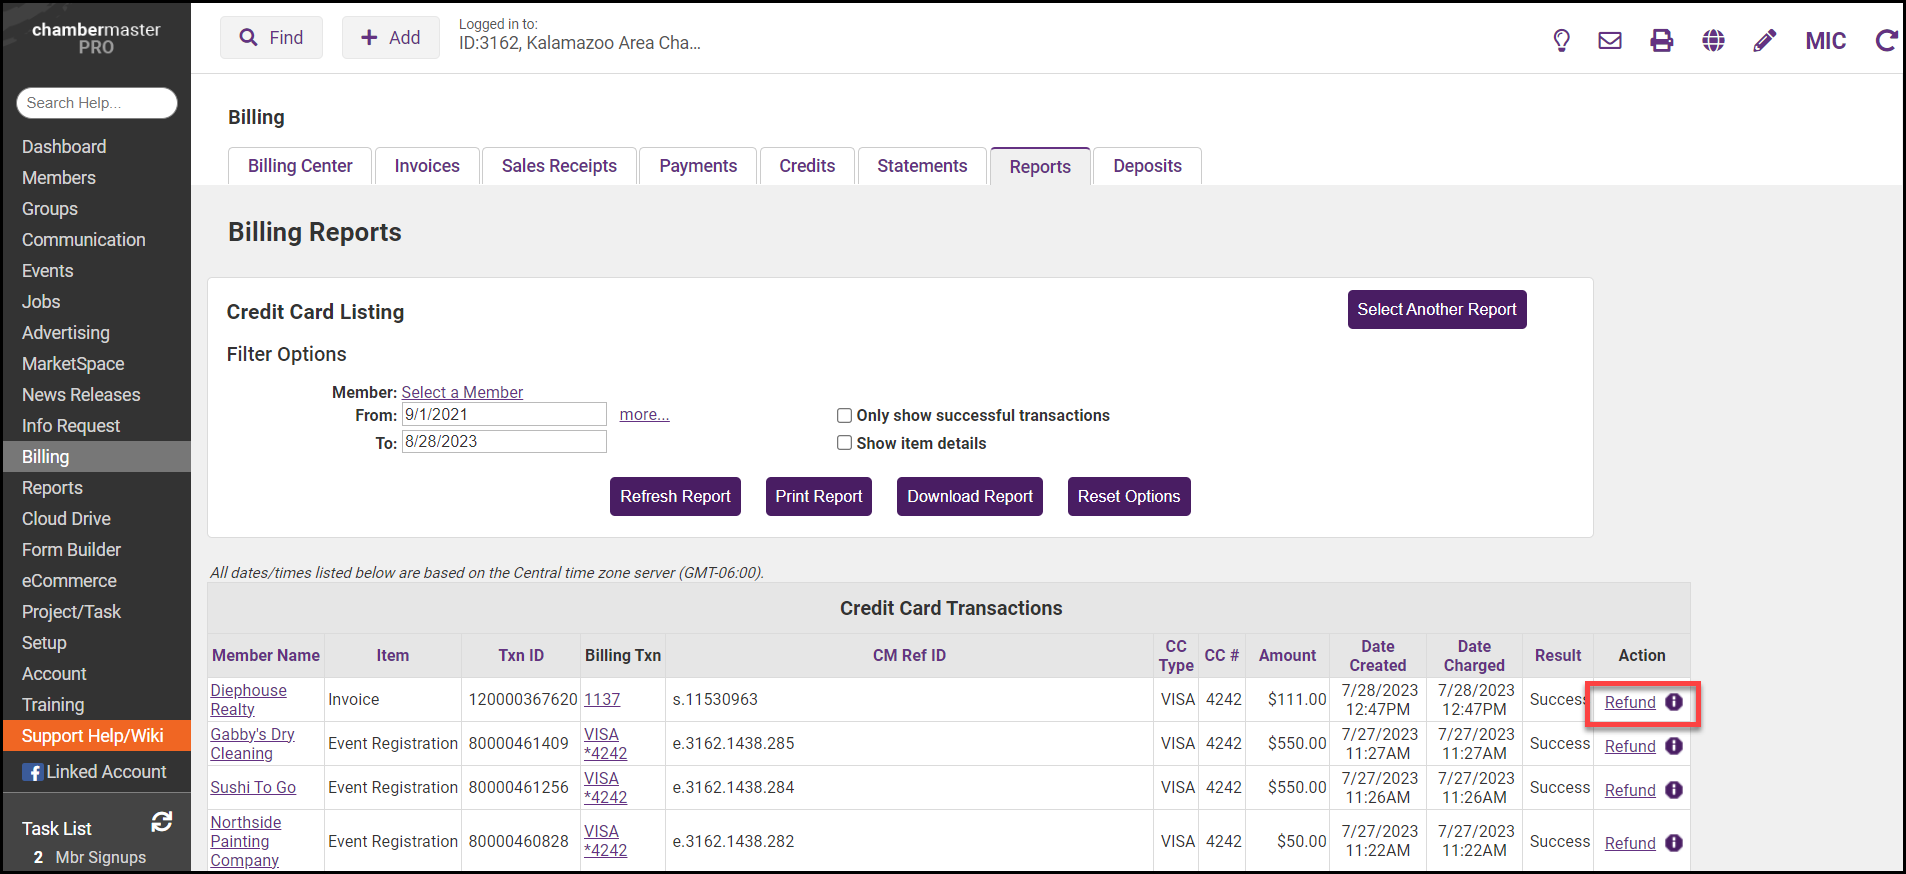
- Click Billing in the left-hand navigation panel.
- Click the Reports tab.
- Click Credit Card Listing in the Banking section.
- Locate the payment you wish to refund. You can click the Select Member link to choose a specific member, or you can enter a specific date range.
- For the desired payment, click the Refund link in the Actions column.
NOTE: Unsettled may be displayed in the Action column instead of Refund. Unsettled indicates that this transaction is very new - typically less than 24 hours old. After about 24 hours, the credit card company will allow a refund to be processed.
-
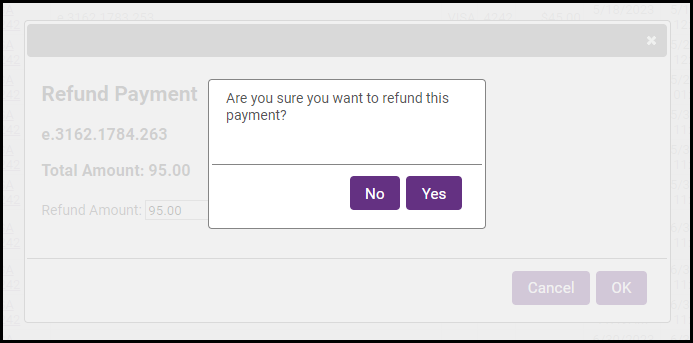
Click OK to process the refund.
NOTE: You may also update the Refund Amount if you wish to only process a partial refund.
- Click Yes to confirm you wish to process the refund.
-
After the refund has been processed, click Yes to create the matching accounting transaction.

- On the receipt screen, the line items that were paid with this credit card will be displayed. The total will be set to a negative value. If you are refunding the entire payment, click Save. If you are doing a partial refund, remove the negative sign from the items you are not refunding.
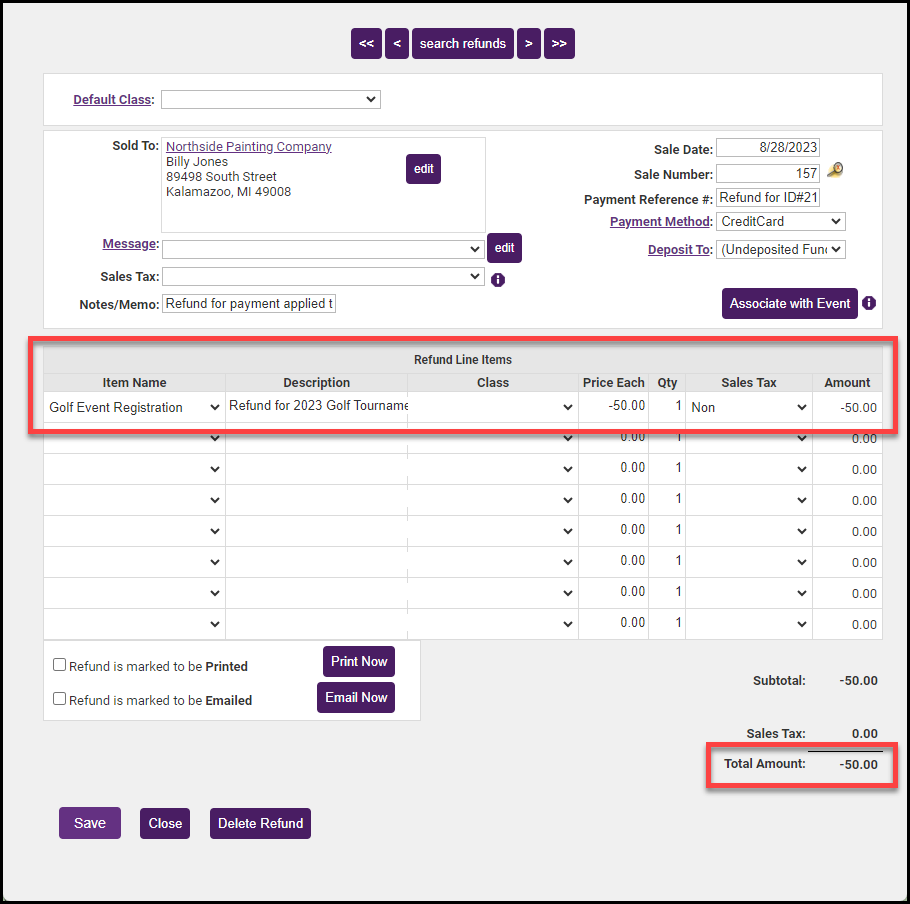
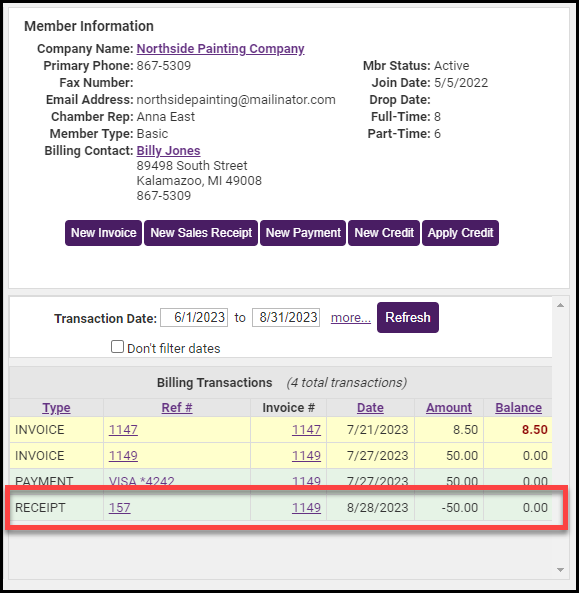
- Click Save. The refund will be displayed in the member's Transaction History as a Receipt.
|
|
IMPORTANT: When creating refunds for Authorize.Net the following rules apply:
|

