Fee Items are used to define the charges your organization collects, such as membership dues, event fees, and other billable items. Configuring fee items correctly ensures accurate invoicing, reporting, and a consistent billing experience for your members.
Add a Regular Fee Item
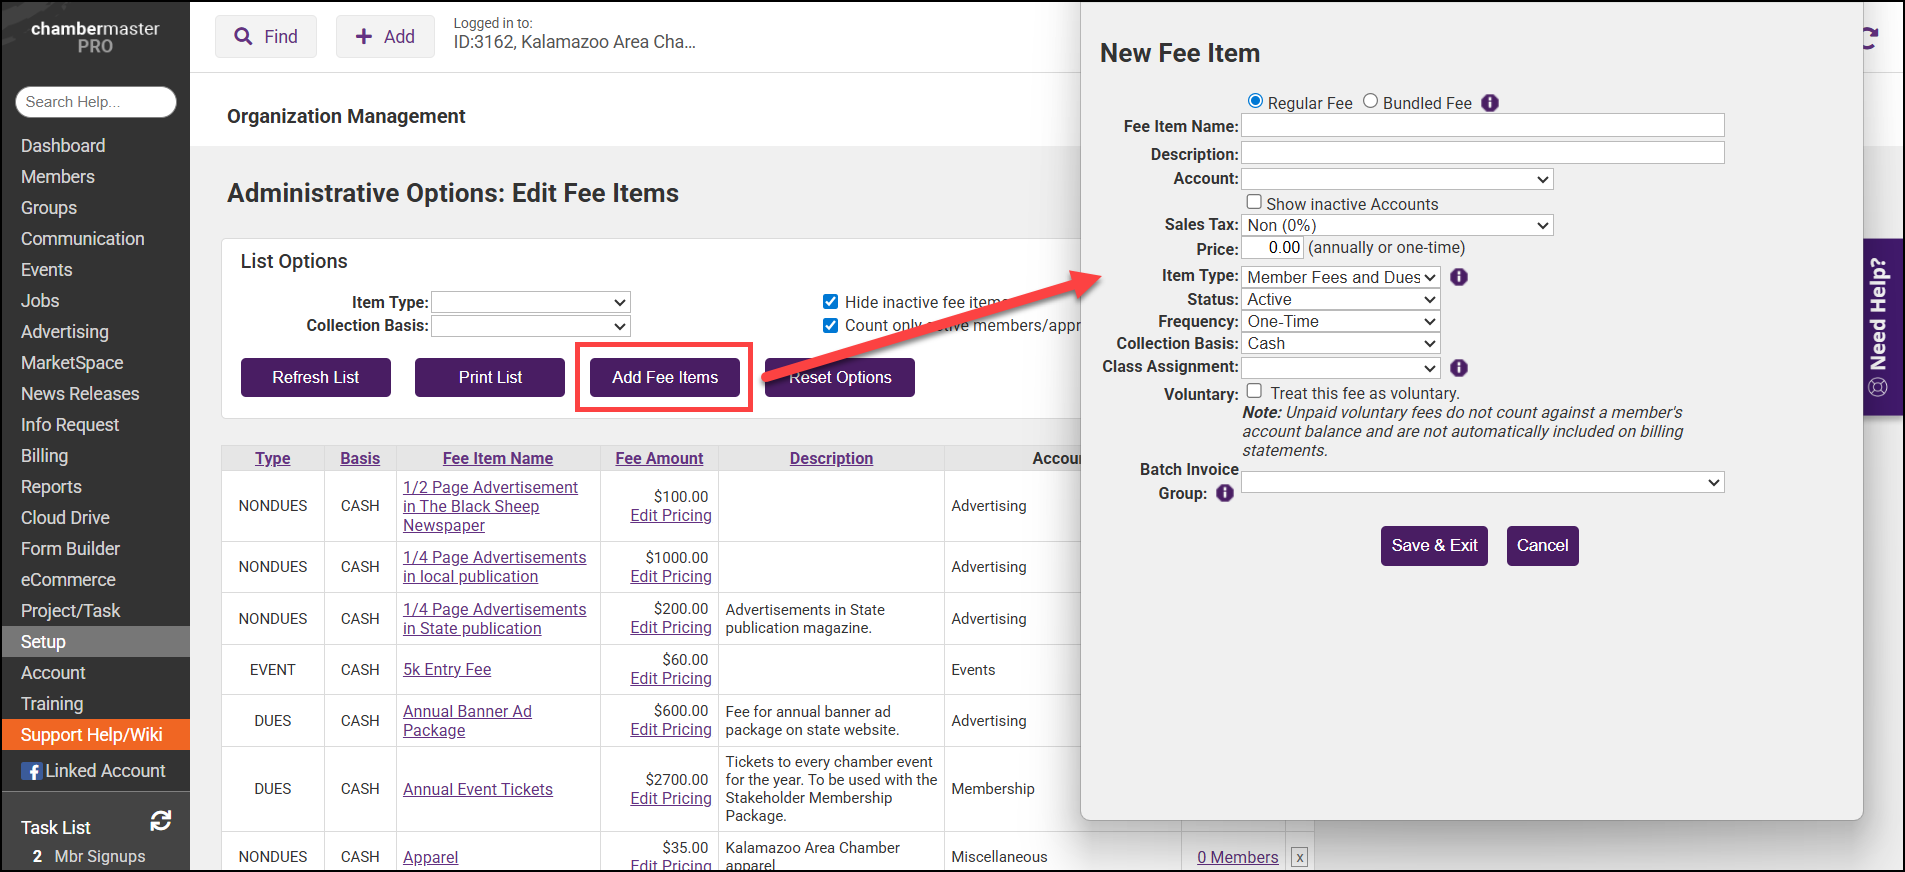
- Click Setup in the left-hand menu.
-
Click Fee Items List in the Billing section.
-
Click Add Fee Item.

-
Select the Regular Fee radio button.

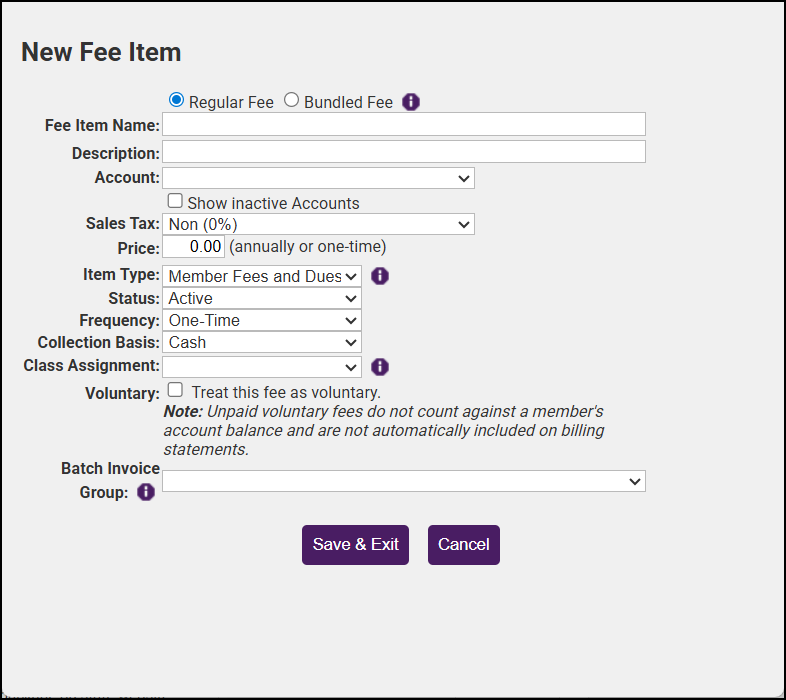
- Configure the following:
- Fee Item Name: Title for the fee item and will be used by default to identify the fee item on a member’s account.
- Description: Further description of the fee item that displays on the invoice by default (may be modified on each member account).
- Account: Select the desired account from your list of Chart of Accounts.
- Sales Tax: Select whether this item should be taxed or not; if proper tax amounts are not displayed, modify this item by selecting Sales Tax from the Setup module.
- Price: Type the desired fee item amount – the annual amount or one-time price.
- Member Fees and Dues
- Event Fees – available in the Events module
- eCommerce Fees - used with the eCommerce add-on module.
- Group Fees – available in the Groups module for billing an entire group a single price all at once.
- eCommerce Fees - used with the eCommerce add-on module.
- Pledges Fees - alternate fee item type to separate pledges. Works similar to non-dues fees.
- Non-Dues Fees - used for tracking other fees that don't fit into the type above.
- Point of Sale - used with staff mobile app to facilitate credit card transactions.
- Status: Select Active or Inactive. Fee Items, when set to inactive, will present options to either remove the fee from the member or remain on the member account. Inactive fees on a member account will not be billed.
- Frequency: Select desired default frequency (available only if the Member Fees and Dues item type is selected). Annual, Semi-annual, Quarterly, Monthly, and One-Time. This selection may be changed on each member’s account as desired.
- Collection Basis: Select Cash or Accrual (Not available when creating a Bundled Fee.)
- Voluntary (optional): Unpaid voluntary fees do not count against a member's account balance and are not automatically included on billing statements.
- Class Assignment: If you have set up QuickBooks classes this option will be available for you to select the class to which you wish to associate this fee item.
- Batch Group: If you would like to batch this fee item separately from other batches when creating invoices, select a group from the drop-down list. If needed, click Add a group from the dropdown list to add a new group.
- Click Save.
Edit the Account Assigned to a Fee Item
If you change the account to which a fee item has been assigned, the account assignment for existing invoices will NOT be updated. If you wish to update, you will need to back into each individual invoice and save to update the account. Exception: If the account that was originally assigned to the fee item was the "Income account" (now 'blank') it WILL automatically apply to the existing invoices immediately. Once an account is changed on an invoice, it will immediately show that account when viewing the JEE.
Existing receipts will automatically update to the new account that fee items are assigned to. You do not need to go in and save these - they automatically update.
-
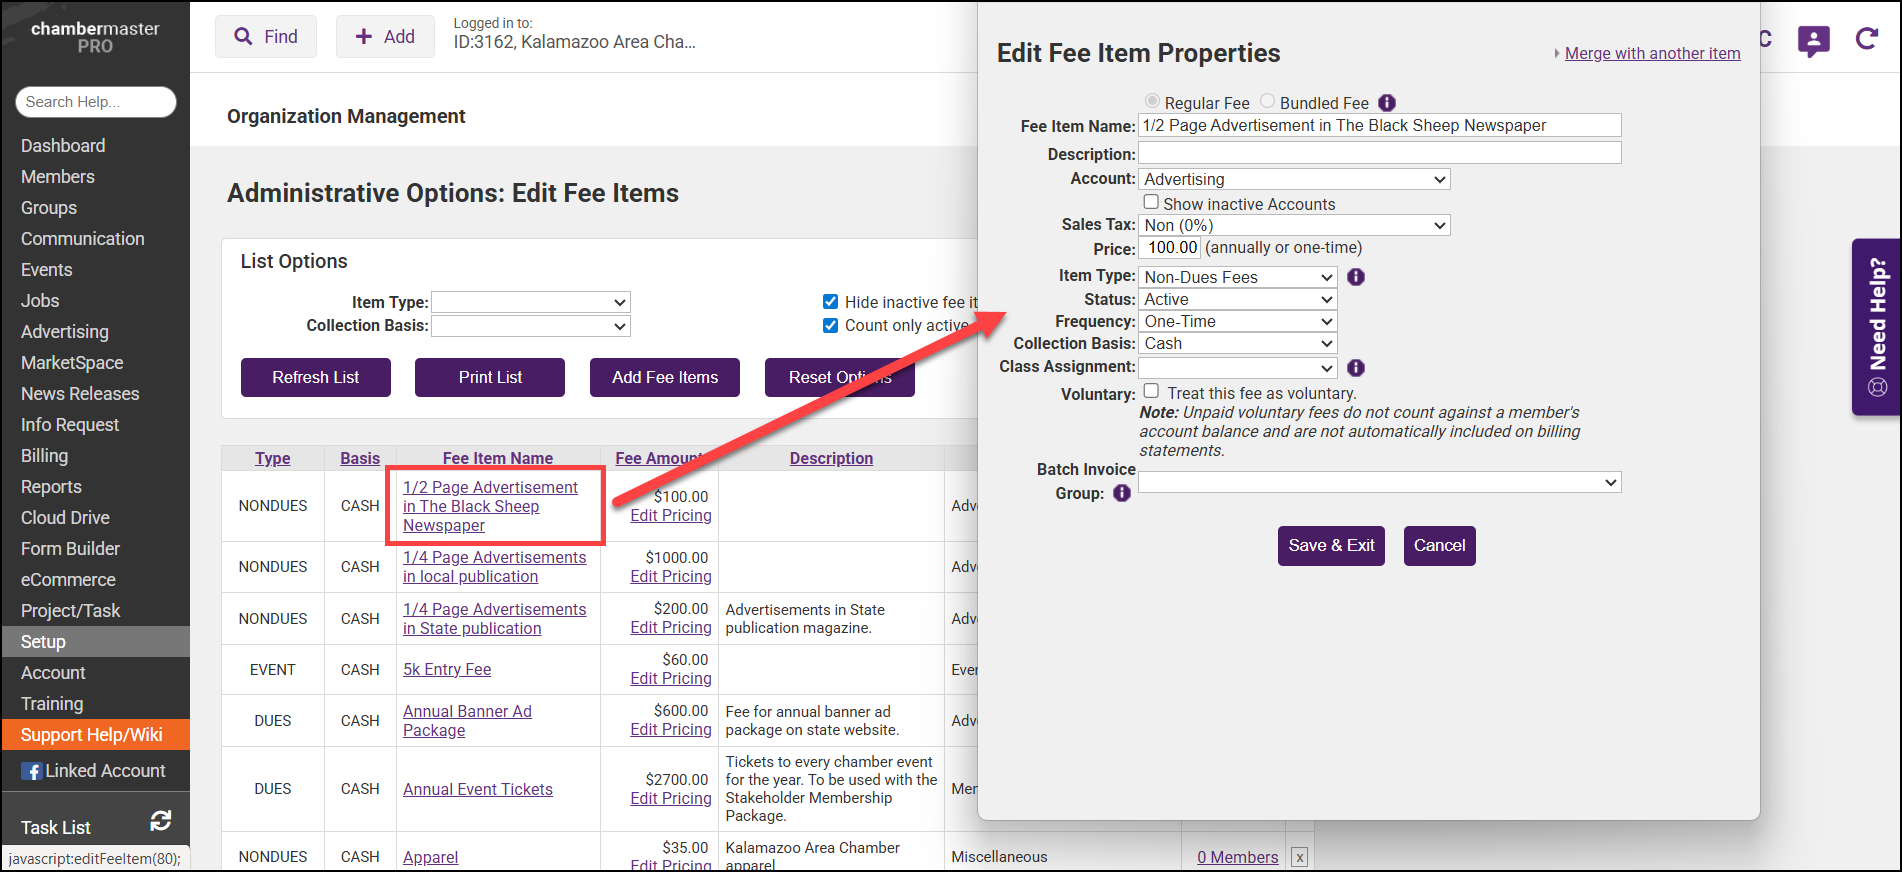
In the Fee Items List, select the name of the item you wish to edit.

-
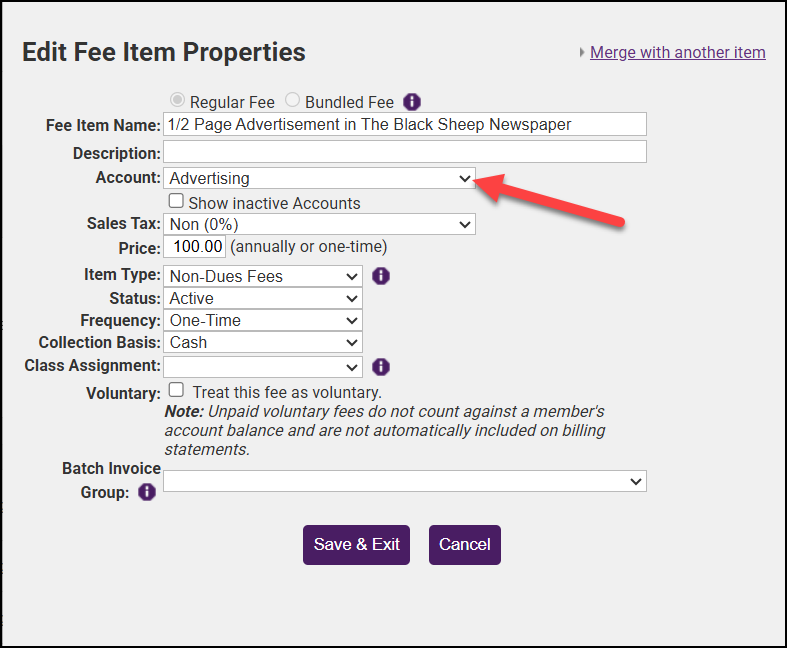
Select the new account from the Account dropdown list.

- Click Save & Exit.


