
-
Click Billing in the left-hand menu.
-
Click the Statements tab.
-
Select Filter by Statement Period and enter desired dates. Only invoices created in the date range will be included in the statement, with Balance Forward carried over if applicable. The Statement Date will default to the current date.
-
OR click the Open Transactions as of Statement Date option. This option will include all open transactions in the statement. You may choose to Include only transactions X or more days past due and/or Include only transactions containing items of type (select the item type from the drop-down list).
-
OR include transactions from a Specific Batch
-
-
Select Eligible Member Records: You may select All Members or filter by Specific Members.

-
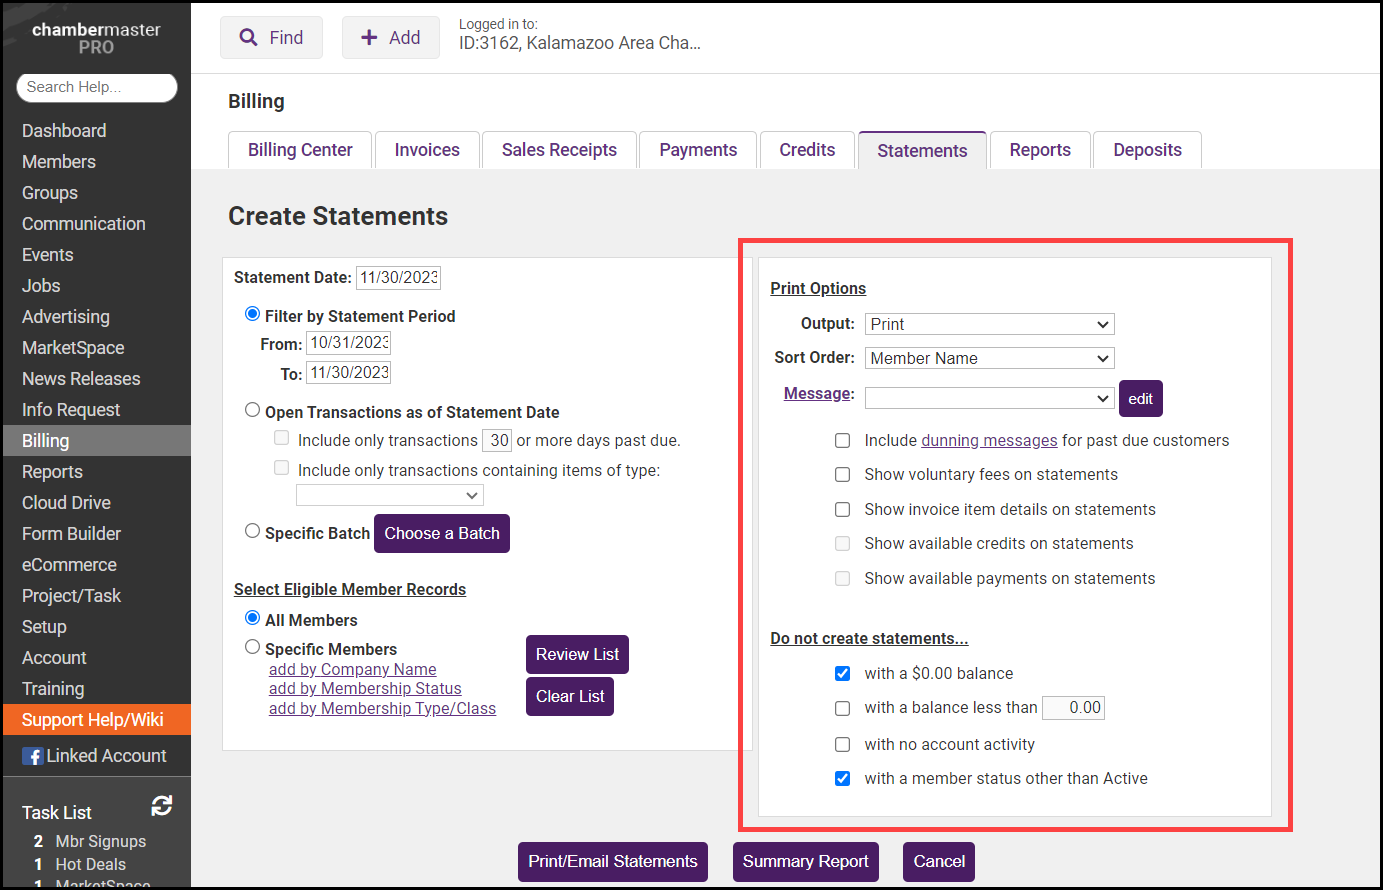
Select your Print Options:
-
Output: Select Print, Email or Contact Preference.
-
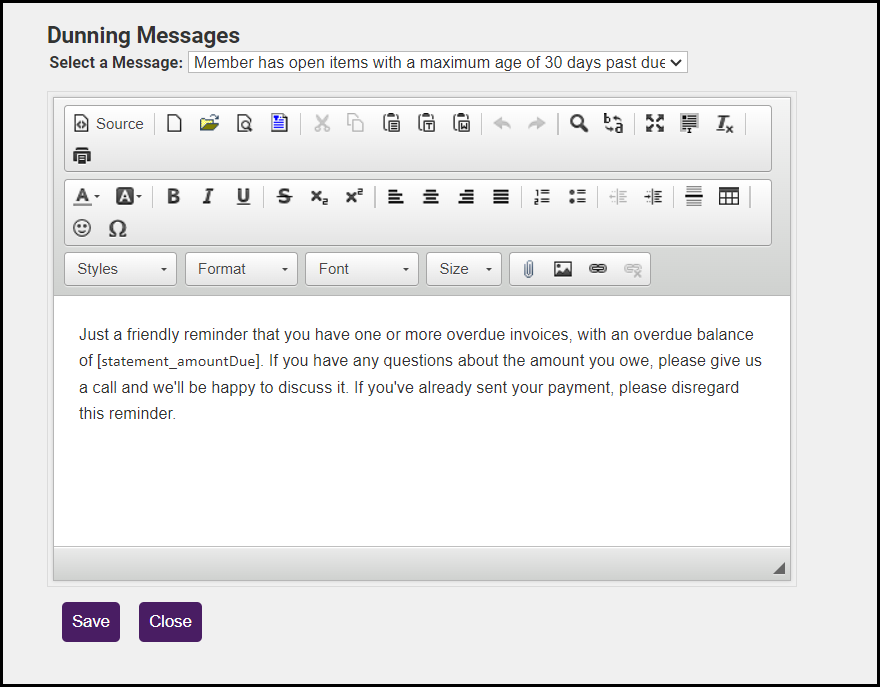
Message: Select the message you would like to include on the statement. You may click the edit button to make changes to the message. Note: Messages are configured under Setup > Billing > Customer Messages.
-
Include dunning messages for past due customers: A Dunning Message may be displayed on invoices that meet the criteria. Dunning is the process of methodically communicating with customers to ensure the collection of accounts receivable. Including the Dunning Message for past due customers will place a message on their statement based on how overdue they are. Different messages are available for those with no overdue items, 30, 60, 90, and over 90 days overdue. These messages may be edited when clicking in to view the dunning messages. Click here for a demonstration video.
-
Show voluntary fees on statements: If this option is selected, invoices that include unpaid voluntary fees will be included on the statement.
-
Show invoice item details on statements: Select this option to display the individual invoices on the statement.
-
Show available credits on statements: Select this option if you would like to display open credits on the statement.
-
Show available payments on statements: Select this option if you would like to display un-applied payments on the statement.
-
- Select the options for statements that you do not wish to create:
-
with a $0.00 balance: Select this option if you do not wish to create statements for members with zero balances.
-
with a balance less than X: Select this option if you do not wish to create statements for members with a balance less than the dollar amount entered.
-
with no account activity: Select this option if you do not wish to create statements for members with no activity on their account.
-
with a member status other than Active: Select this option if you wish to only create statements for Active members. If you wish to print statements for all members, regardless of status, de-select this option.
-
-
Click Print/Email Statements. The Deliver Statements window will appear. The Delivery Method of Print Statements has already been selected. Those invoices with a complete mailing address will be selected.
NOTE: Those statements without a complete mailing address will not be able to be selected until a complete address is entered on the Billing Reps record. Return to the Members module, locate the desired member, click the Reps tab, and edit the address for the rep marked as the Billing Rep.
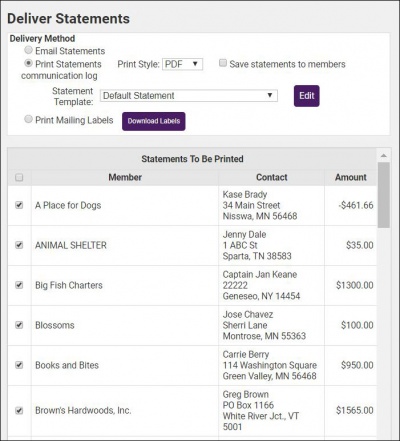
- Complete the Delivery Method selections as desired.
- When ready, click Preview Statements or Print Statements. Click here for information about printing mailing labels for mailing statements.

