
This article will guide you on how to add images to your Email Designer newsletter, either by uploading from your device, using a URL link, or generating an AI image.
-
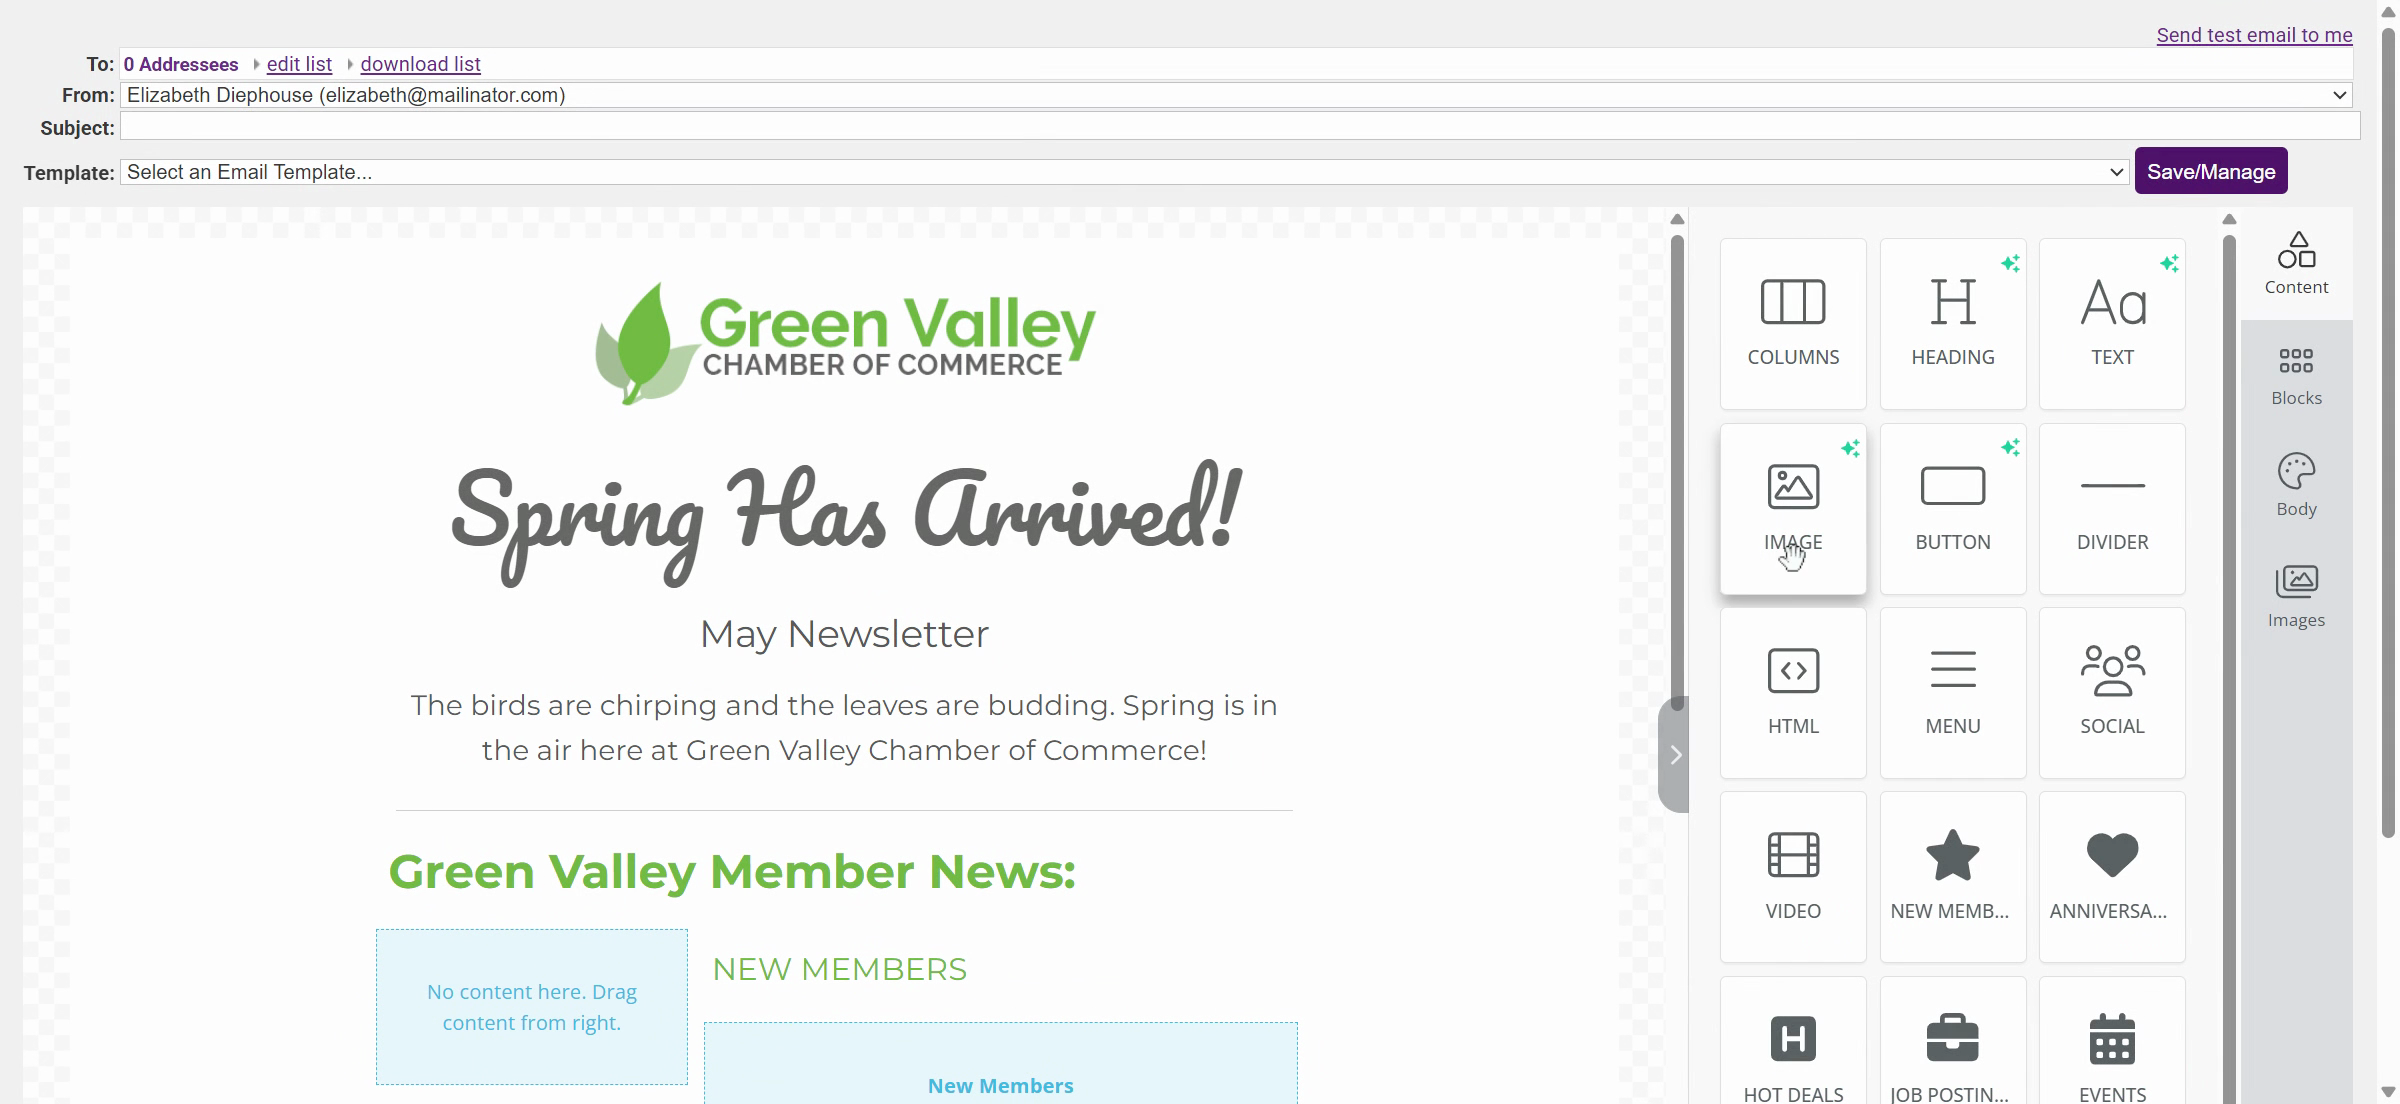
Open Email Designer and locate the Image button on the right-hand side. Drag it to your desired location.
-
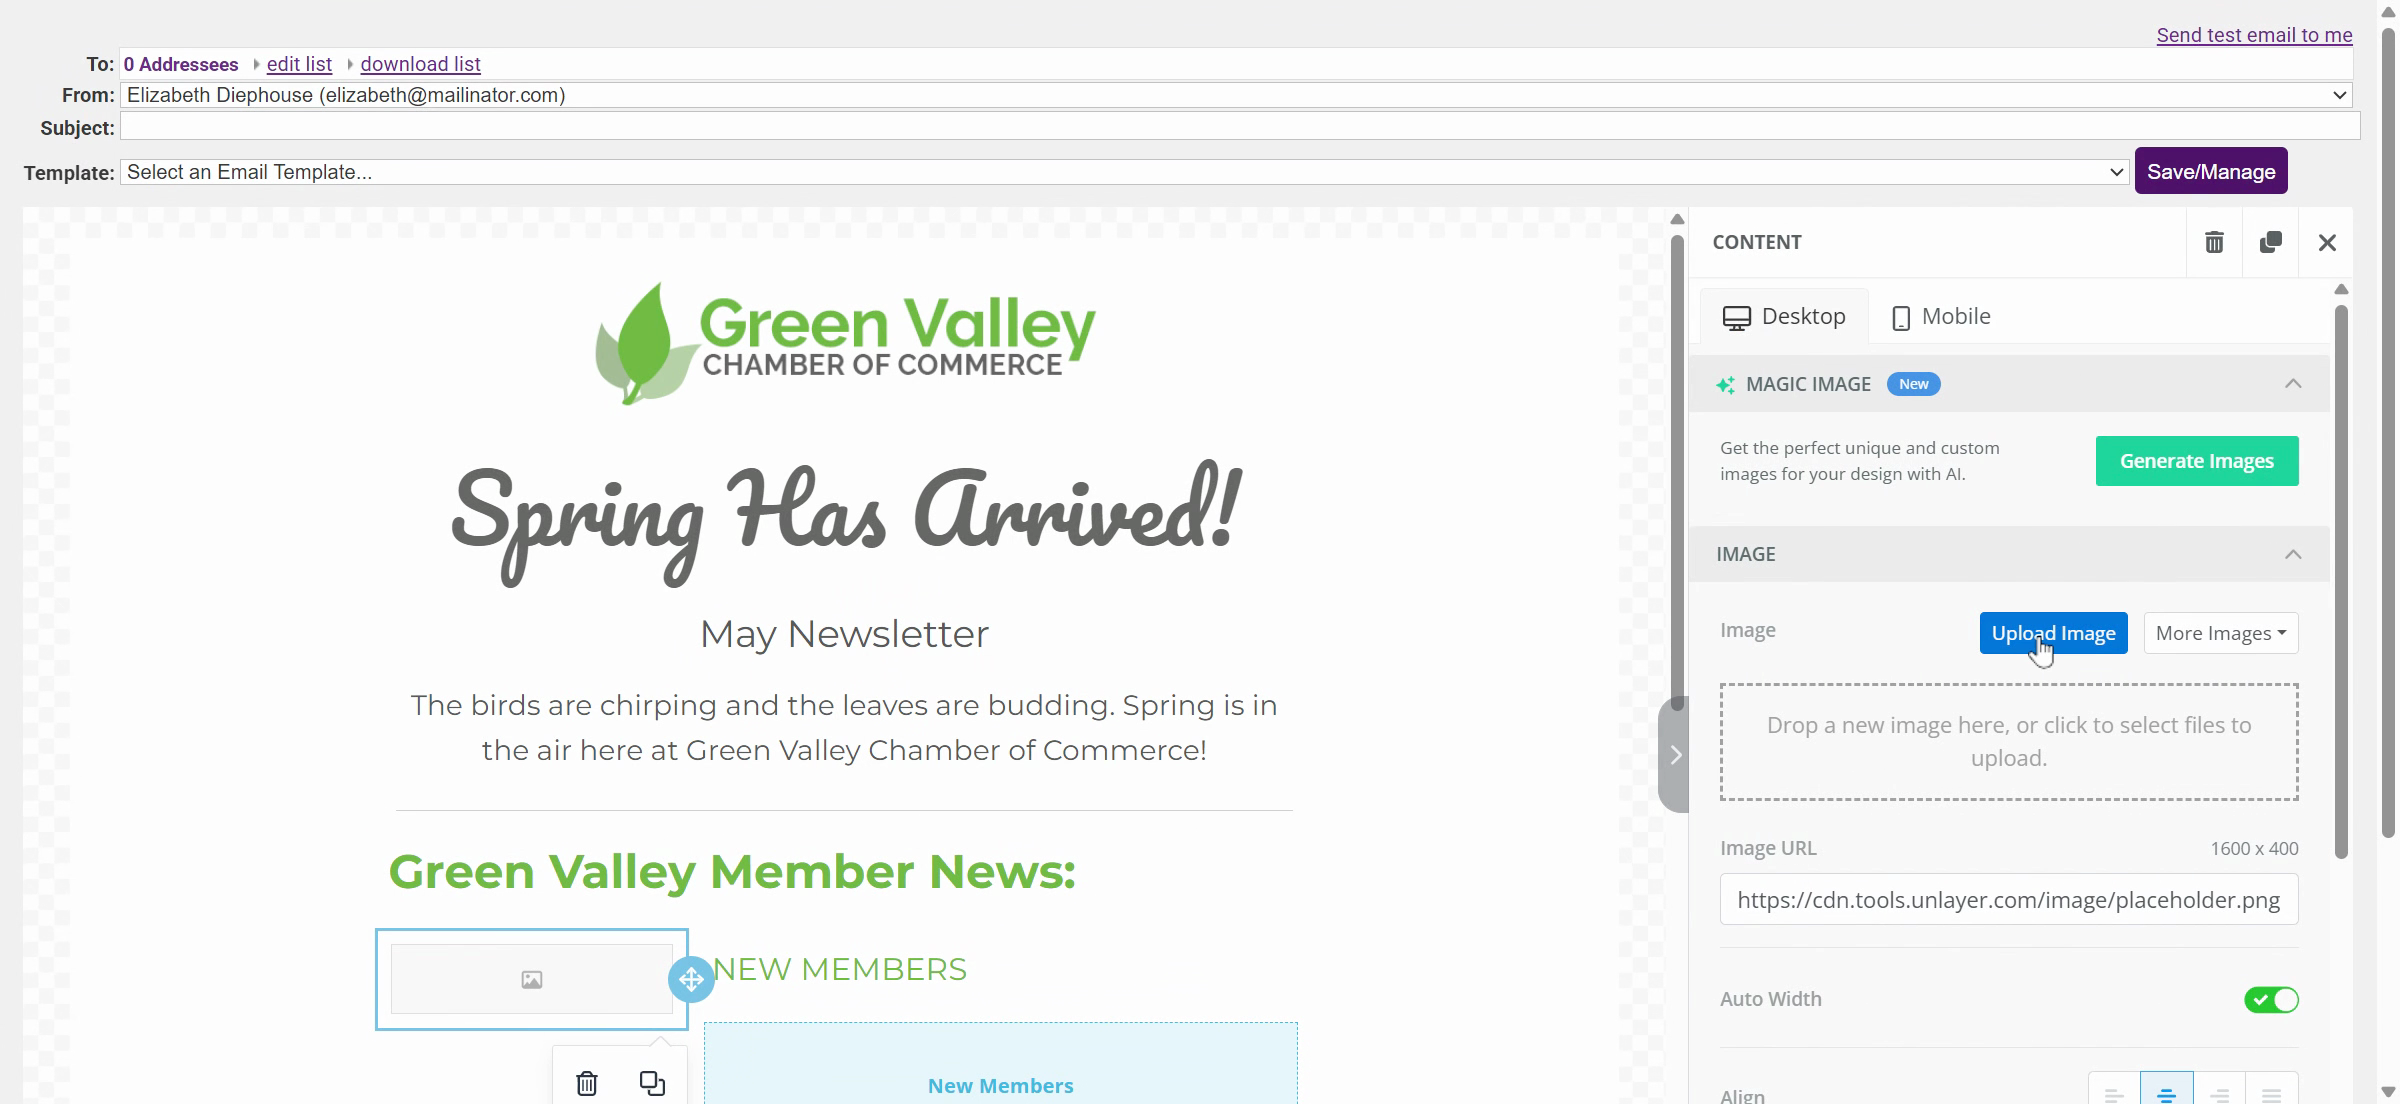
Click on the Image button to upload an image from your device.
-
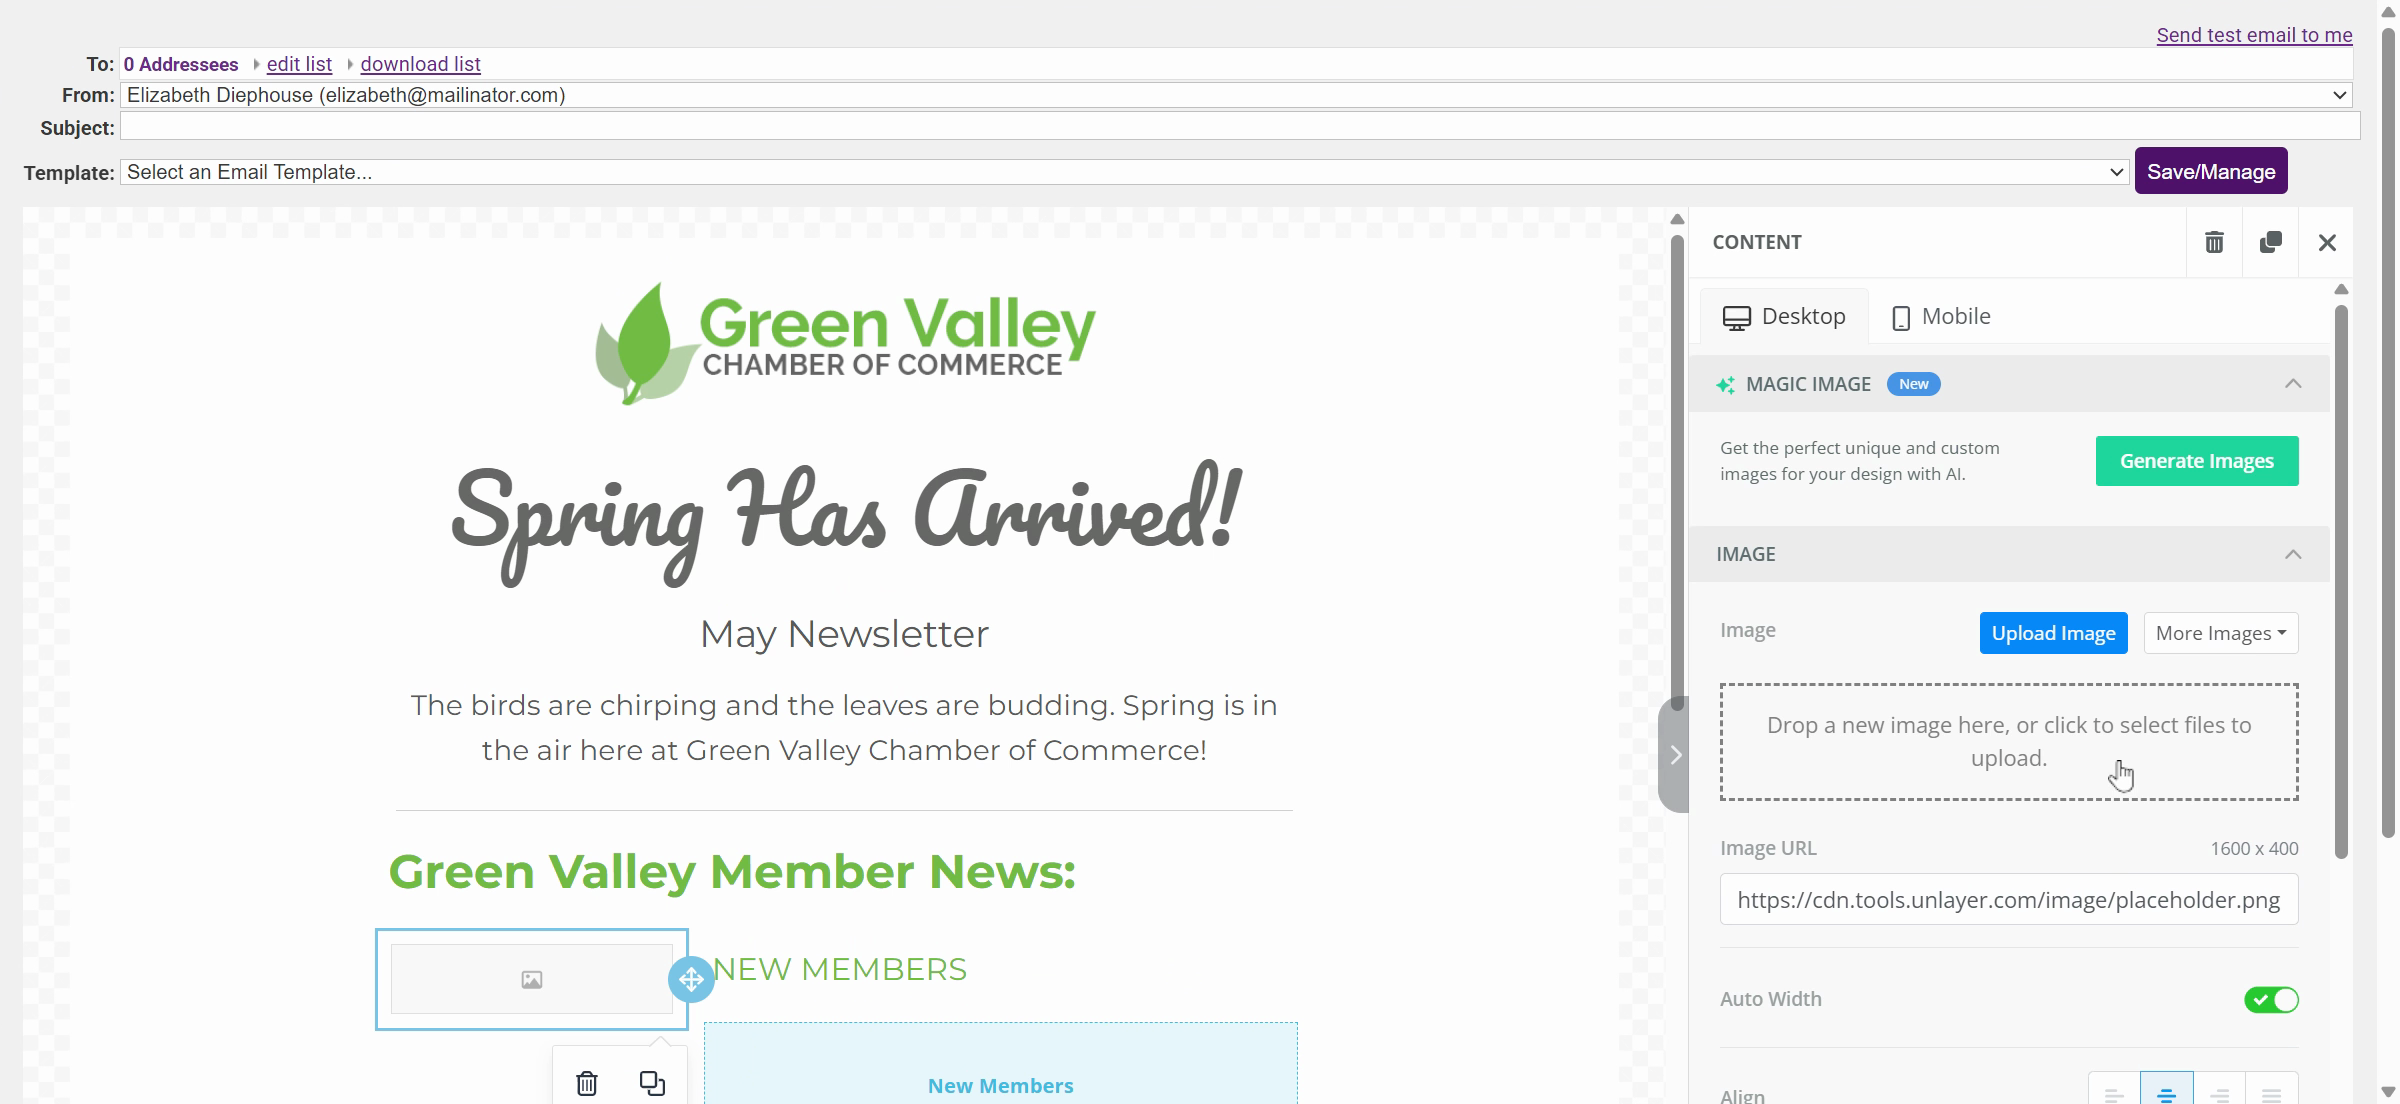
Drag and drop your chosen image into the designated area.
-
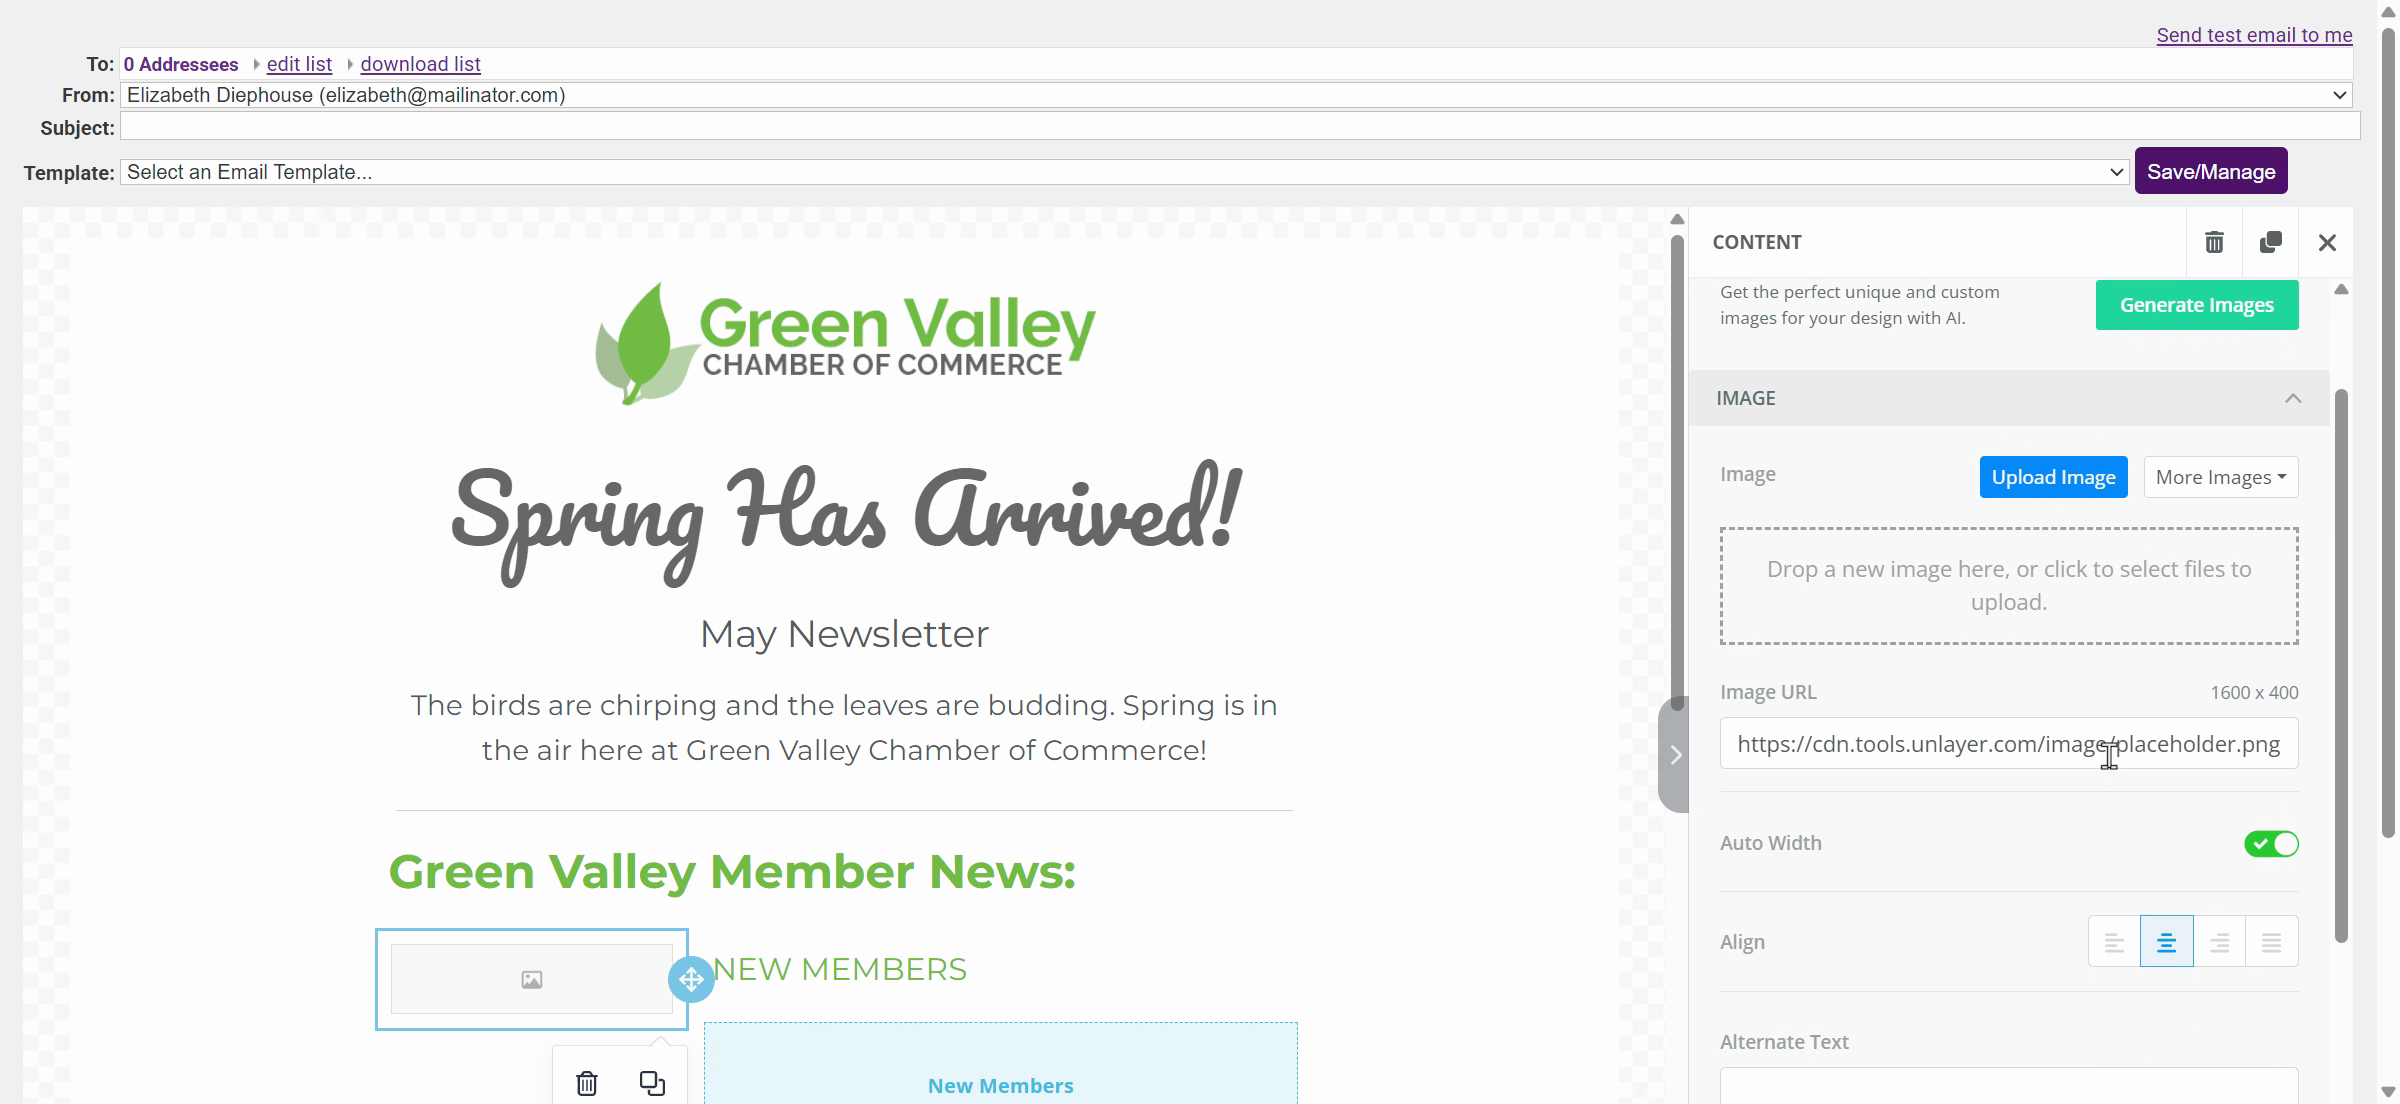
Alternatively, add an image using a URL link.
-
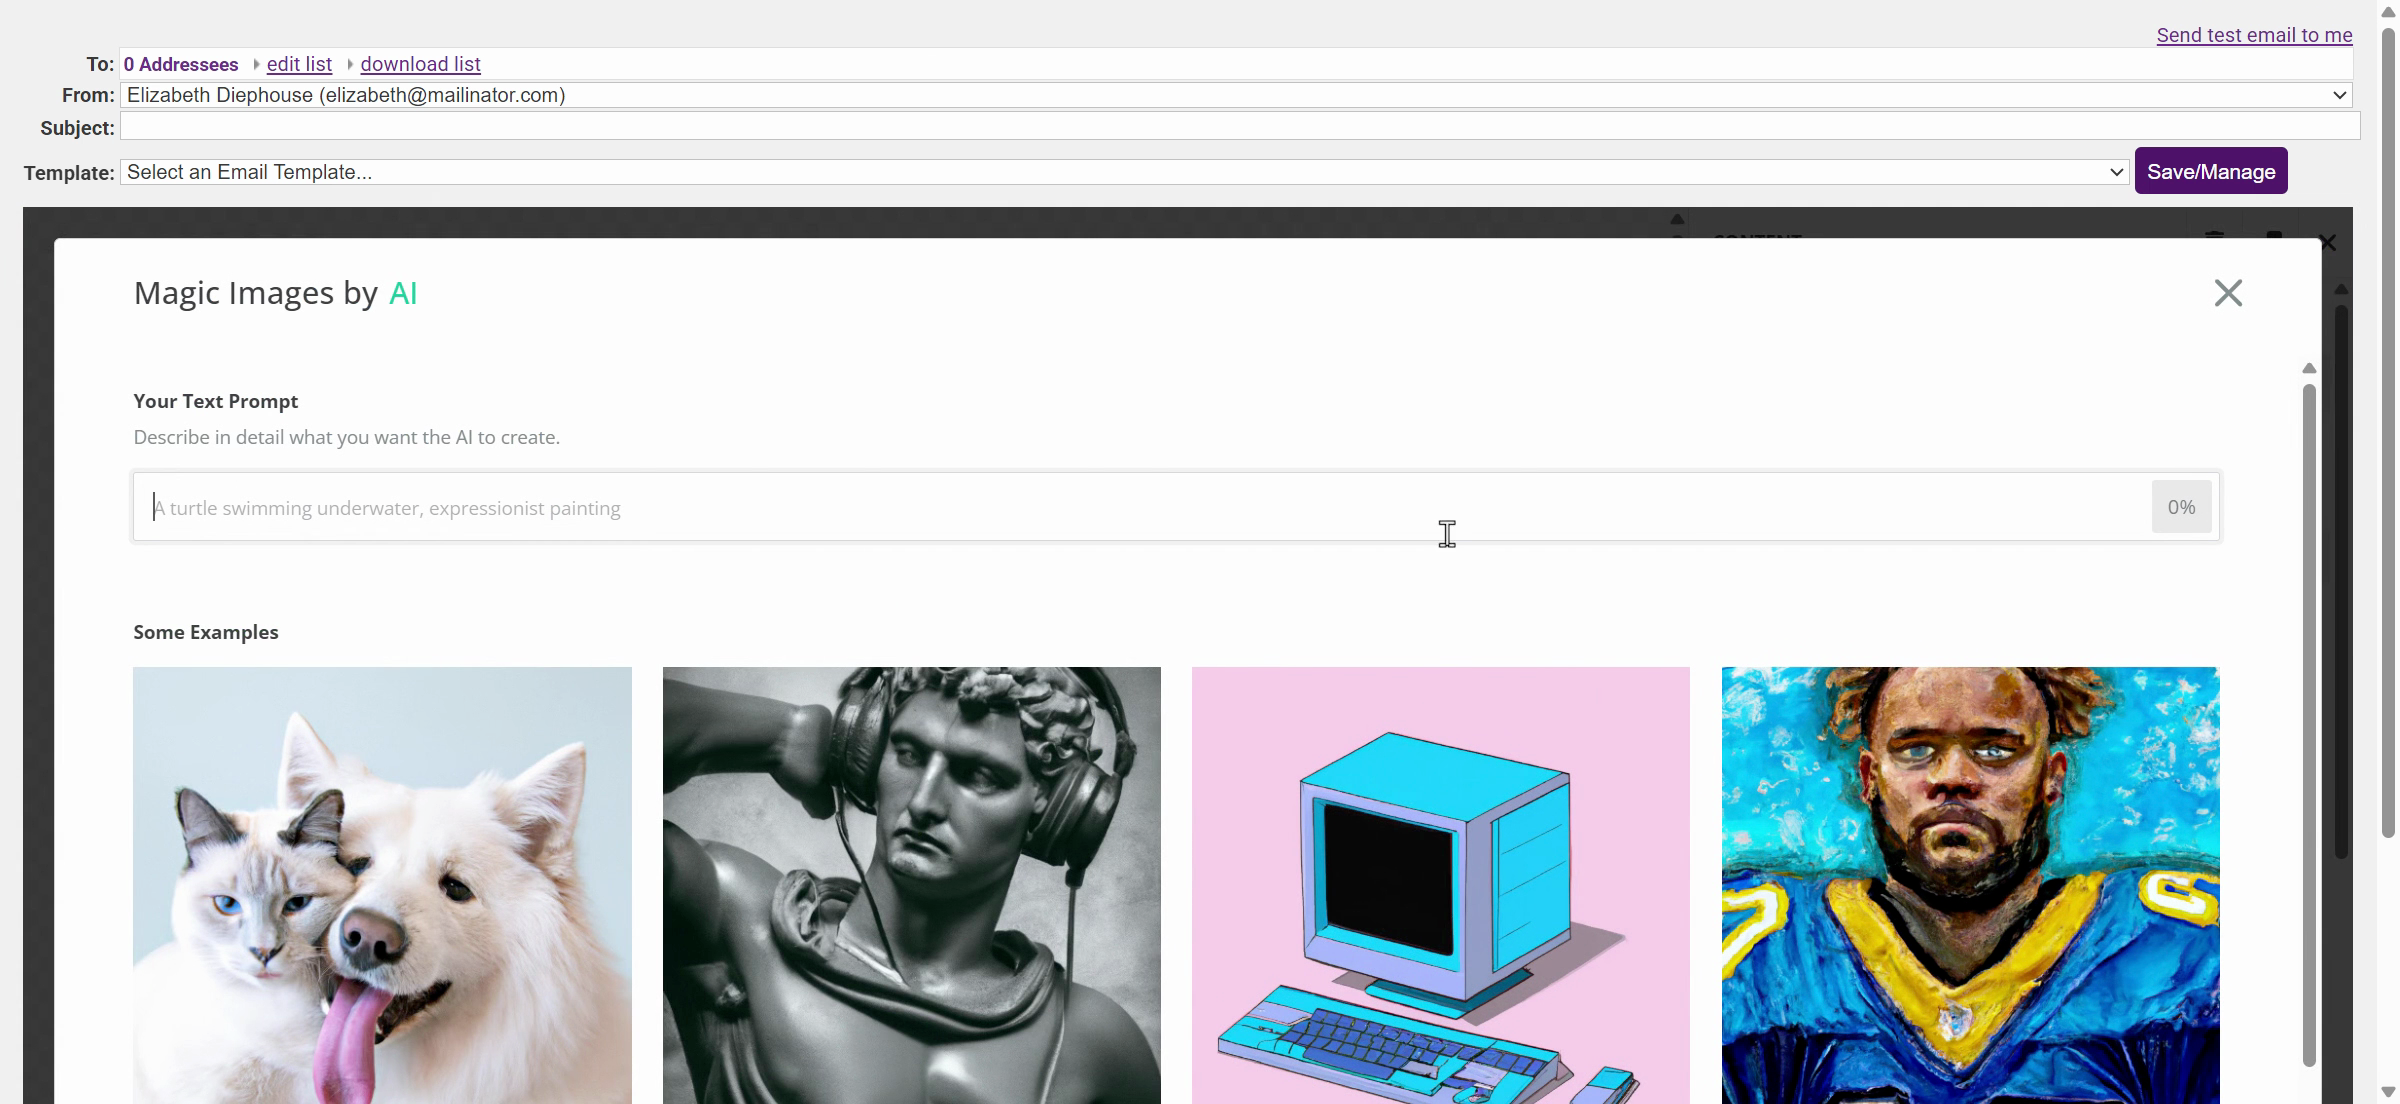
If you prefer, let Email Designer generate an AI image for you. Click on the link to generate an AI image.
-
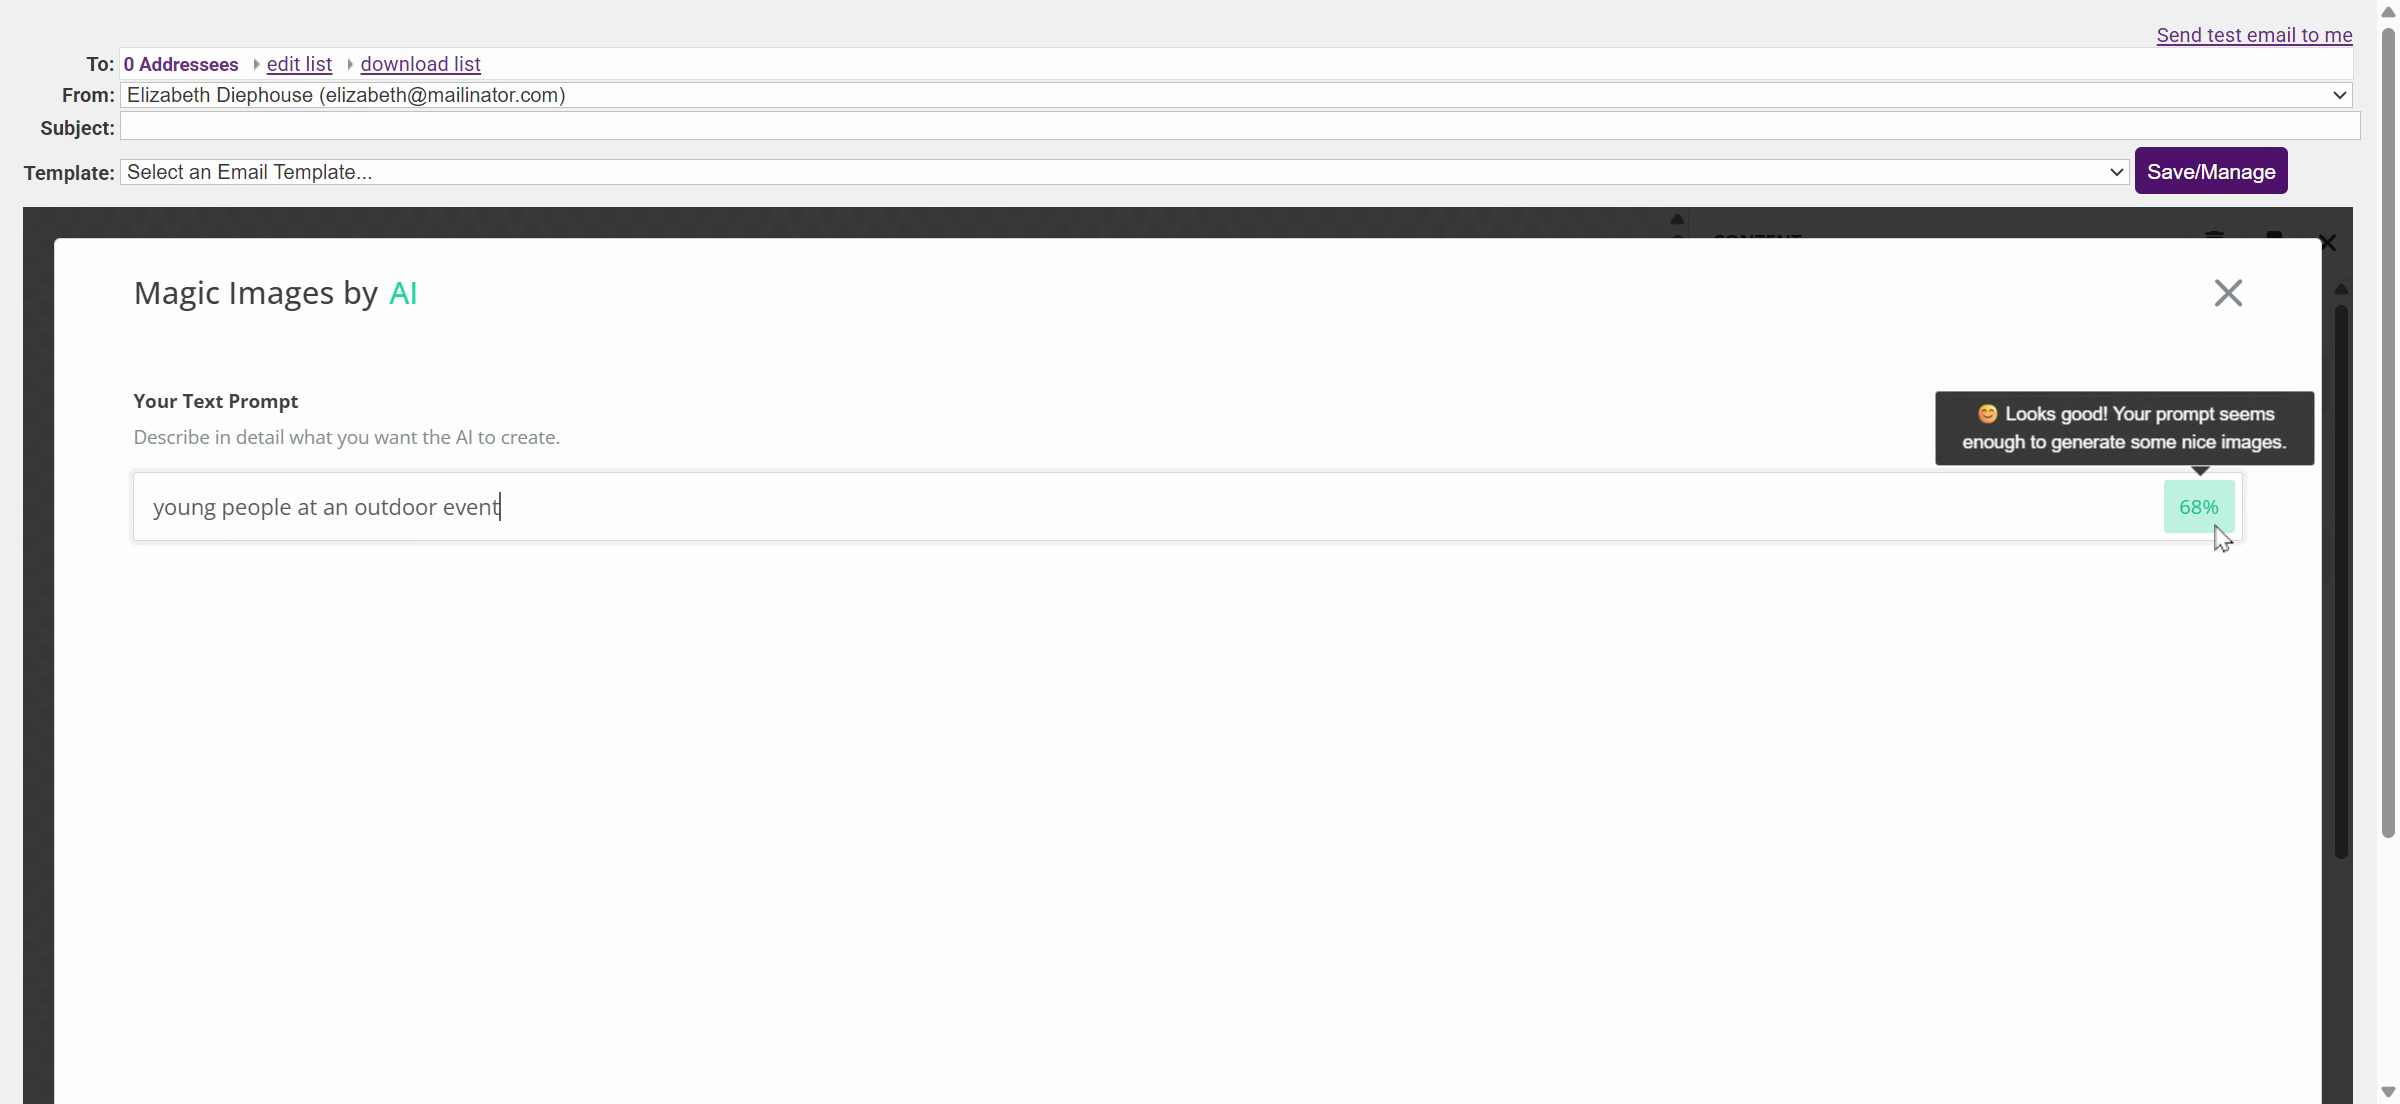
Type a detailed description of the image you want the AI to create. The more detailed your description, the better the image will be. Press Enter and the system will analyze your prompt and suggest some prompts based on your input.
-
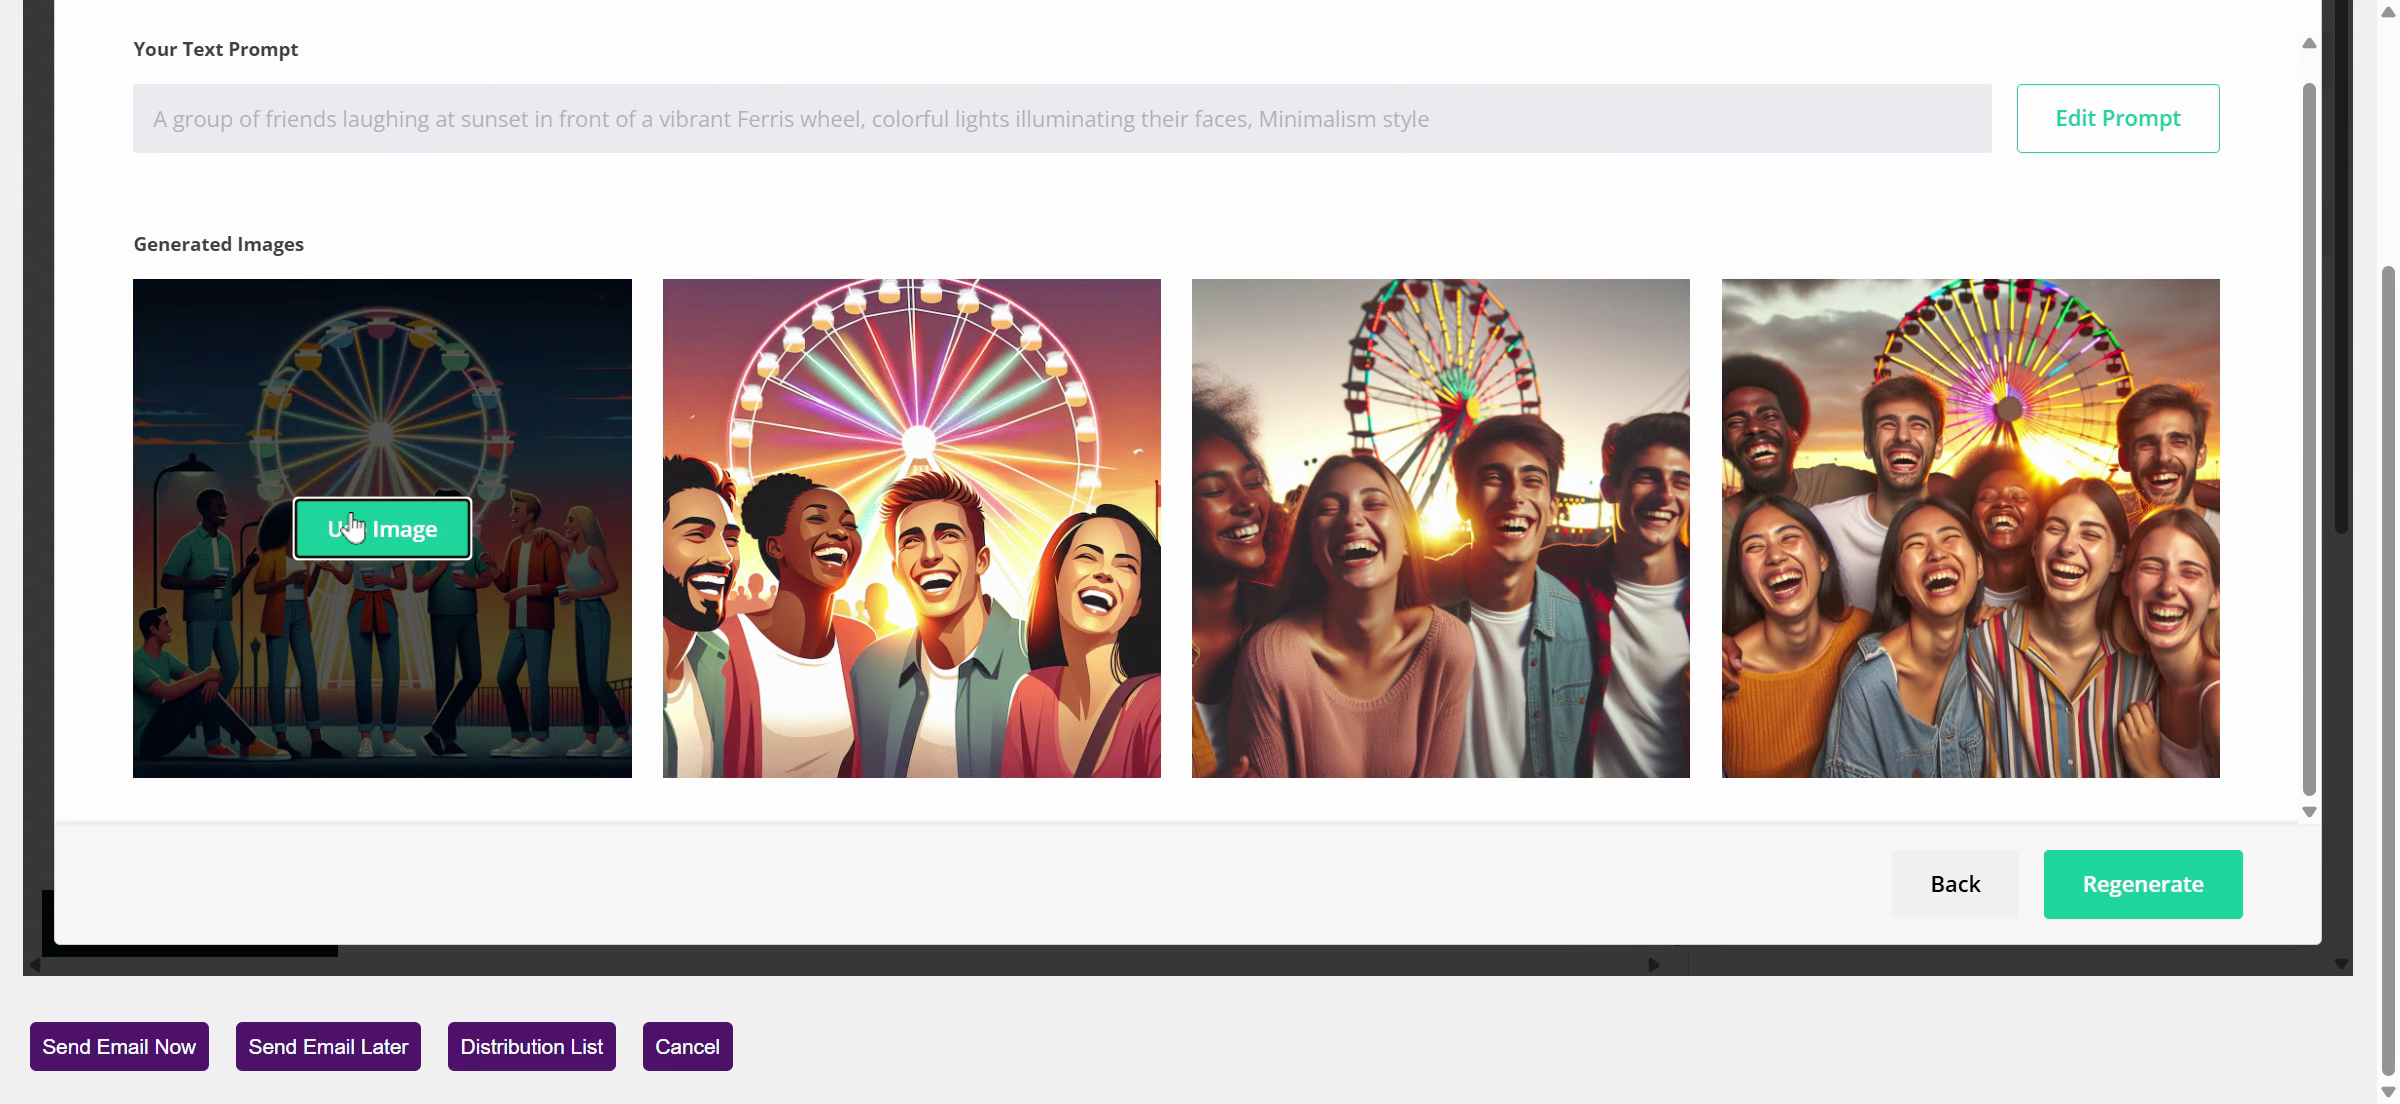
Choose a prompt that suits your needs and select a theme for your image. Review the generated images. If you like any of them, select and add them to your newsletter. You can also edit the prompt or choose a different style if you wish.
-
Once you've chosen an image, select Use Image to add it to your newsletter.
-
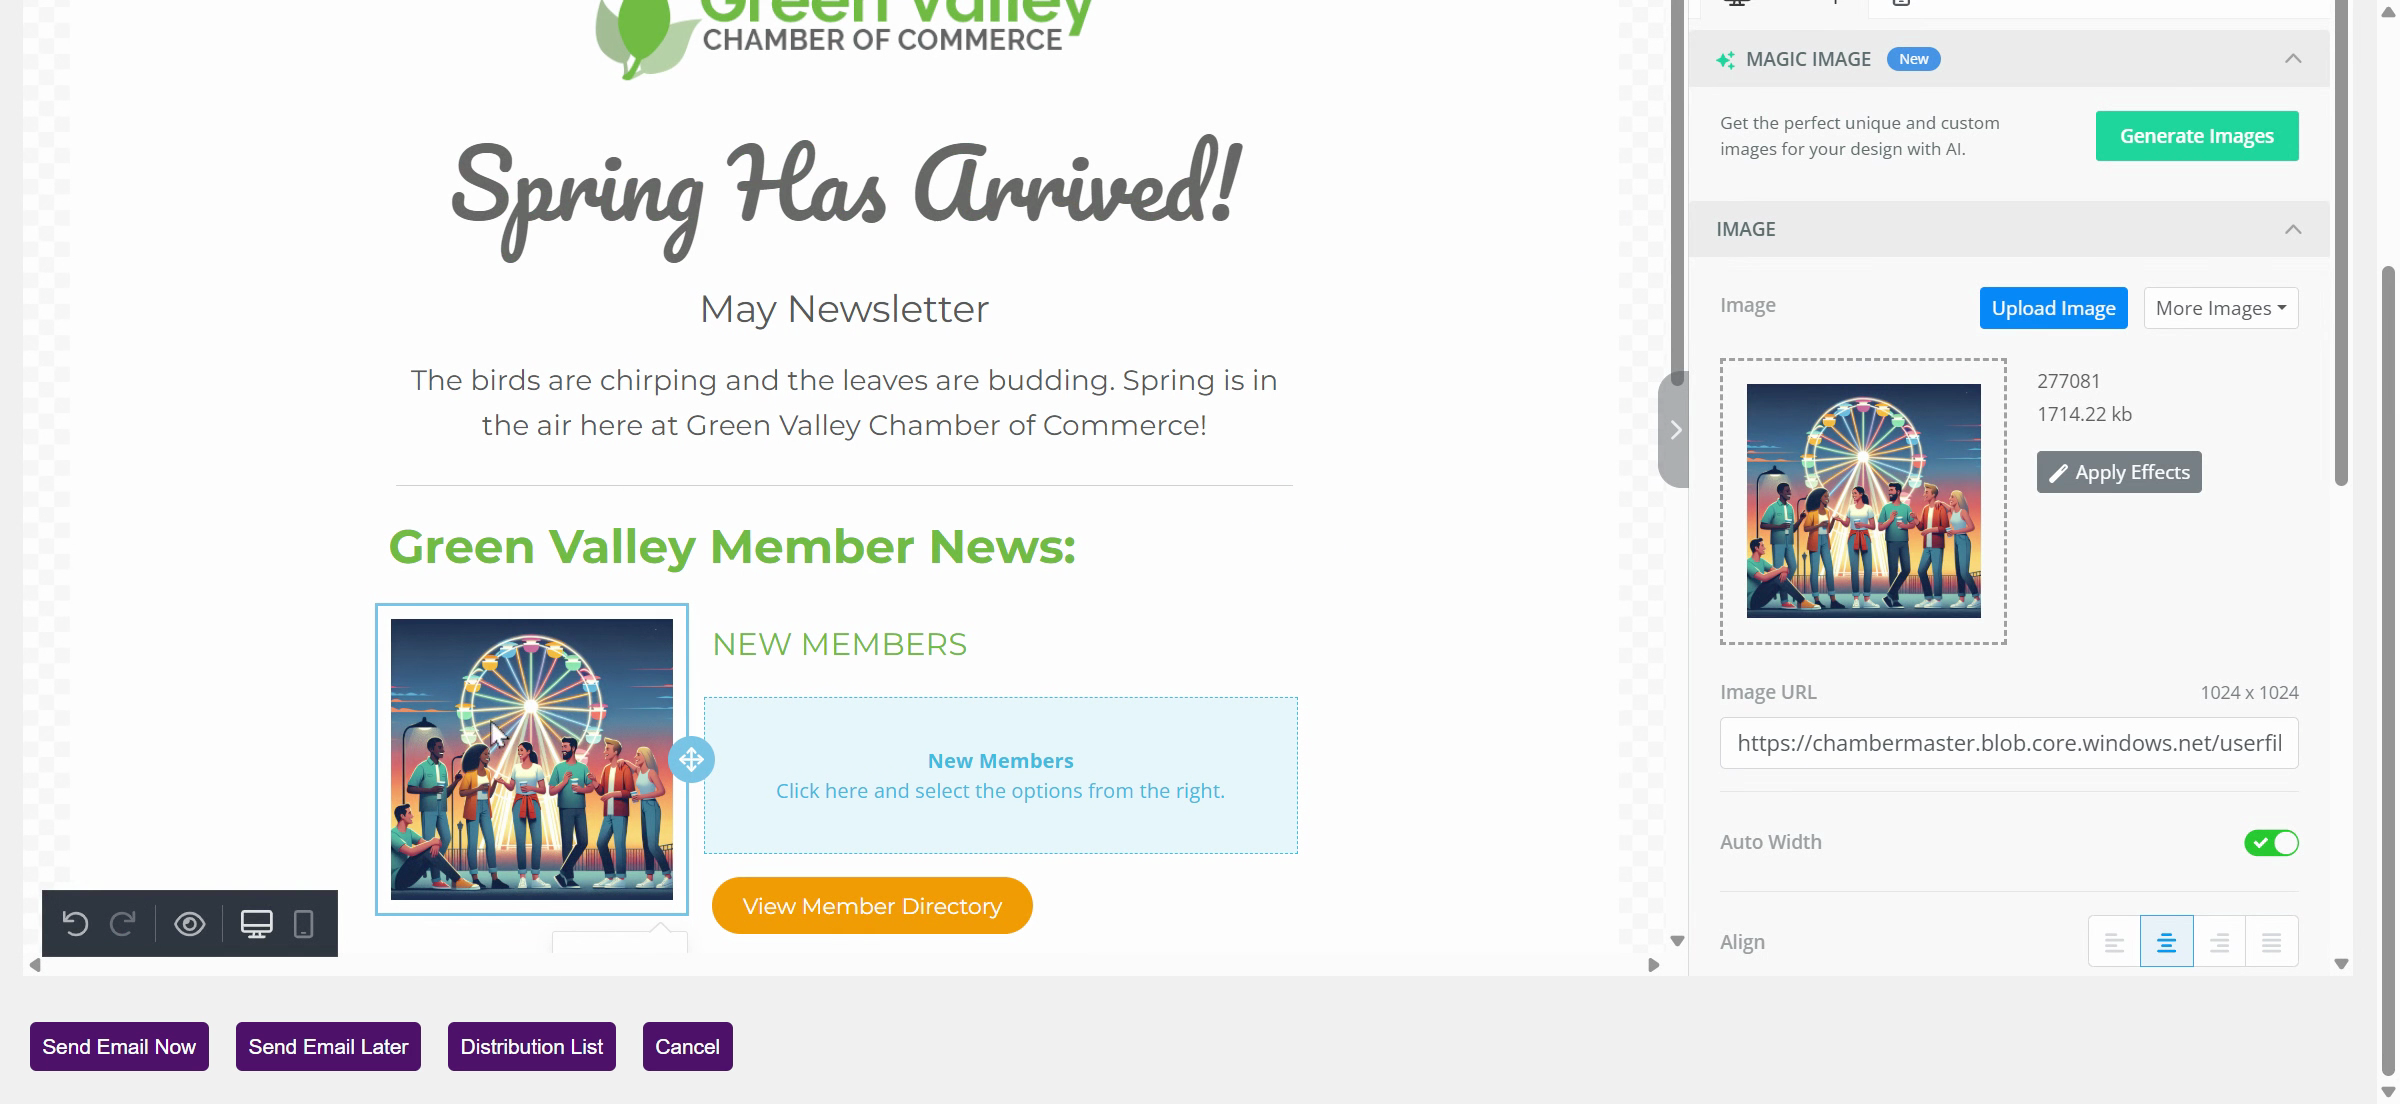
Your image is now inserted into your newsletter.
Related articles

