Create Your Own Menu Selections in the MIC

View the video explanation.
- Click Setup in the left-hand menu.
- Under Association Options, Click Member Login Area Options & Settings.
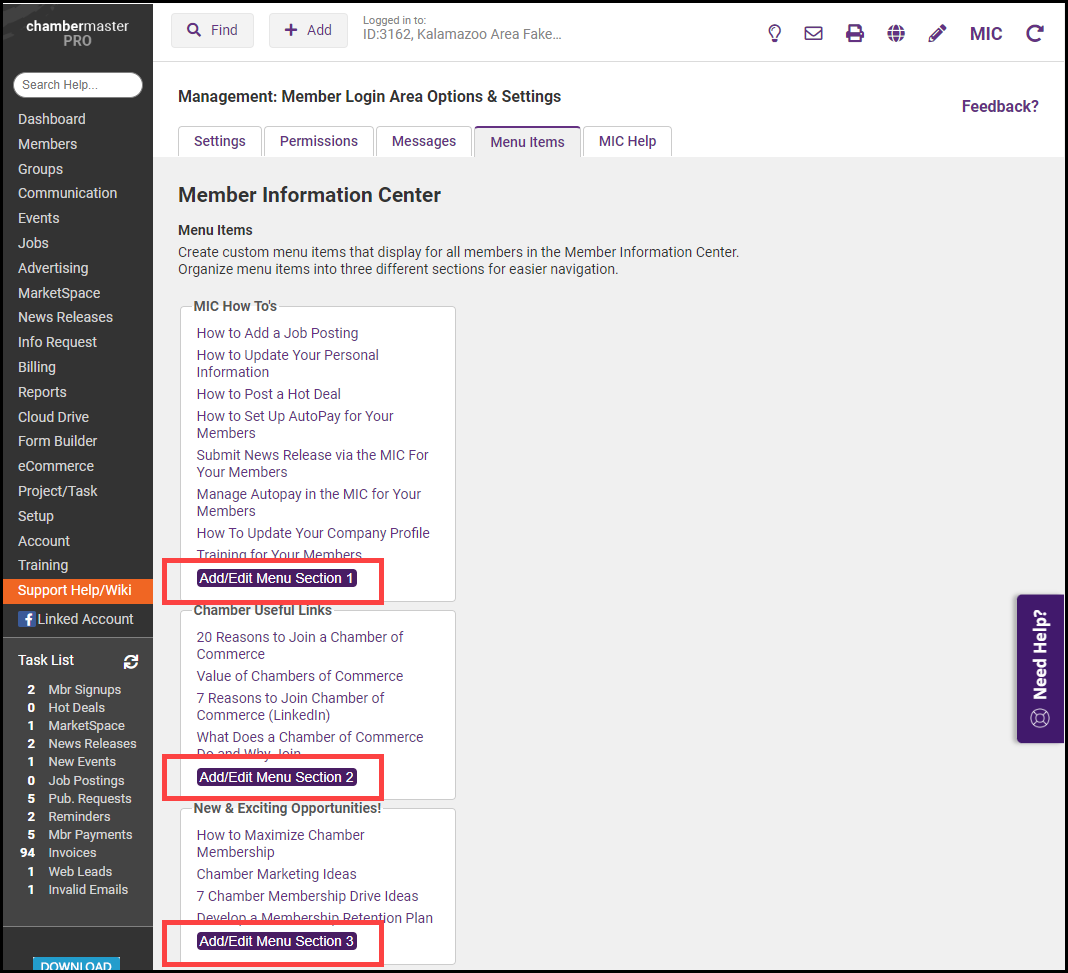
- Click the Menu Items tab.
- Select which menu section you would like to edit. Each section represents a separate section of the menu displayed in the Member Information Center.
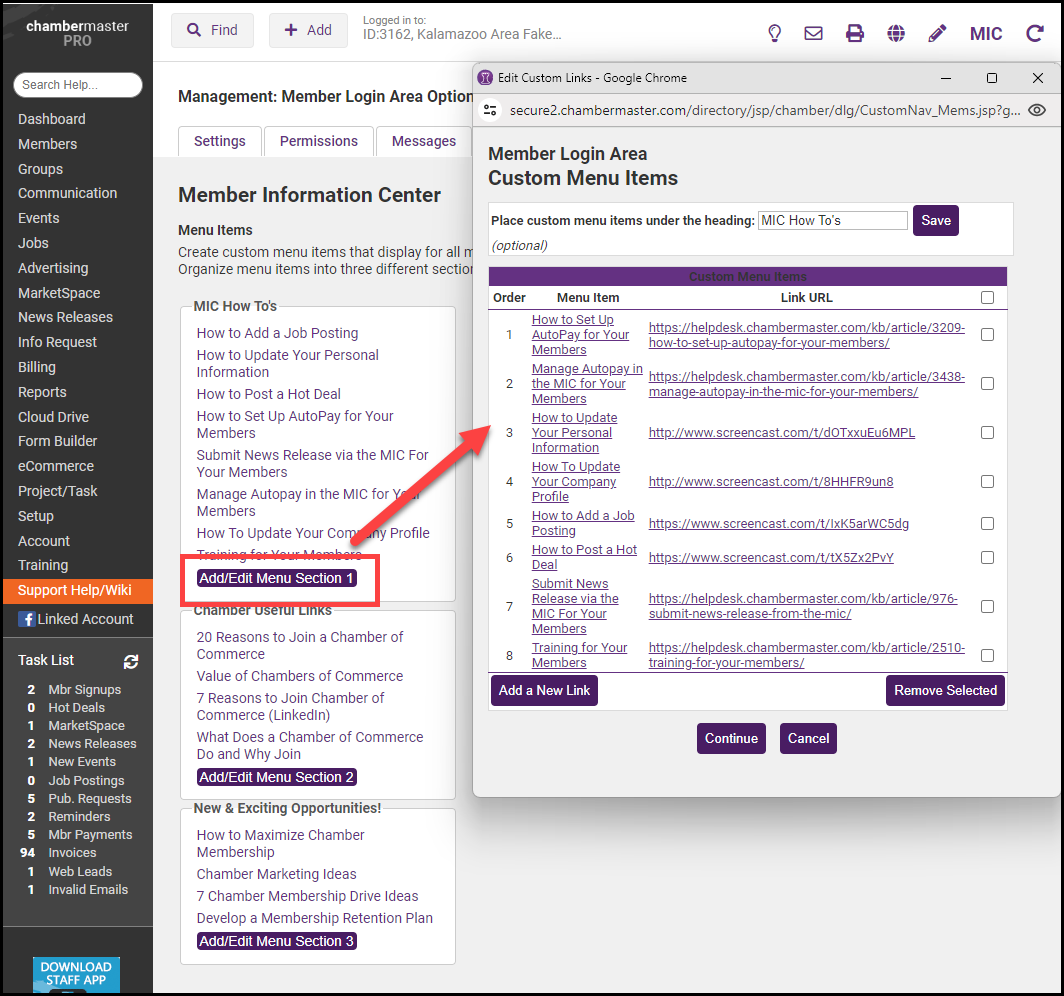
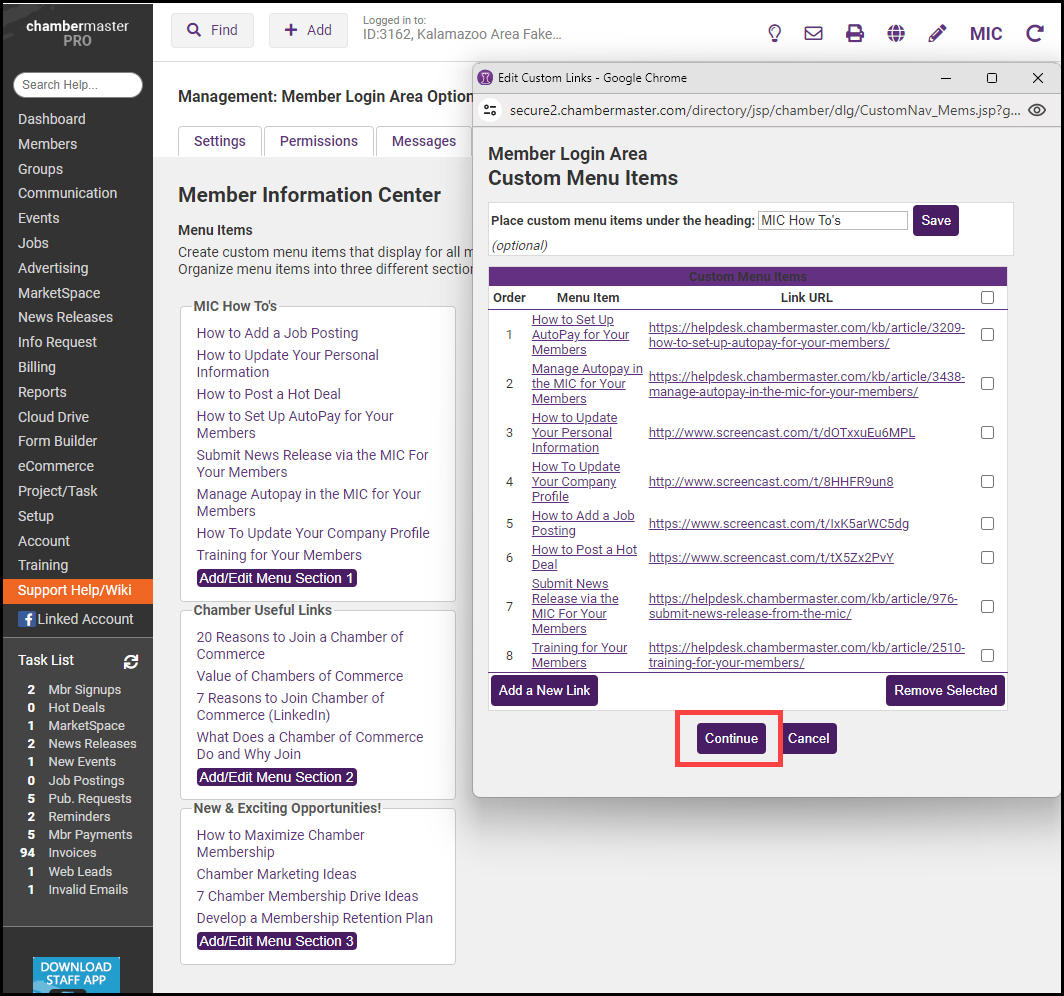
- In the Custom Menu Items window, all of the current menu options will be displayed.
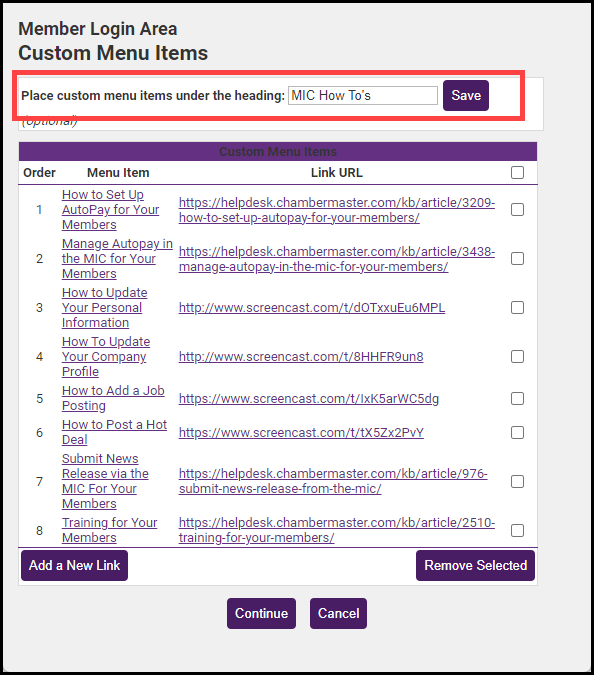
- Enter the name of the menu section and select Save.
- Select Add a New Link to add to the menu section. Include the Display Name for the link, the URL, and where the link should be positioned in the list.
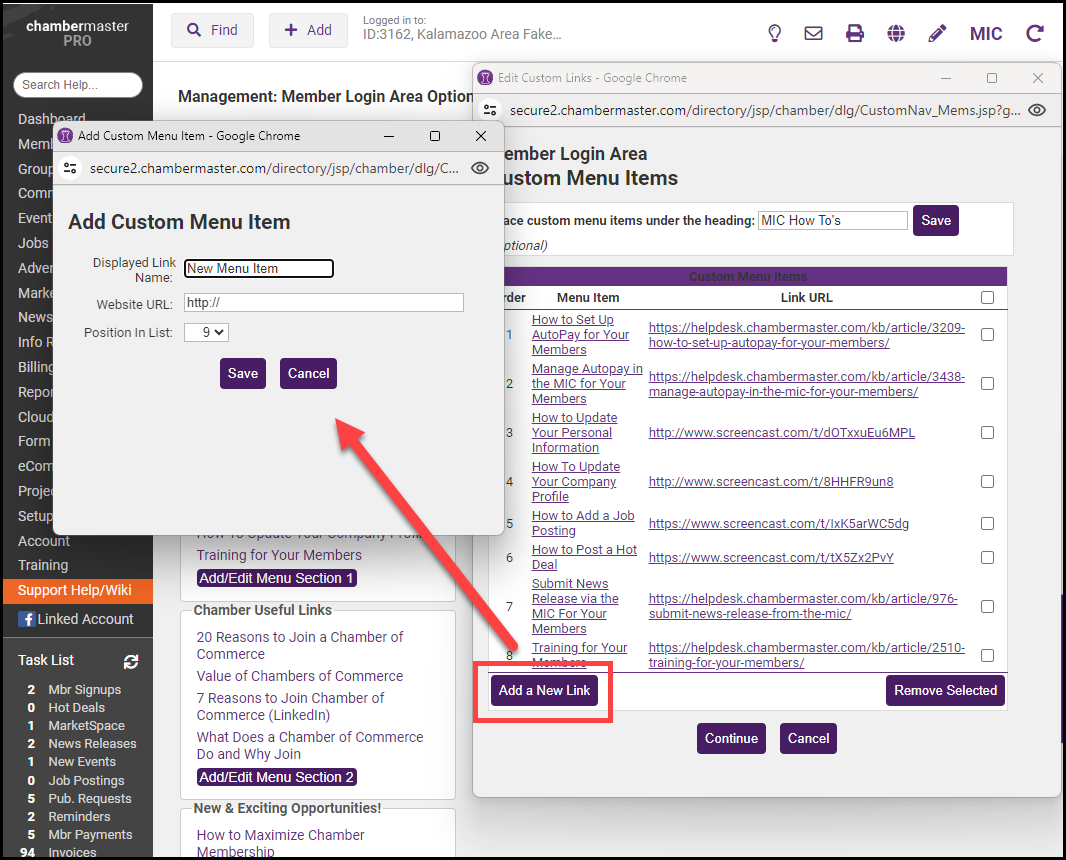
- Select Save.
- After adding the link to the menu section, select Continue.
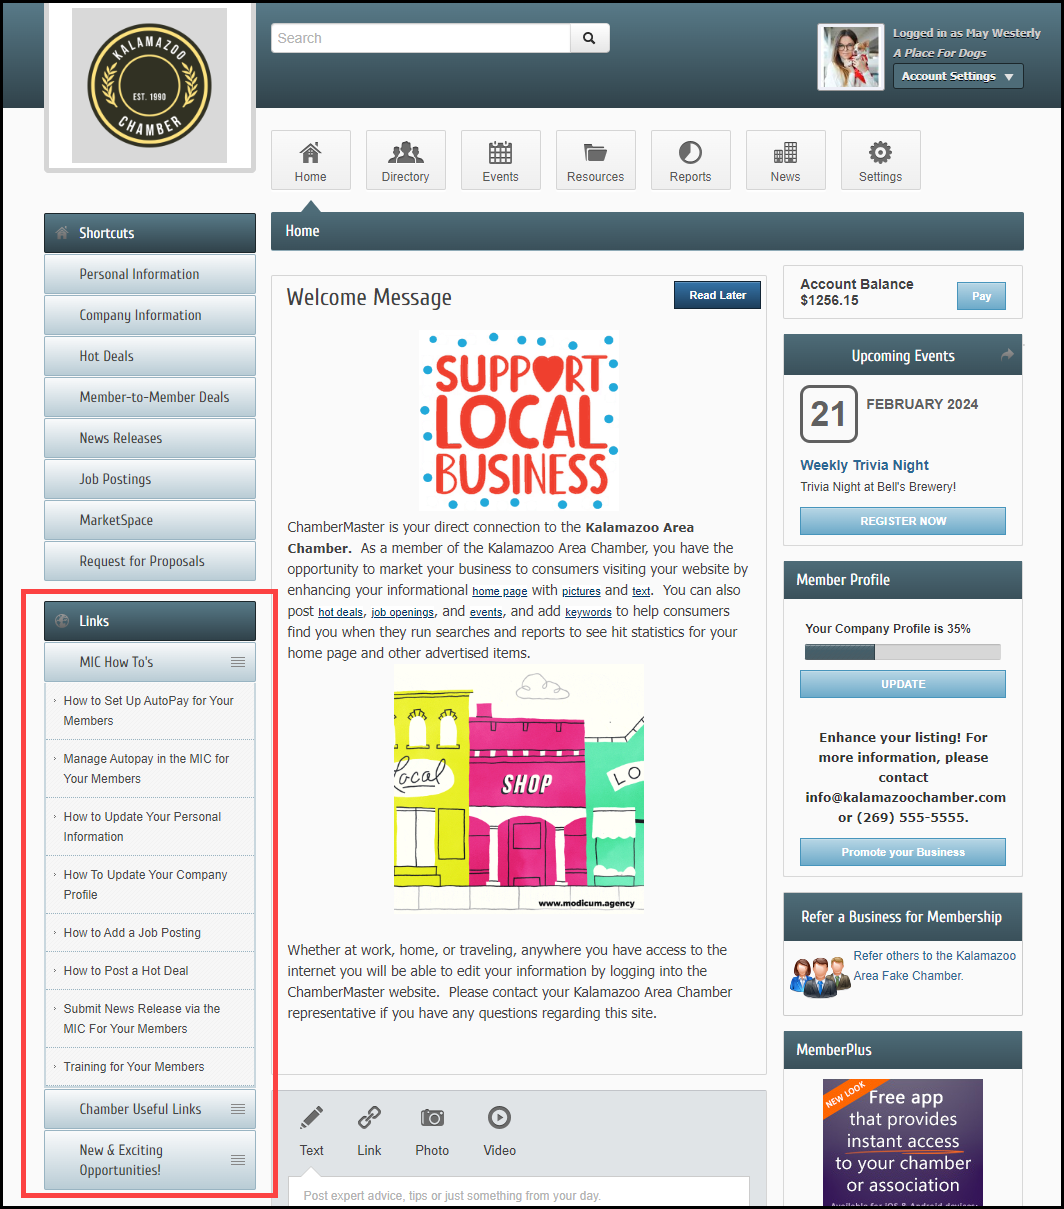
- Select the MIC icon in the header to preview your menu items.