Use Stored Payment Profile for Autopay

If a member is having trouble setting themselves up for Autopay in the Member Information Center (MIC), staff can complete the process via the back office. You can request authorization from your members to be set up for Autopay.
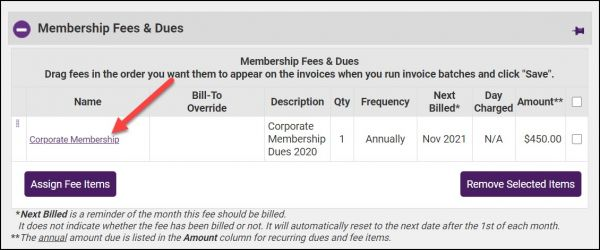
- Select the desired member's Account tab.
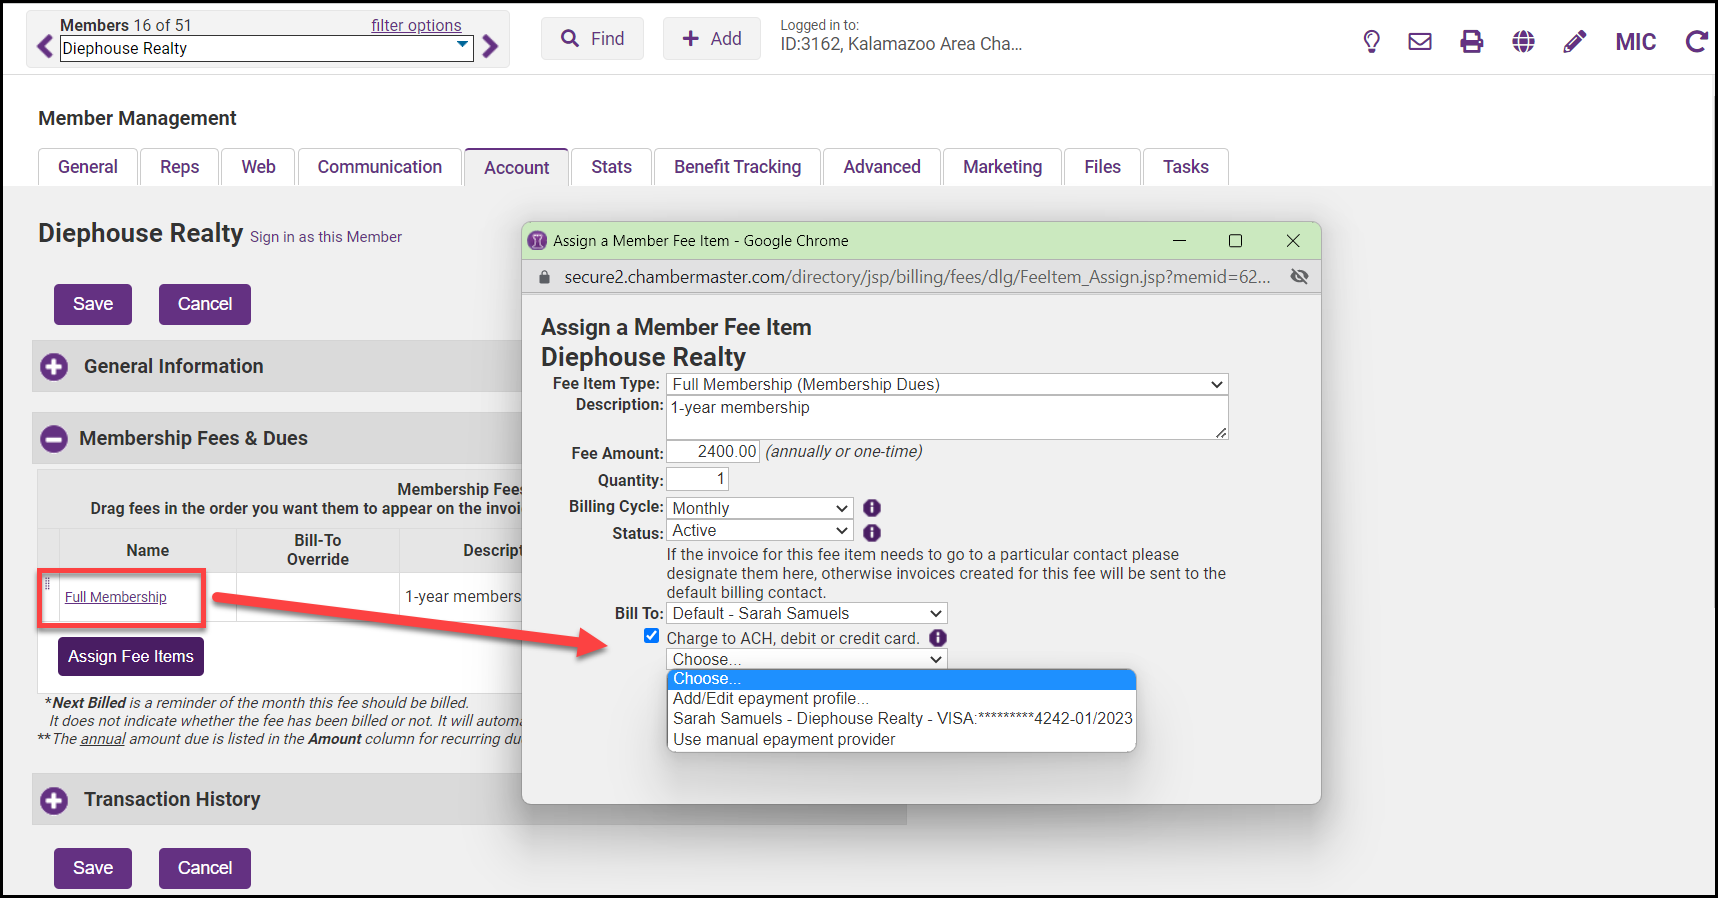
- In the Membership Fees & Dues section, click the hyperlink for the recurring fee you wish to assign to Autopay.
- Click the Charge to ACH, debit, or credit card checkbox.
- In the Choose dropdown list, select the desired stored profile.
- If you have enabled "Allow Automatic ACH/Credit/Debit Card Charges (Autopay) you will have the option to select the Day of the month to charge. See Set Up Autopay of Payment Profiles for further information.
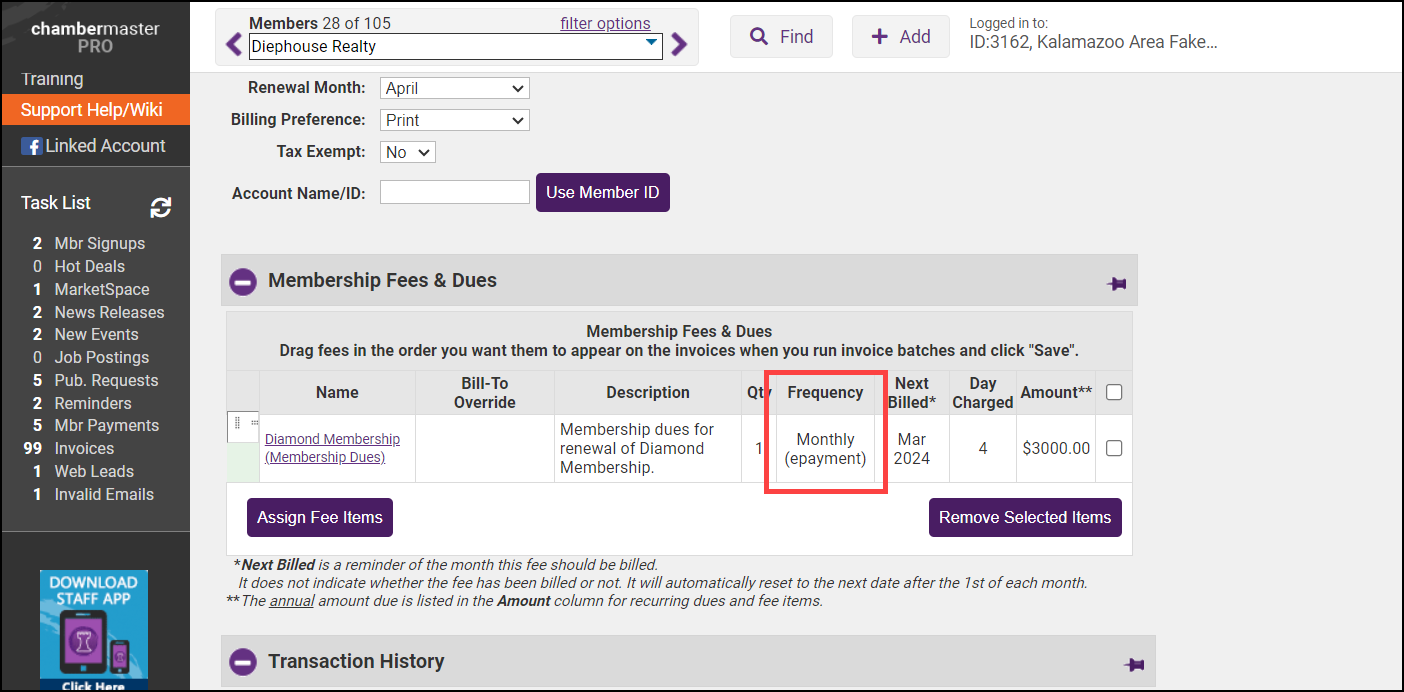
- Click Save & Exit. The recurring schedule will now display epayment in the Frequency column. Once the stored payment profile has been assigned, the best practice is to send the member a follow-up email. The default template Automatic Payment Confirmation may be used as a starting point.
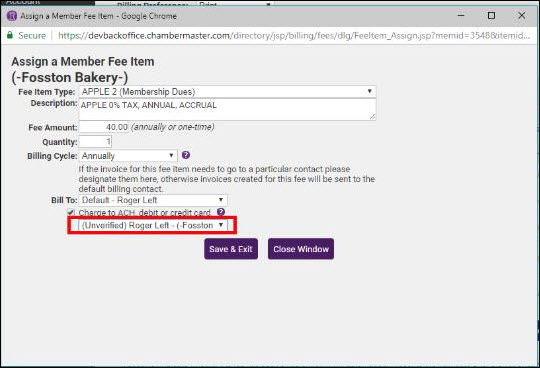
NOTE: If you are selecting a bank account, you will be notified if the account has not yet been verified. The bank account owner must look for 2 small deposits in their bank account. These amounts must be entered into the profile by the owner when logged into the Member Info Center (MIC), or on their behalf by a staff person when editing this profile. You will still be able to assign the bank account, however, if the account is still un-verified when you run the batch, a warning notification will be displayed.