Customized Report Layout
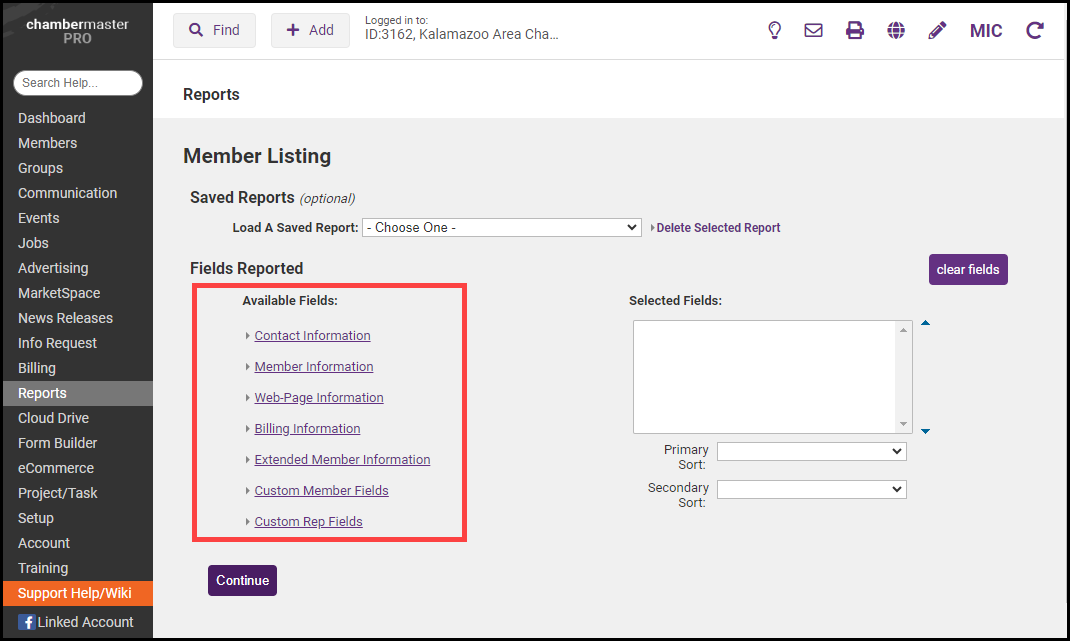
- Select Reports in the left-hand menu.
- Select the Custom Member Report.
- Add the desired fields. Click Continue.
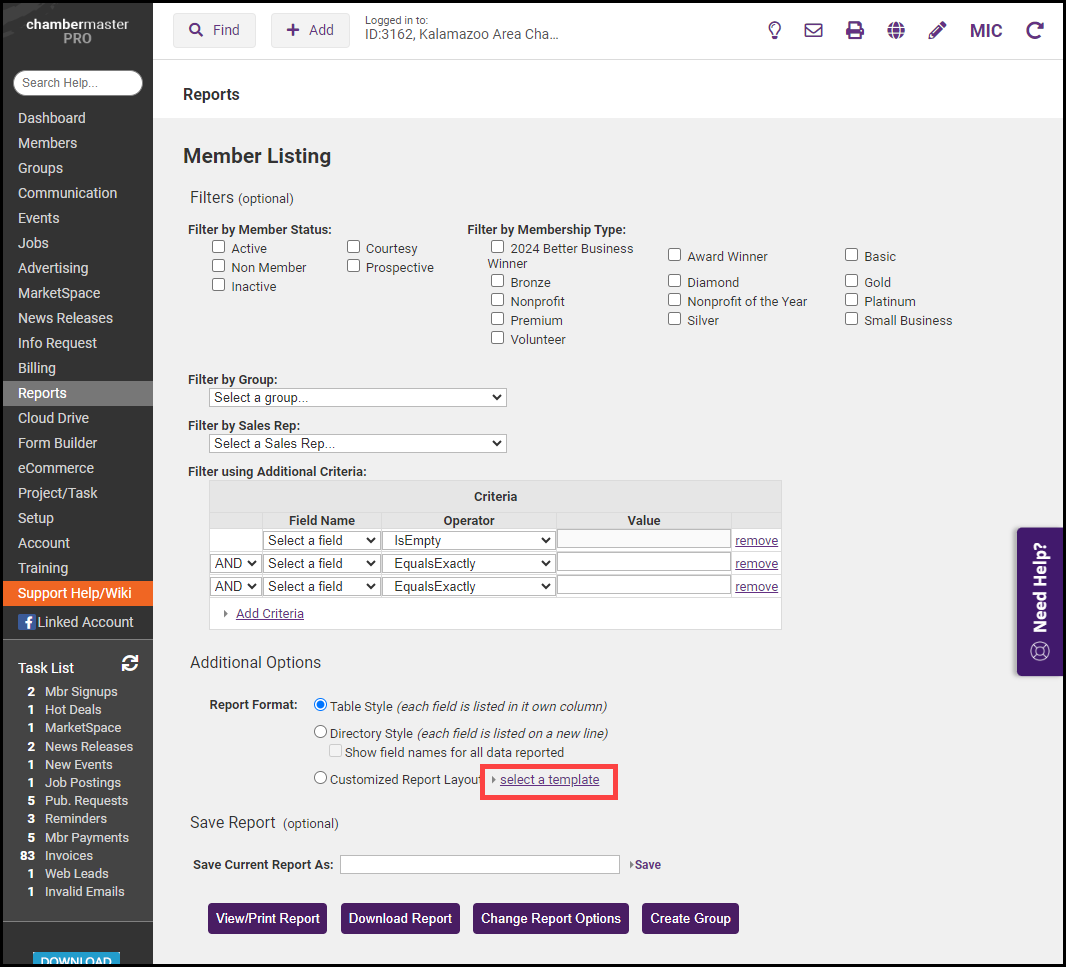
- Click Select a template in the Additional Options area of the custom report filters and criteria page. If a template has previously been selected, click the current template name instead.
-
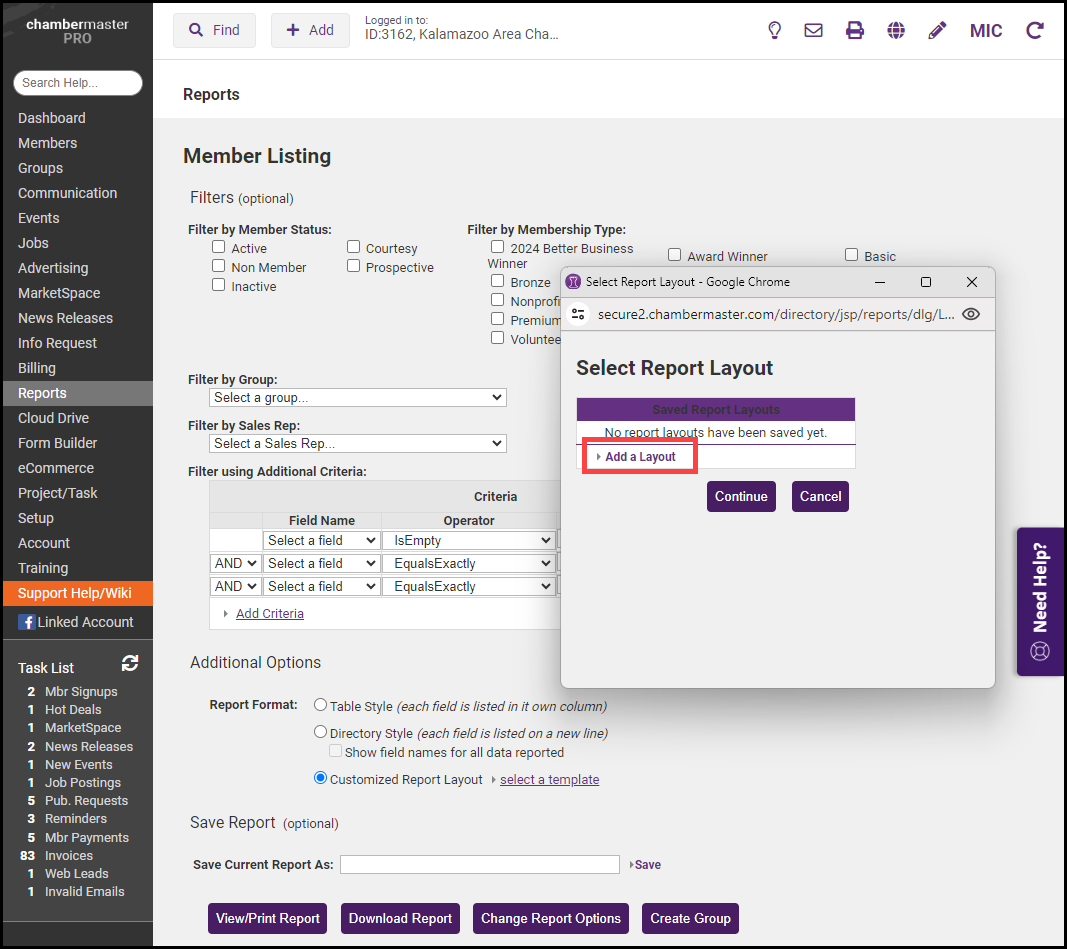
Click Add a Layout to create a new customized layout format.
-
In the Report Layout Editor window, enter a name for this report layout template in the Layout Template Name field.
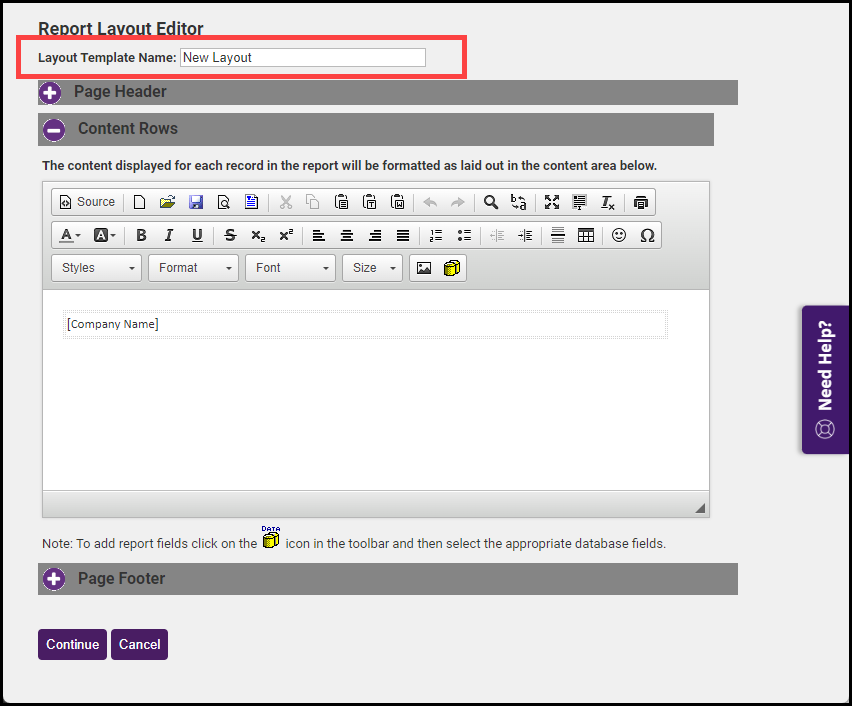
-
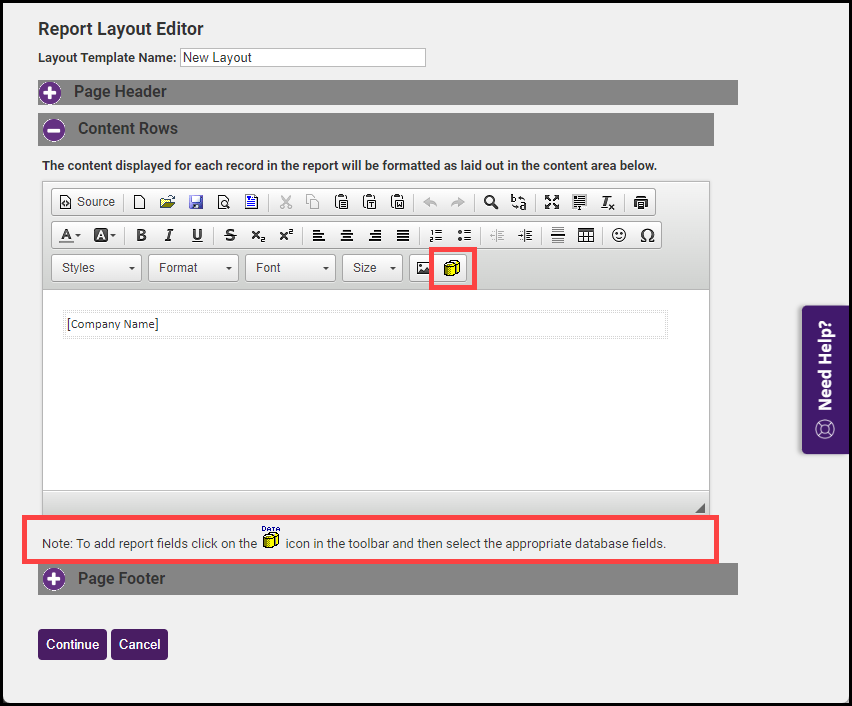
Complete the Page Header and Page Footer areas to design the top and bottom of each report page. Complete the Content Rows area to design what one record should look like by selecting the Add Database Field icon.
- Use the editor features to design the desired custom report. See Editing Tips.
- When done, select Continue. The custom report layout will be available for selection.
Editing Tips
|
|
NOTE: If fields are included in the custom report layout, they must also be selected on the first custom report screen. See Custom Member Report or Custom Representative Report. |
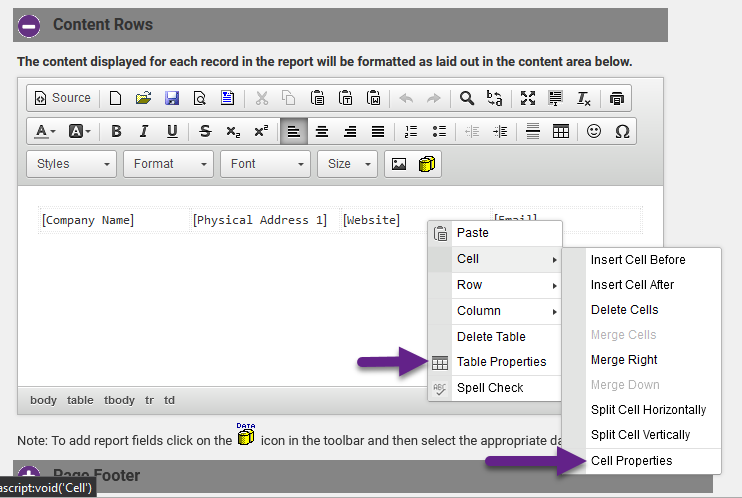
The editor window opens with selected fields placed inside a table. You may work within the table, or choose to recreate the placement of fields after deleting the table. Working within the table, however, easily allows fields to be aligned in columns. To modify the table, right-click anywhere within the table. Many placement and formatting choices are available by clicking Cell Properties in the Cell menu or by clicking Table Properties.